This is my first post on my new blog!
I figured I would start with something very down-to-earth.
Whether it's wildfire smoke, respiratory pandemics, or DIY projects, protecting your lungs is critical. And despite how cool it looks, a black bandana over your face isn't going to cut it in the PPE department.
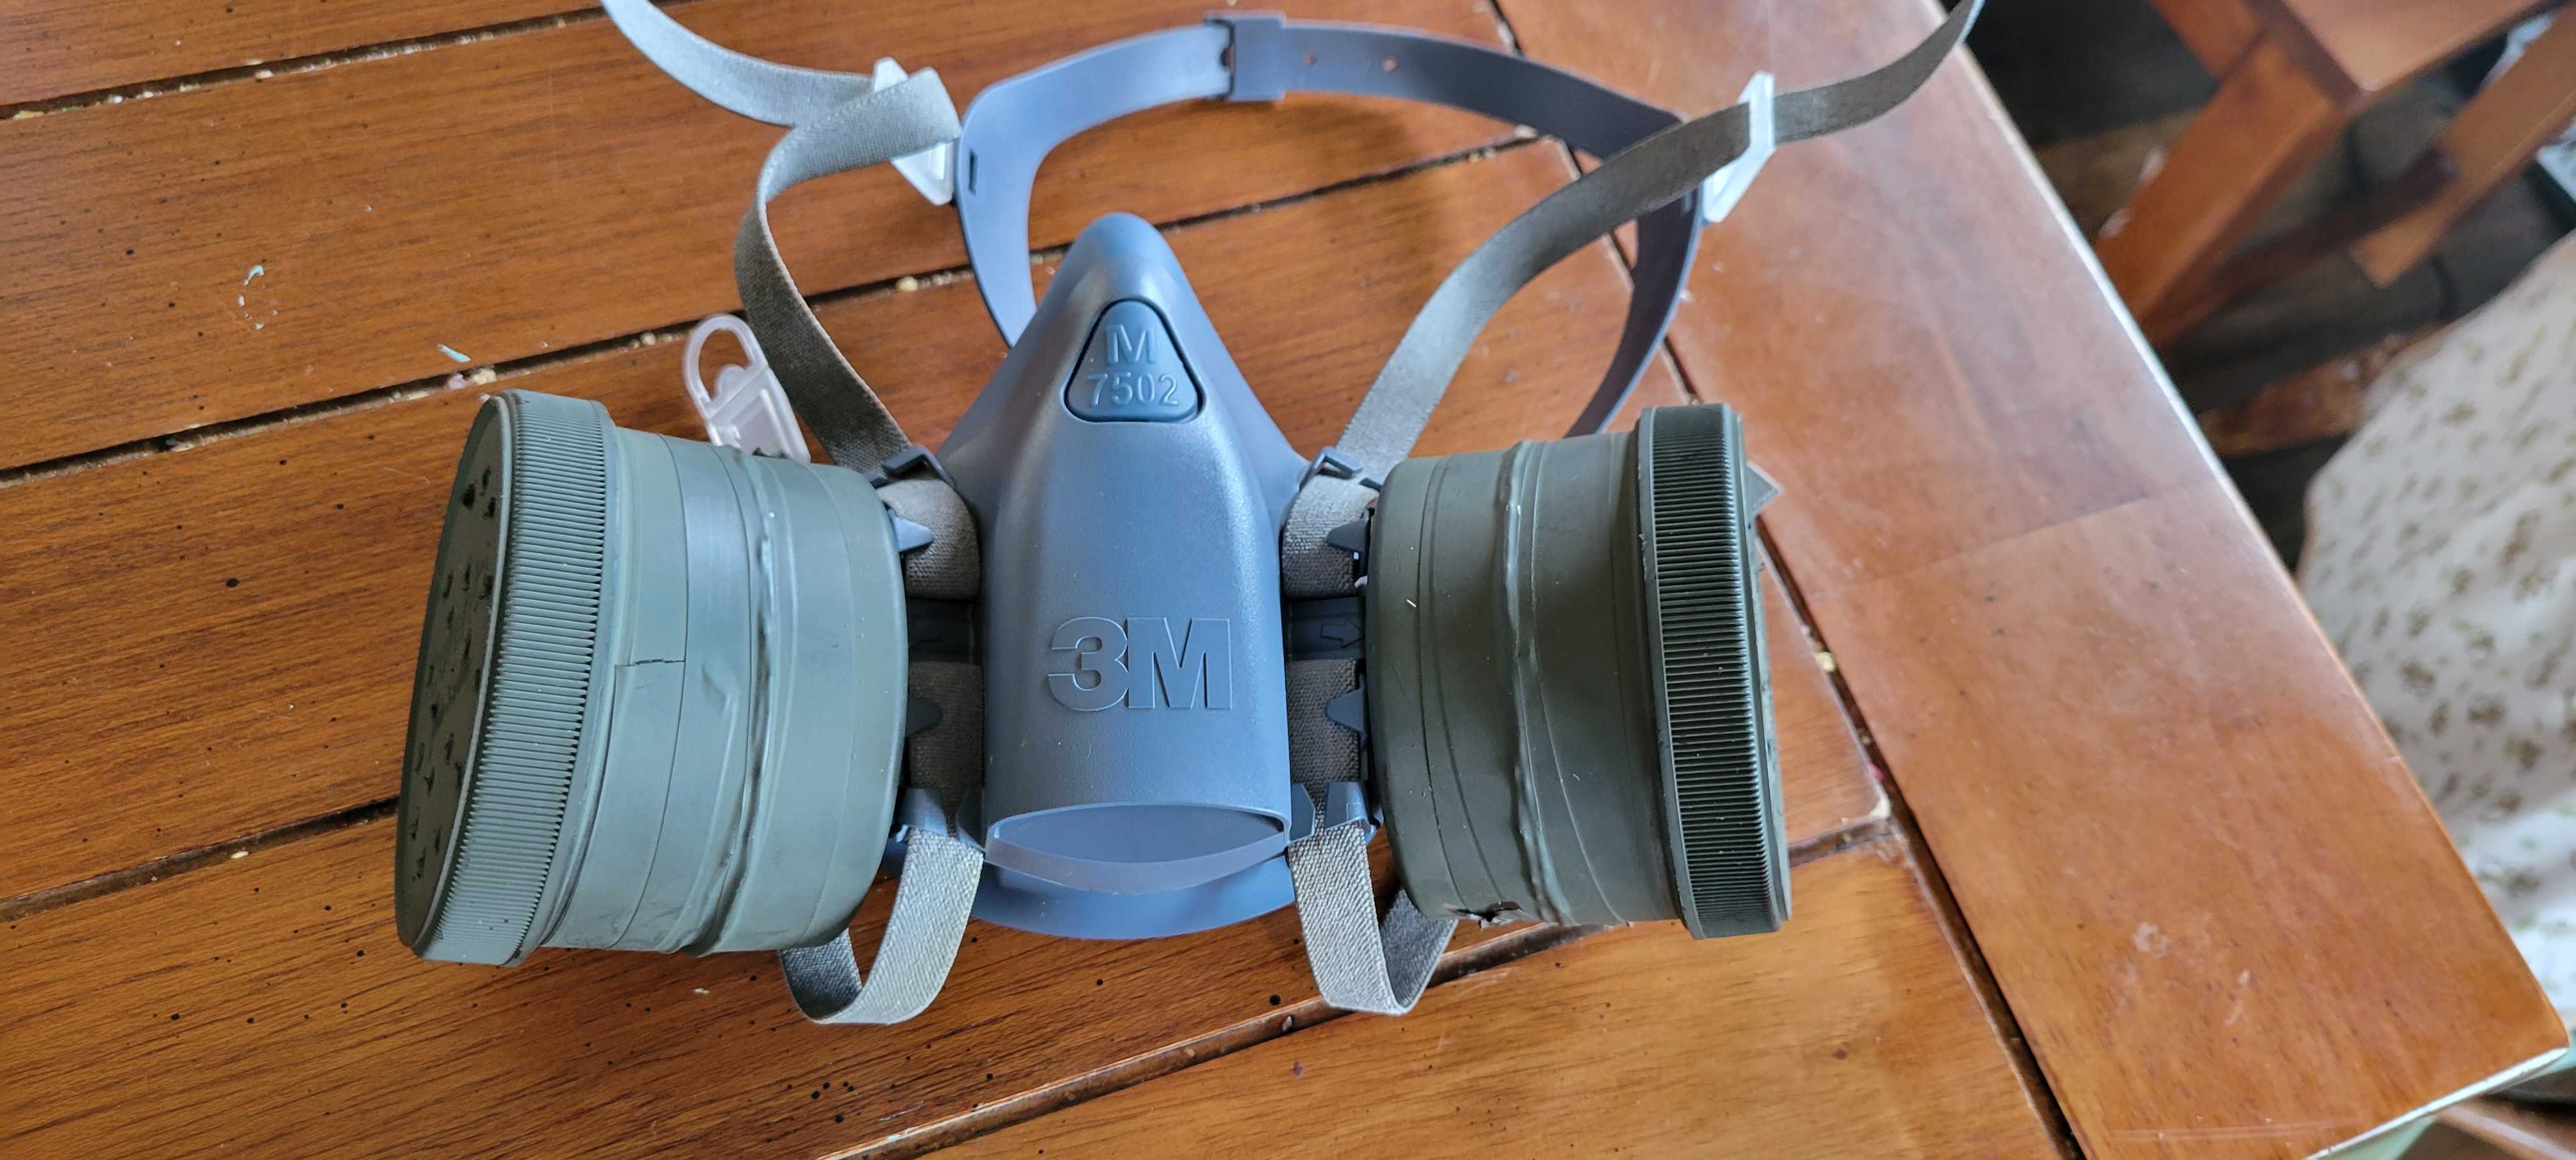
BUT, we can't all afford (and don't all want to) run around wearing military-grade gas masks. So, the answer for me has been the classic half-face respirator.
The only issue being, that the cartridges are disposable. Which, in this day and age, just seems overly wasteful and unnecessarily expensive.
So, I started a project to make my own refillable cartridges for my respirator by canibalizing the adaptors built into a pair that I have had for a while.
Final results:
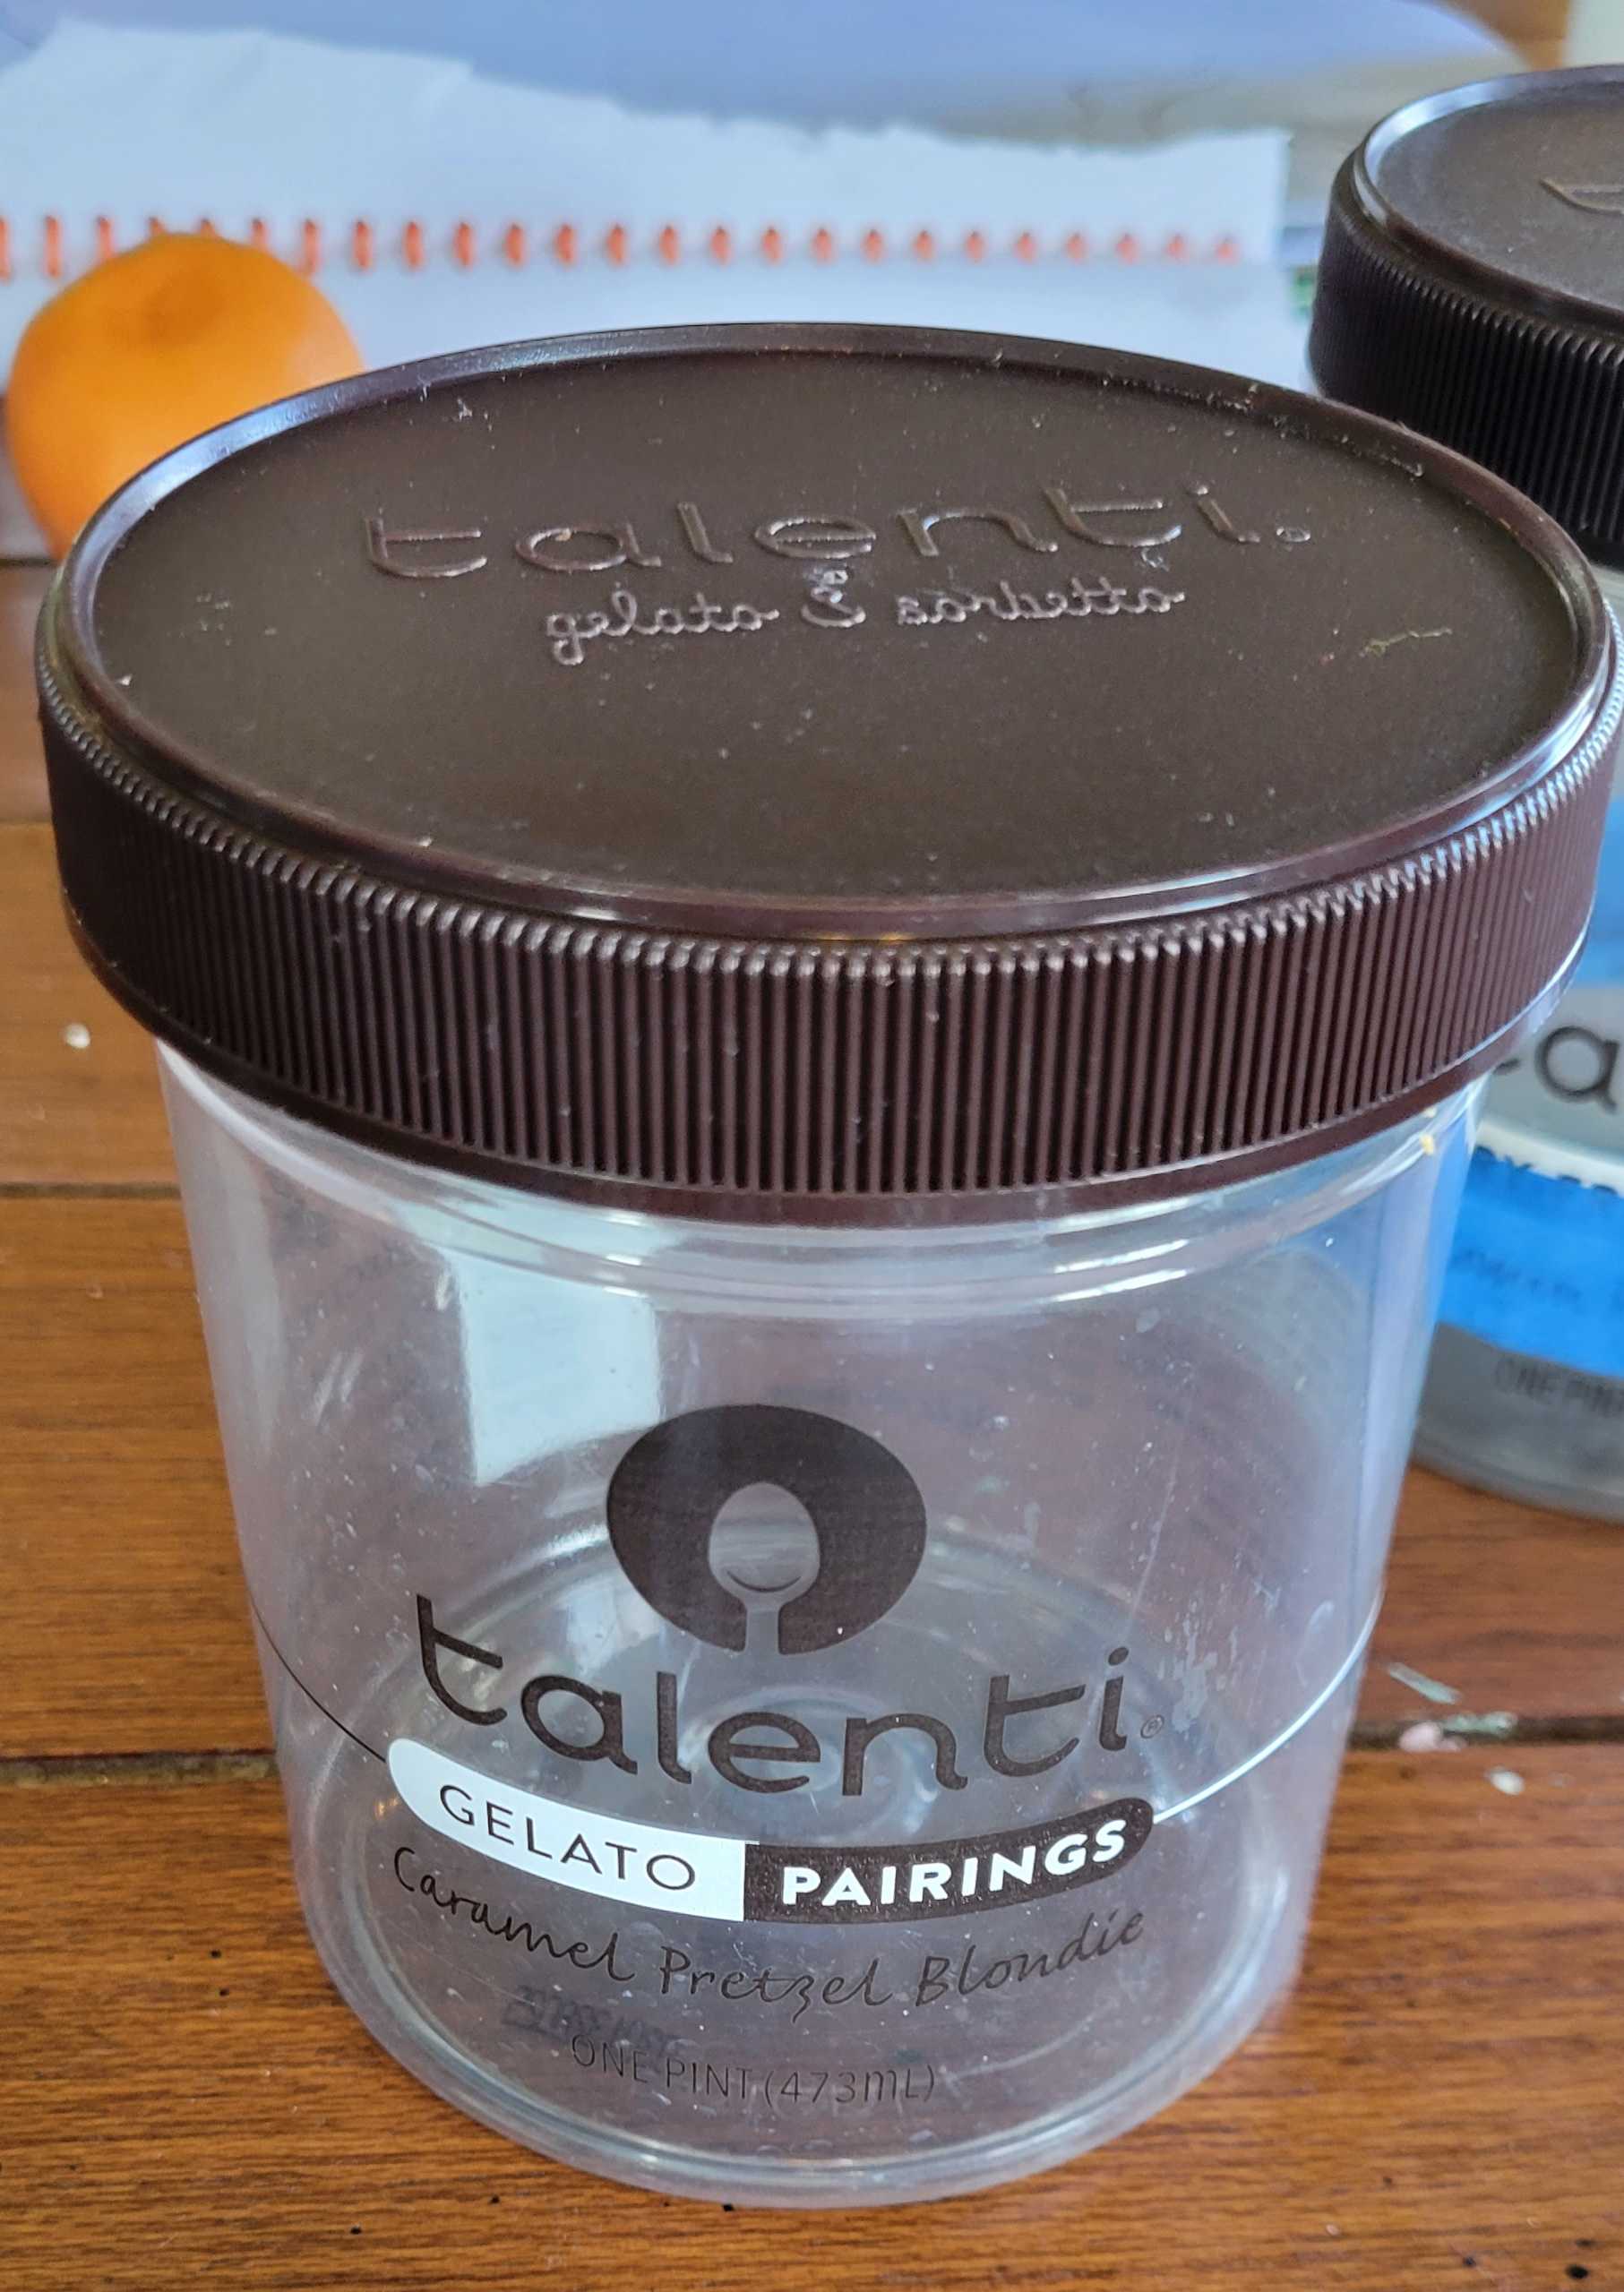
My raw materials were all things I had on hand, but store bought equivalents should not be pricey.
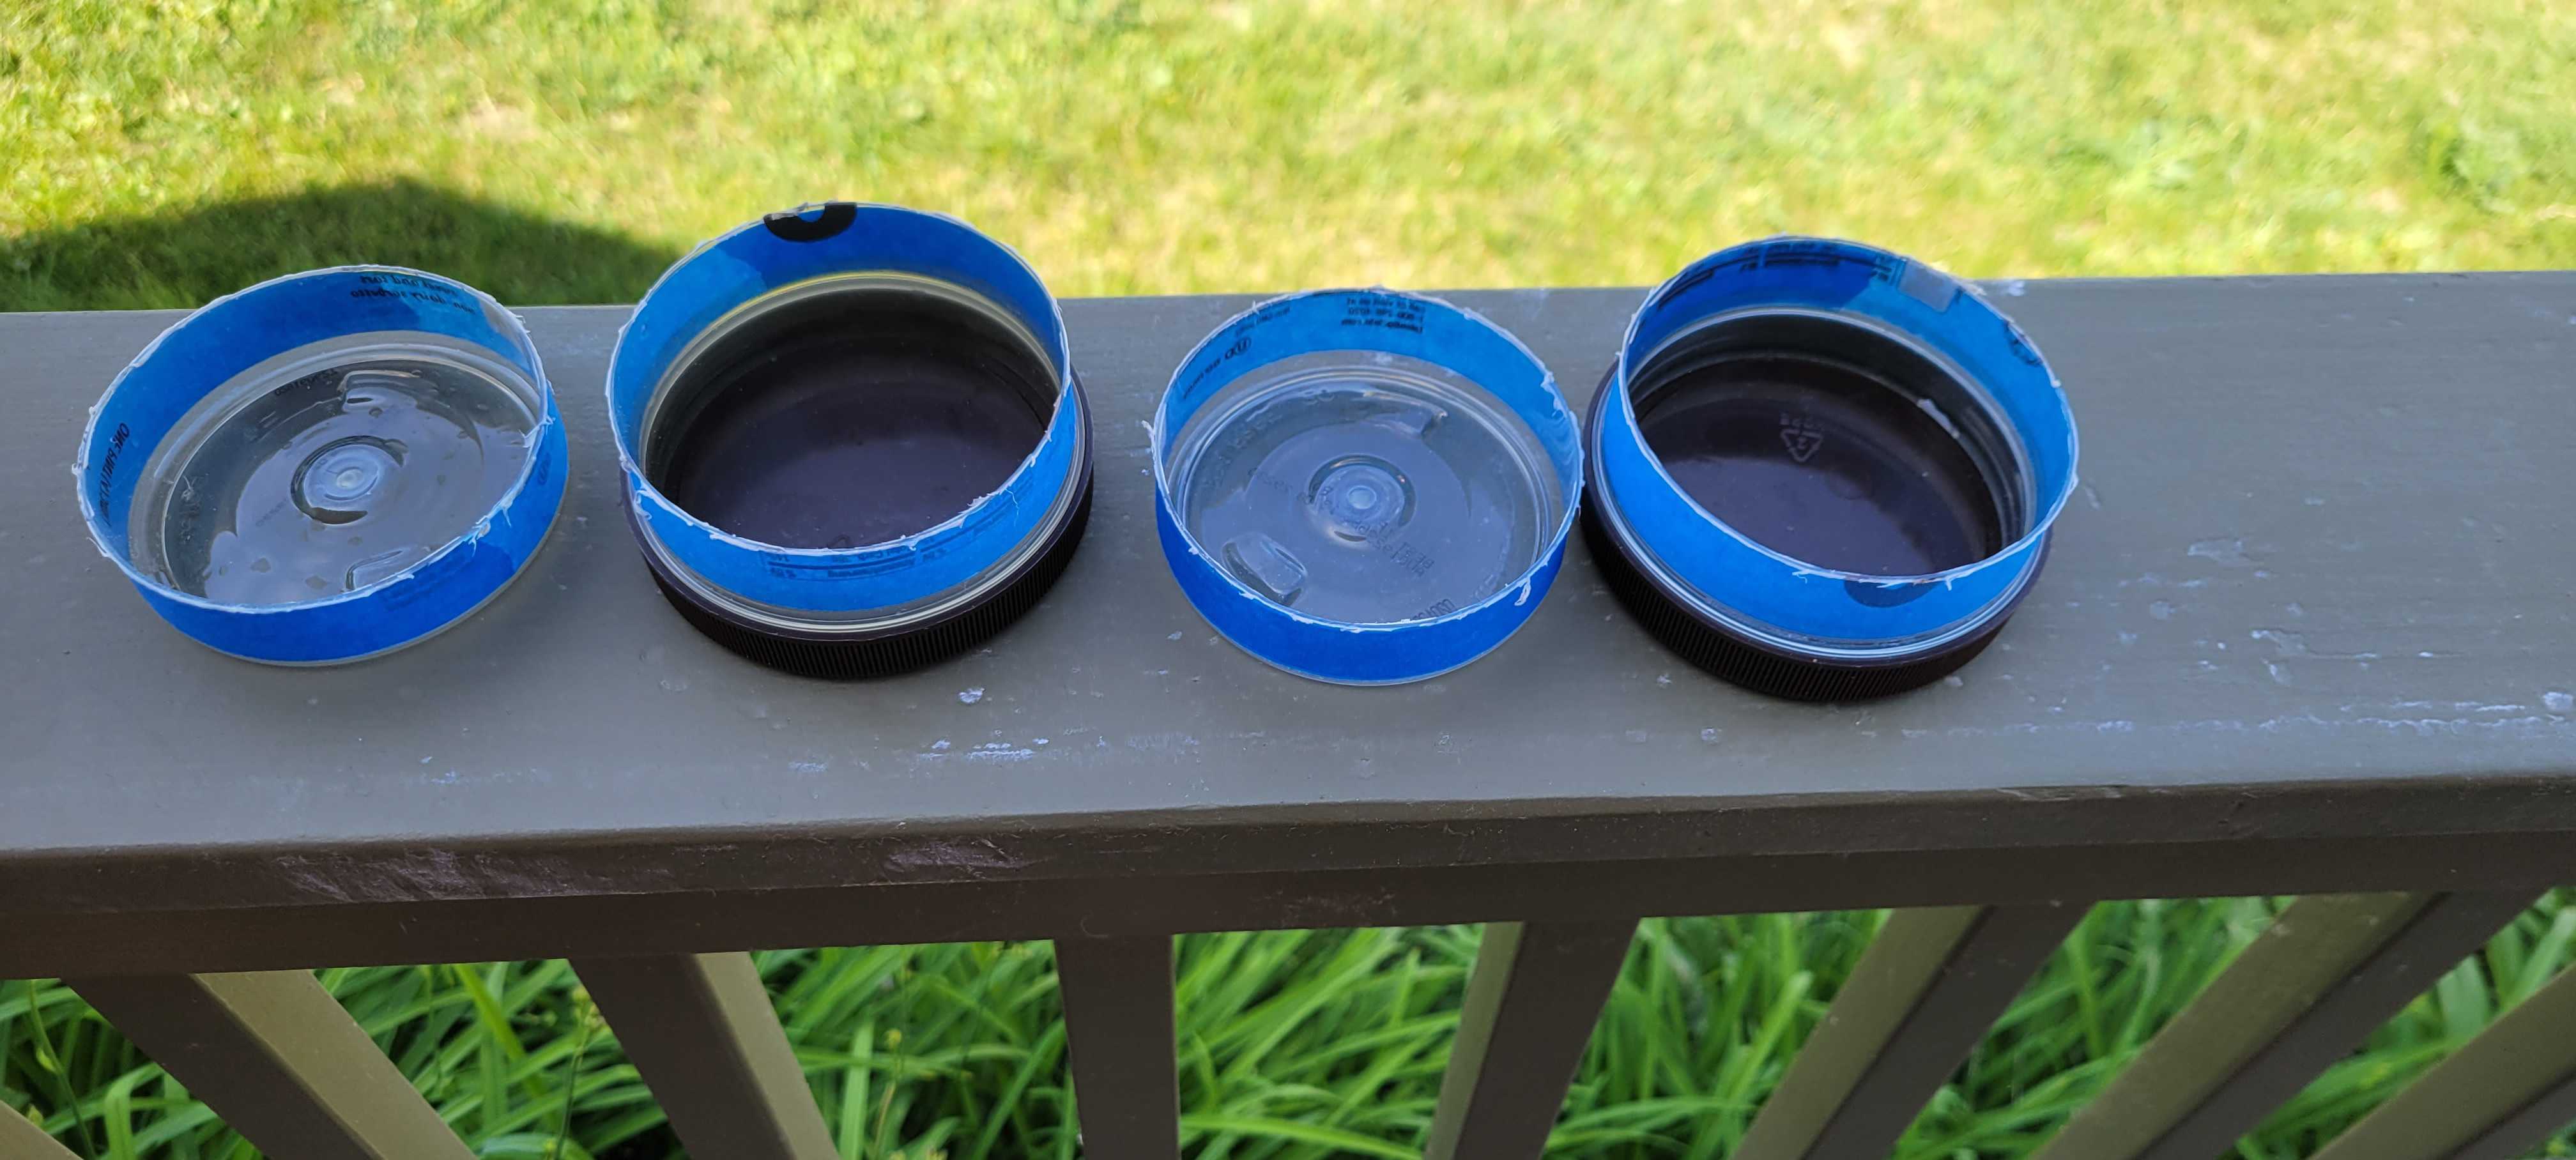
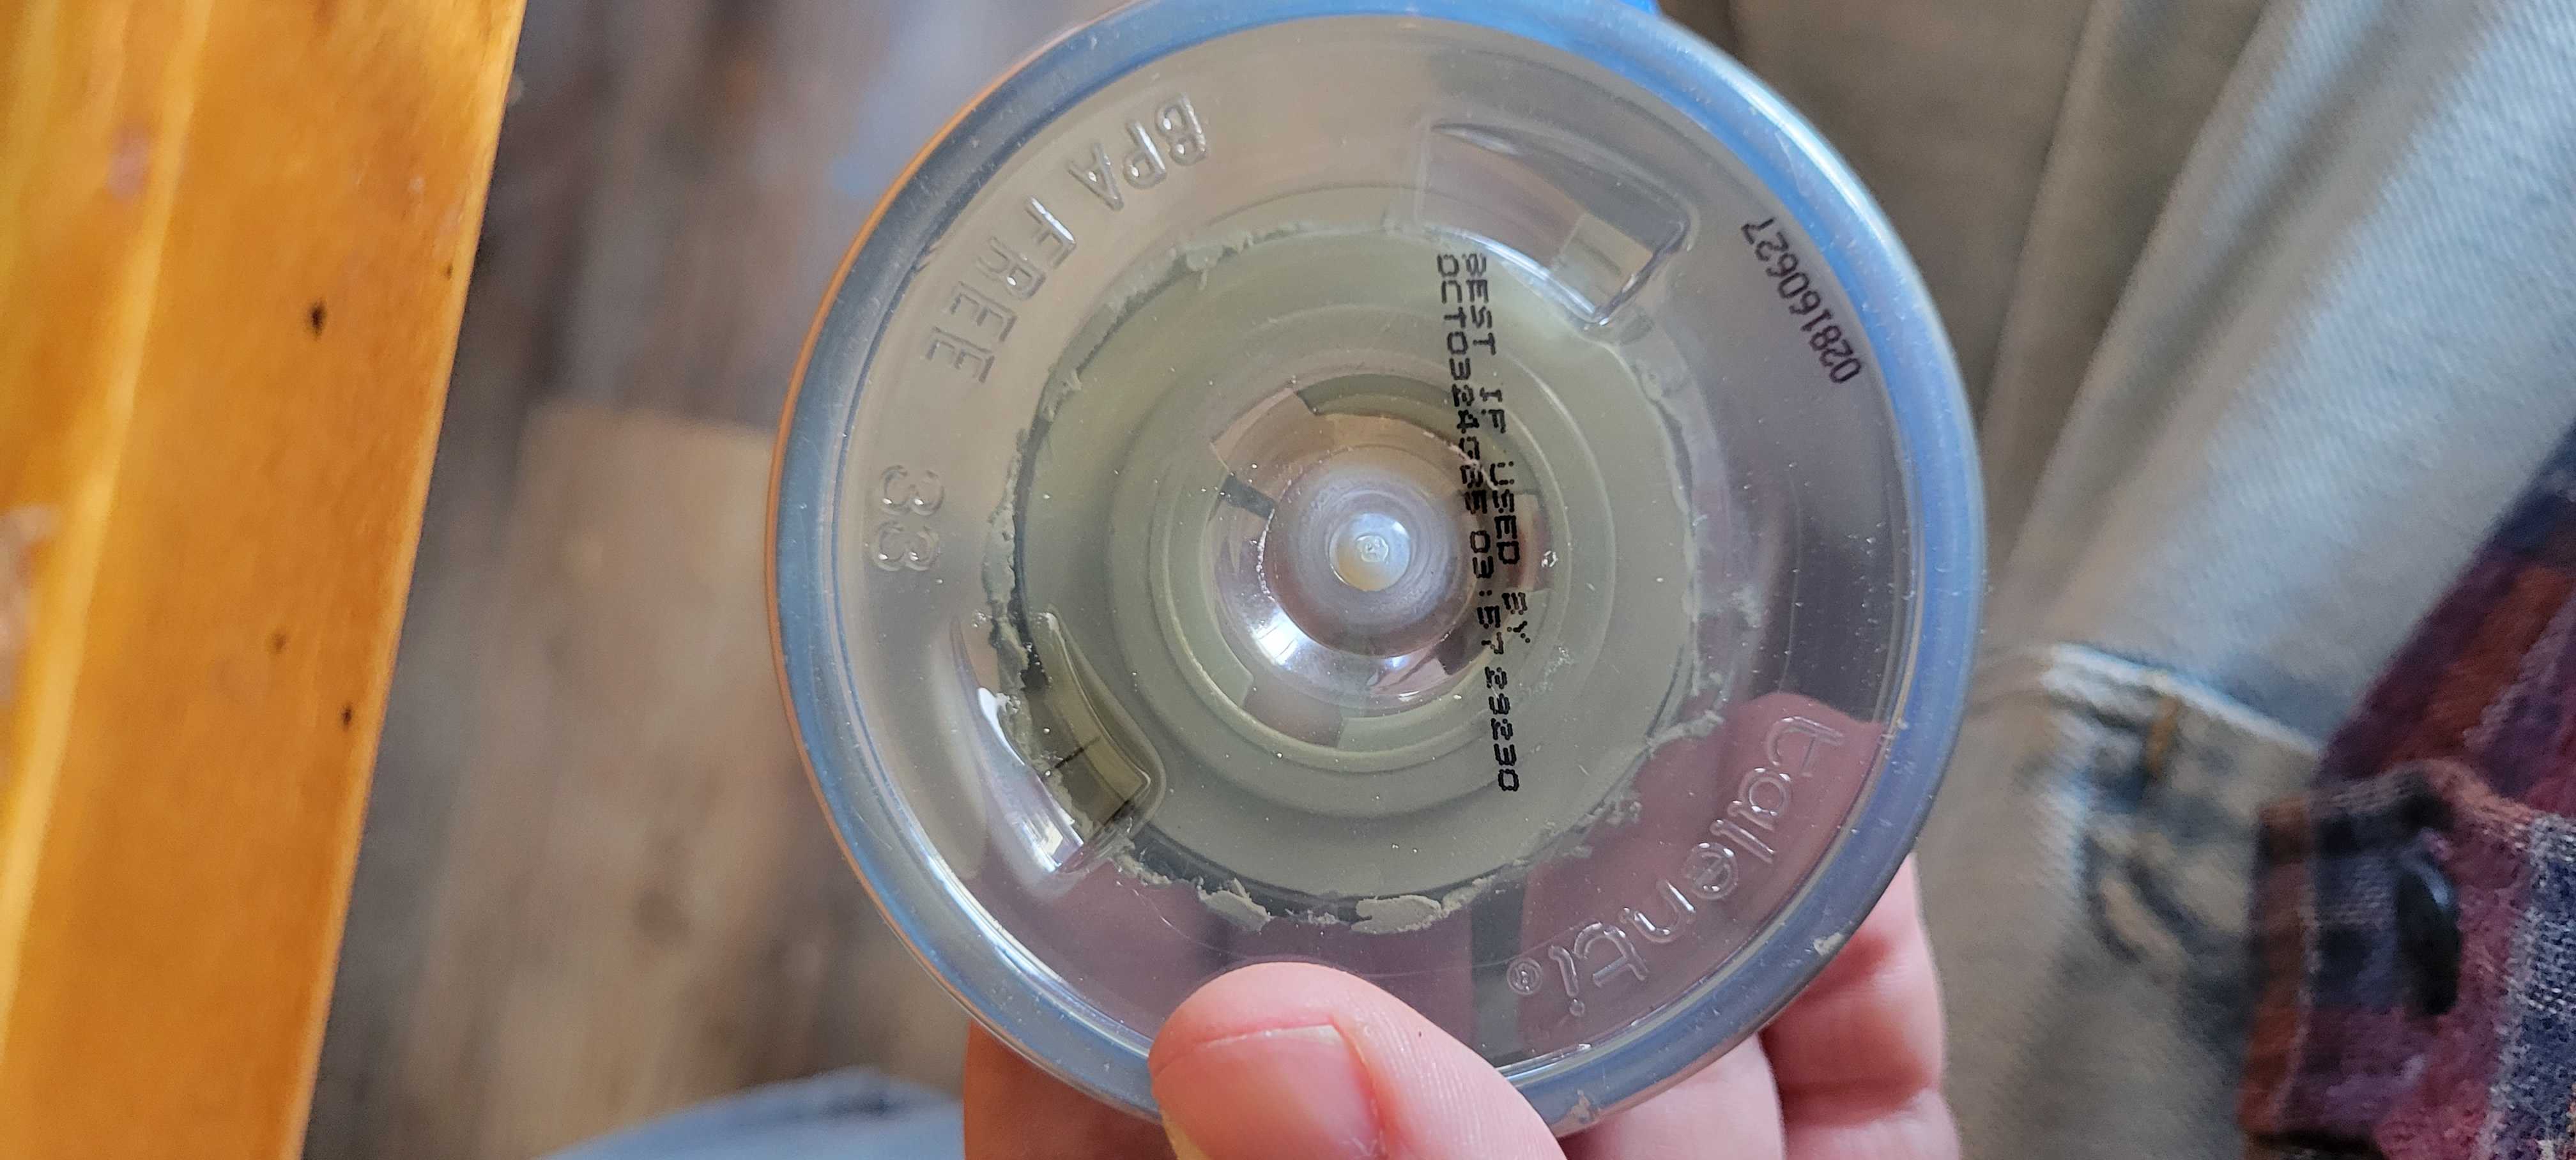
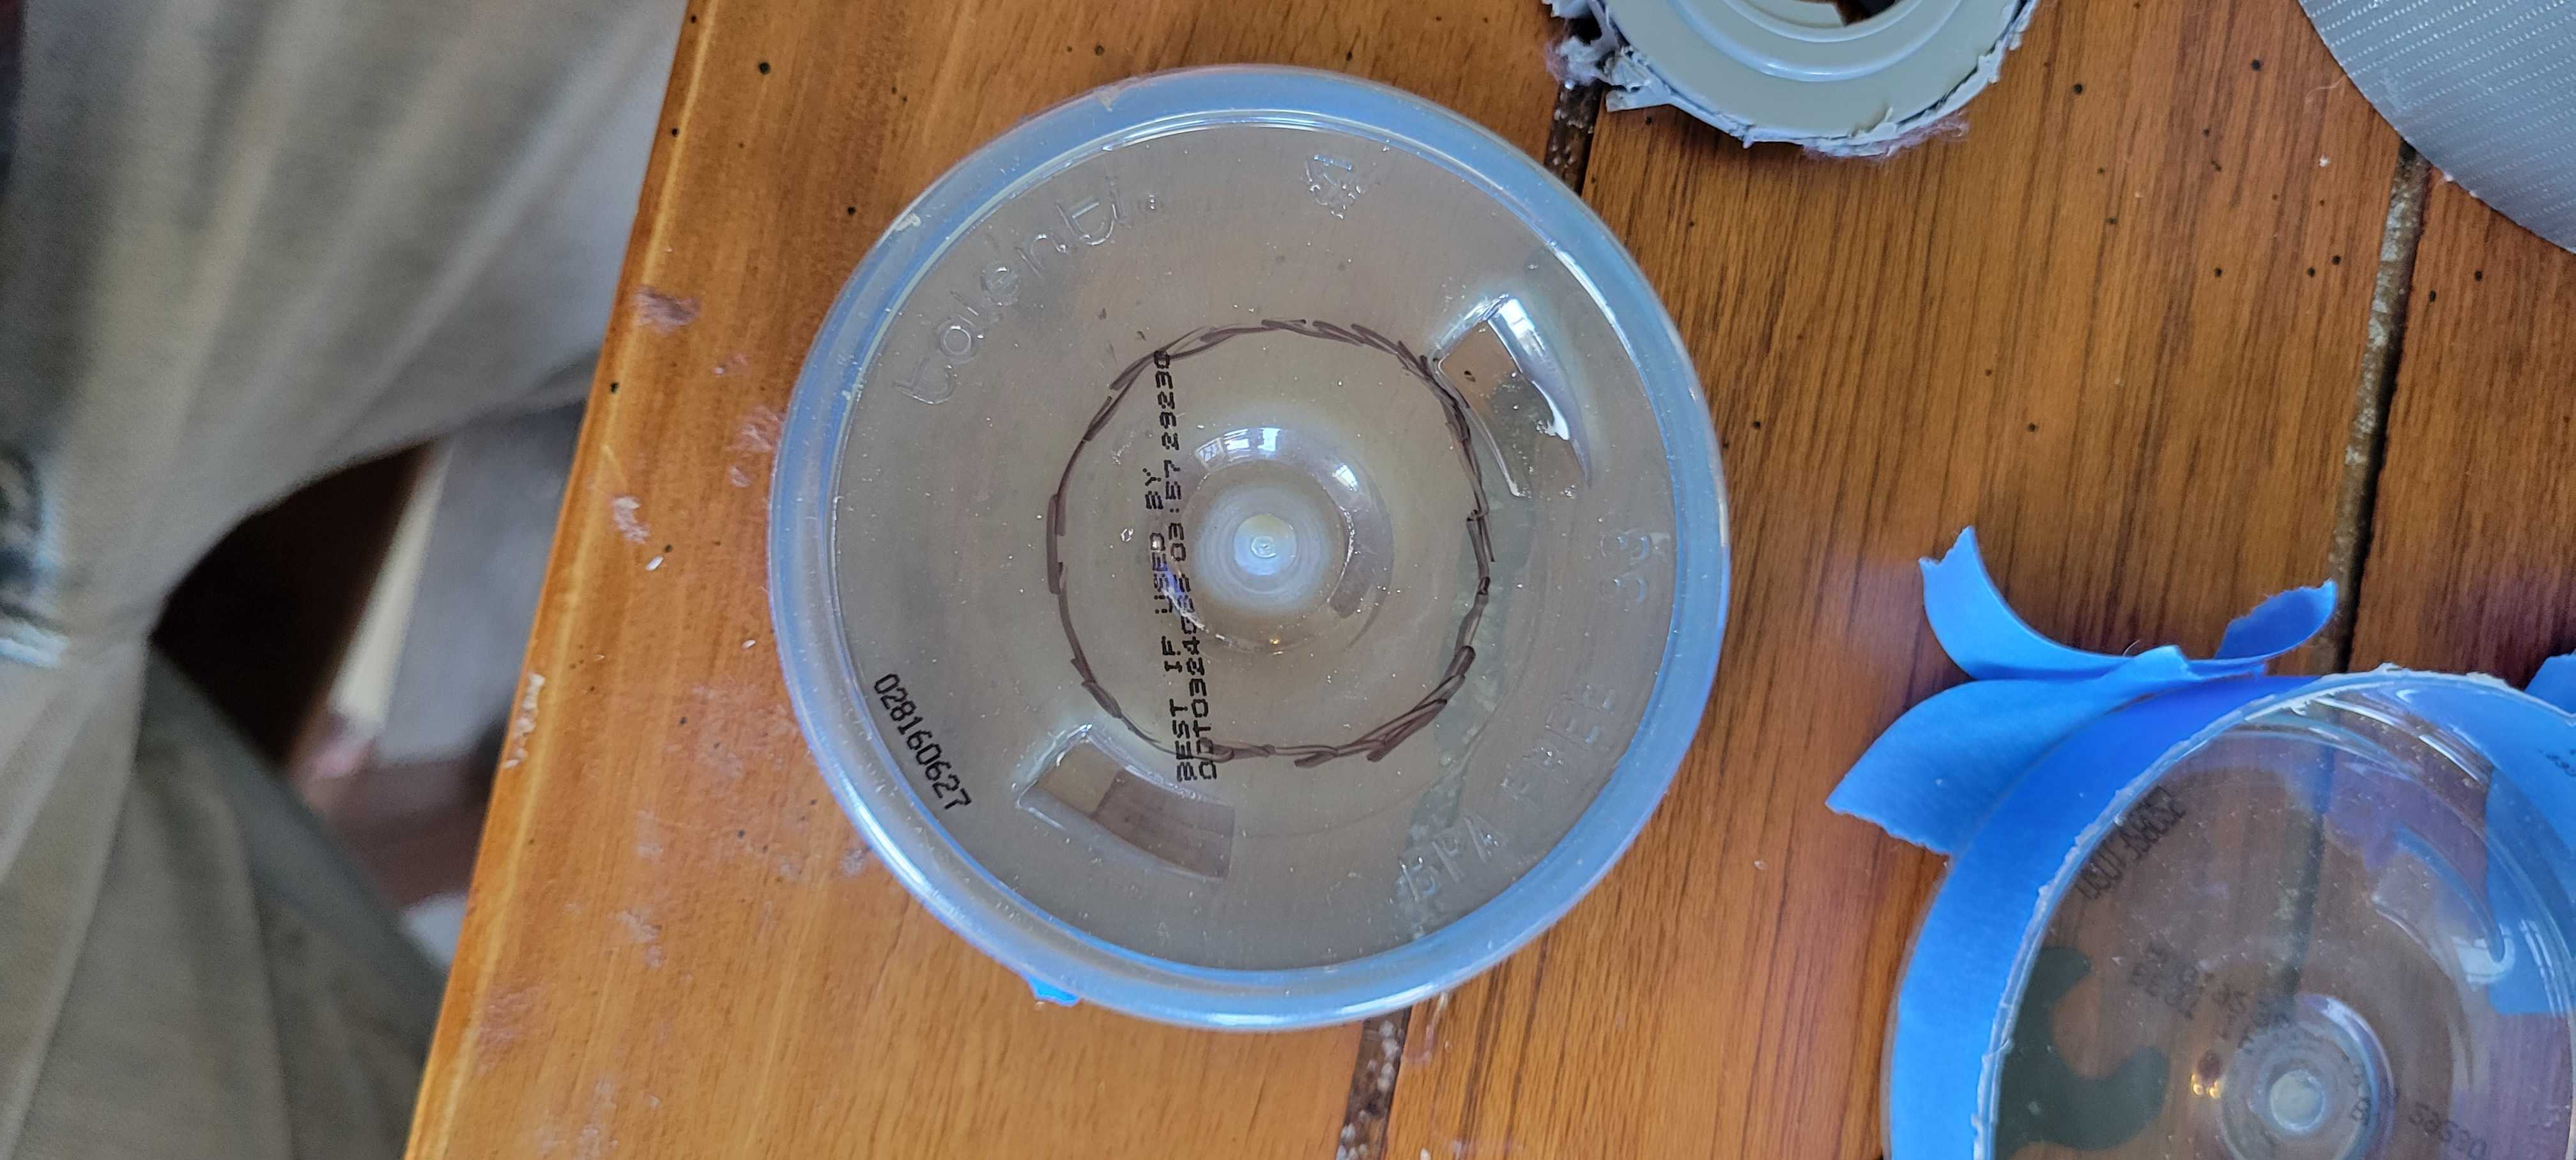
First, take some round containers with screw on lids that are wider around than the adaptors on the cartridges. That might sound really specific but lots of things will work. I used Talenti gelato containers, lol.
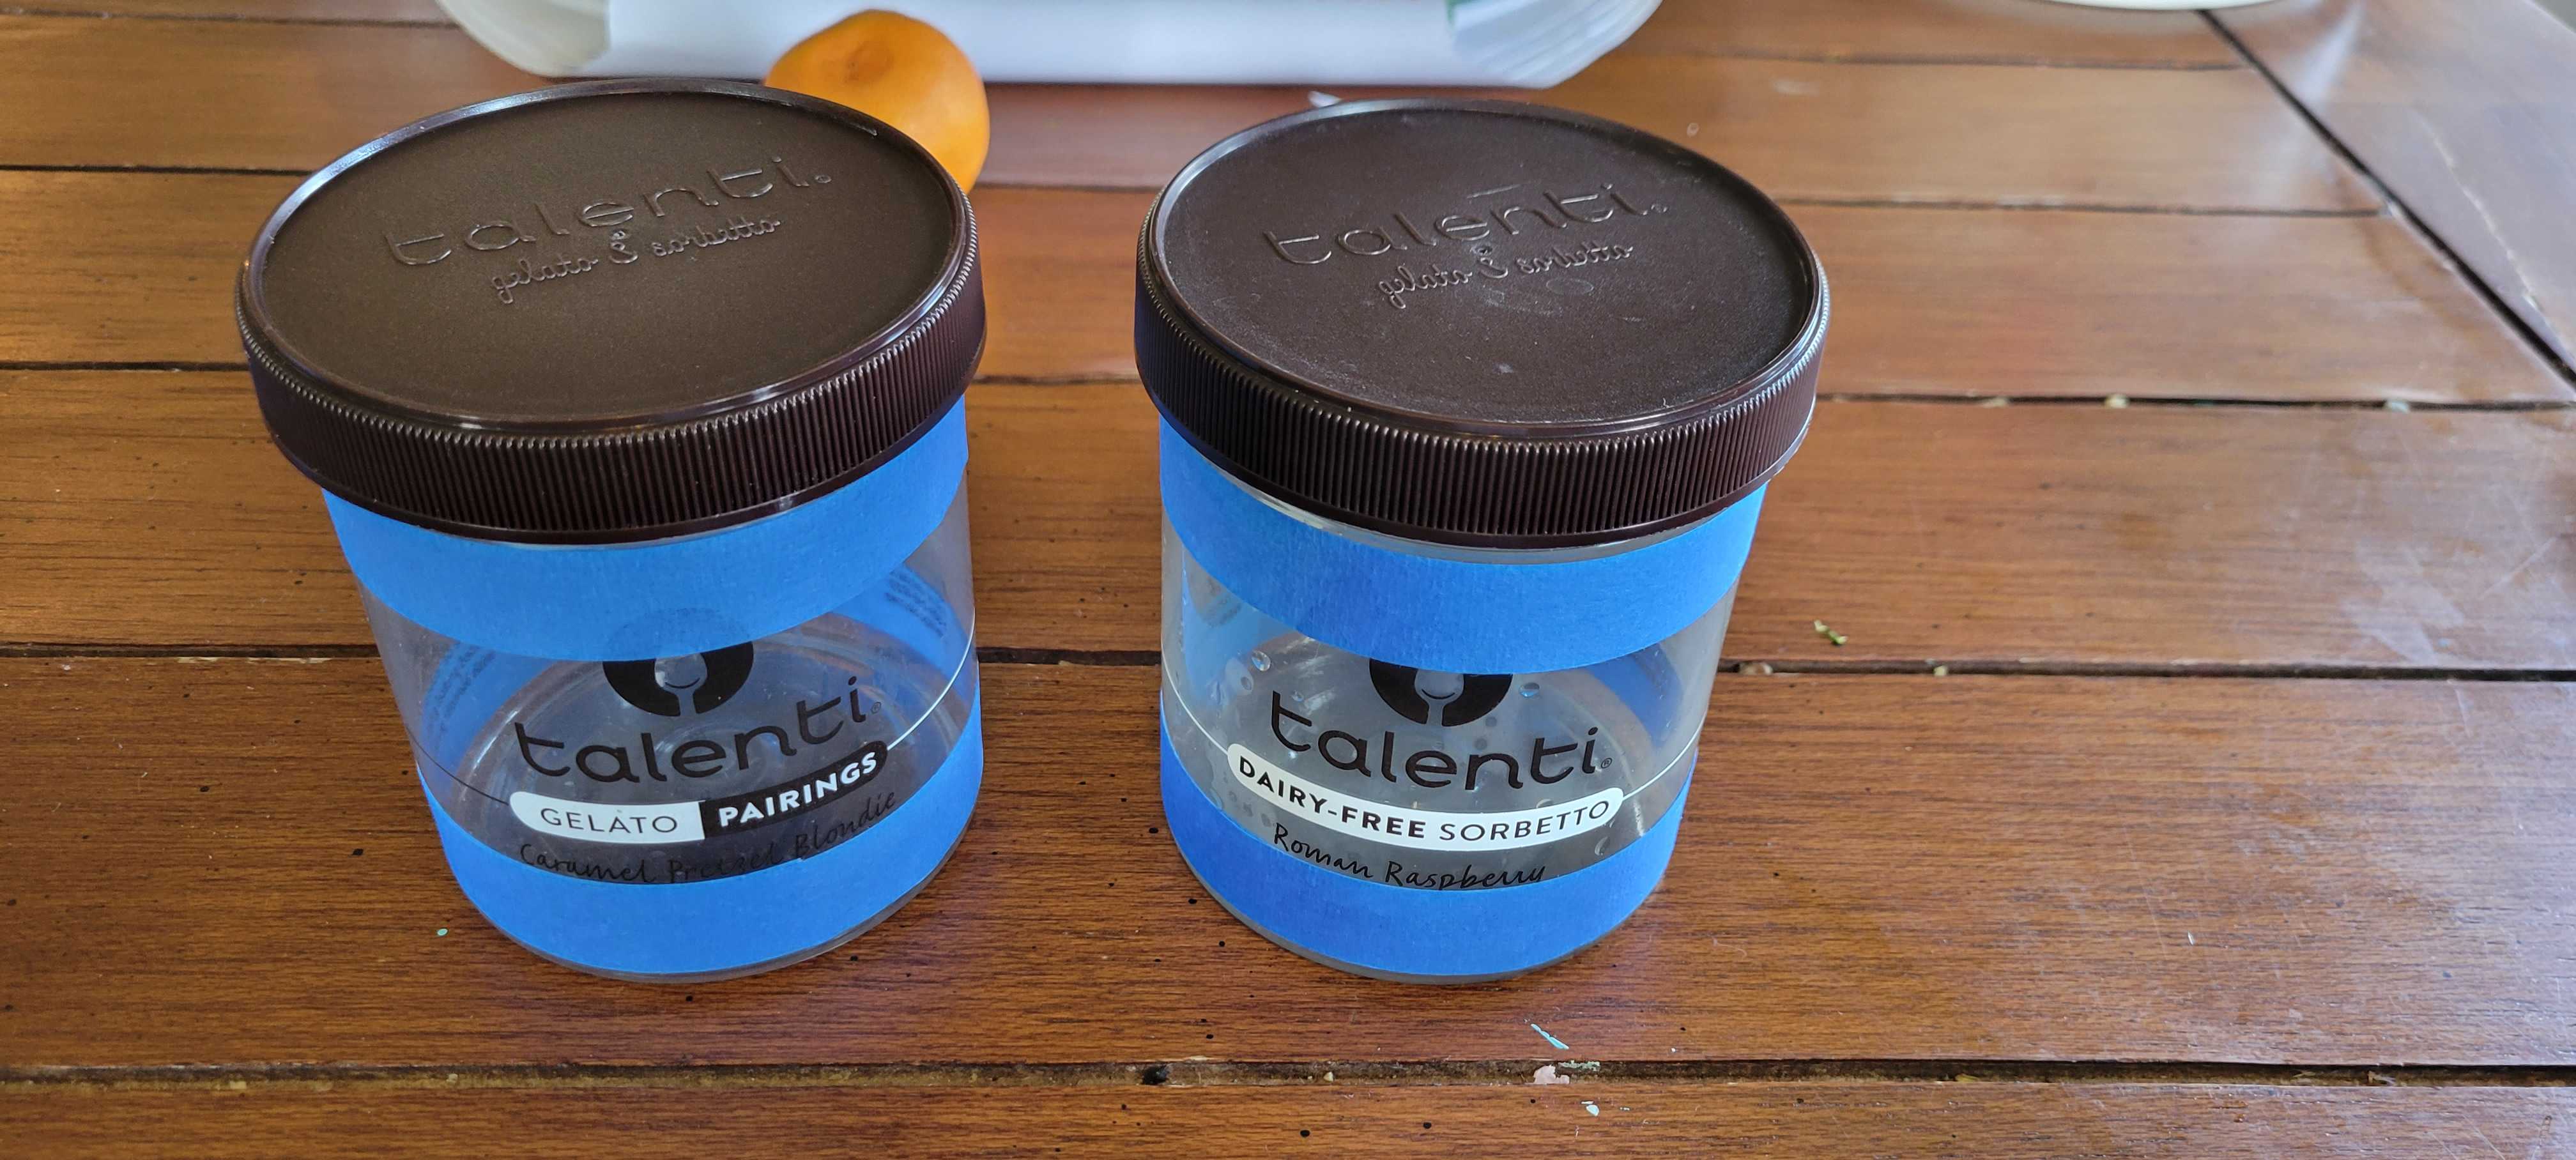
Since they were much taller than I needed, I decided to cut them down.
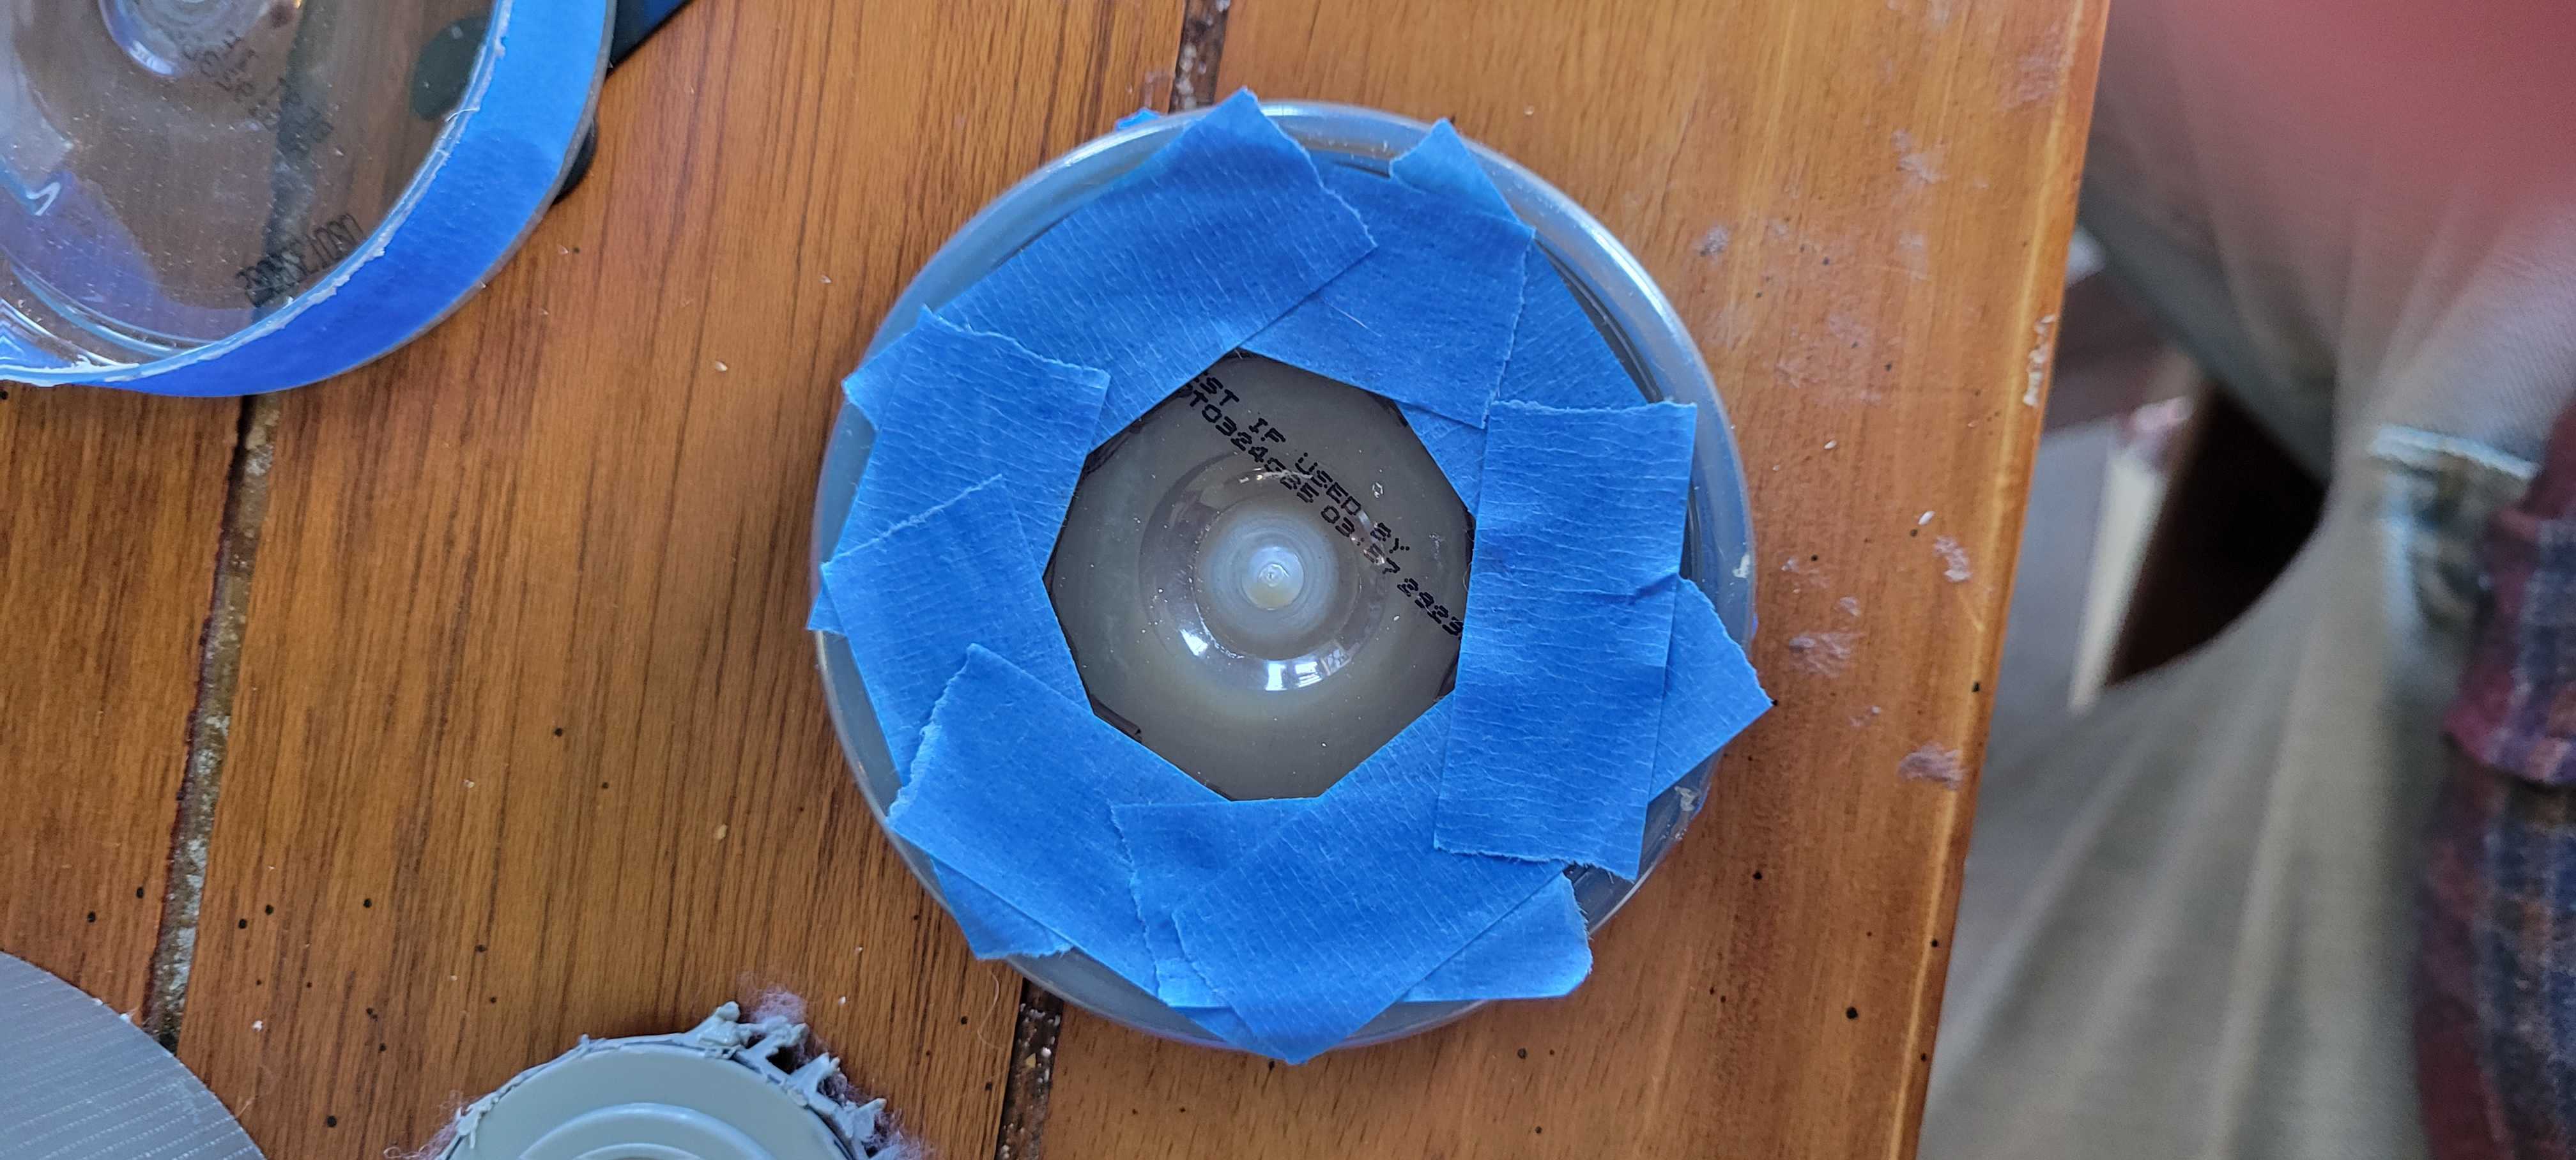
I taped off the cuts making sure they were as even as I could get them.
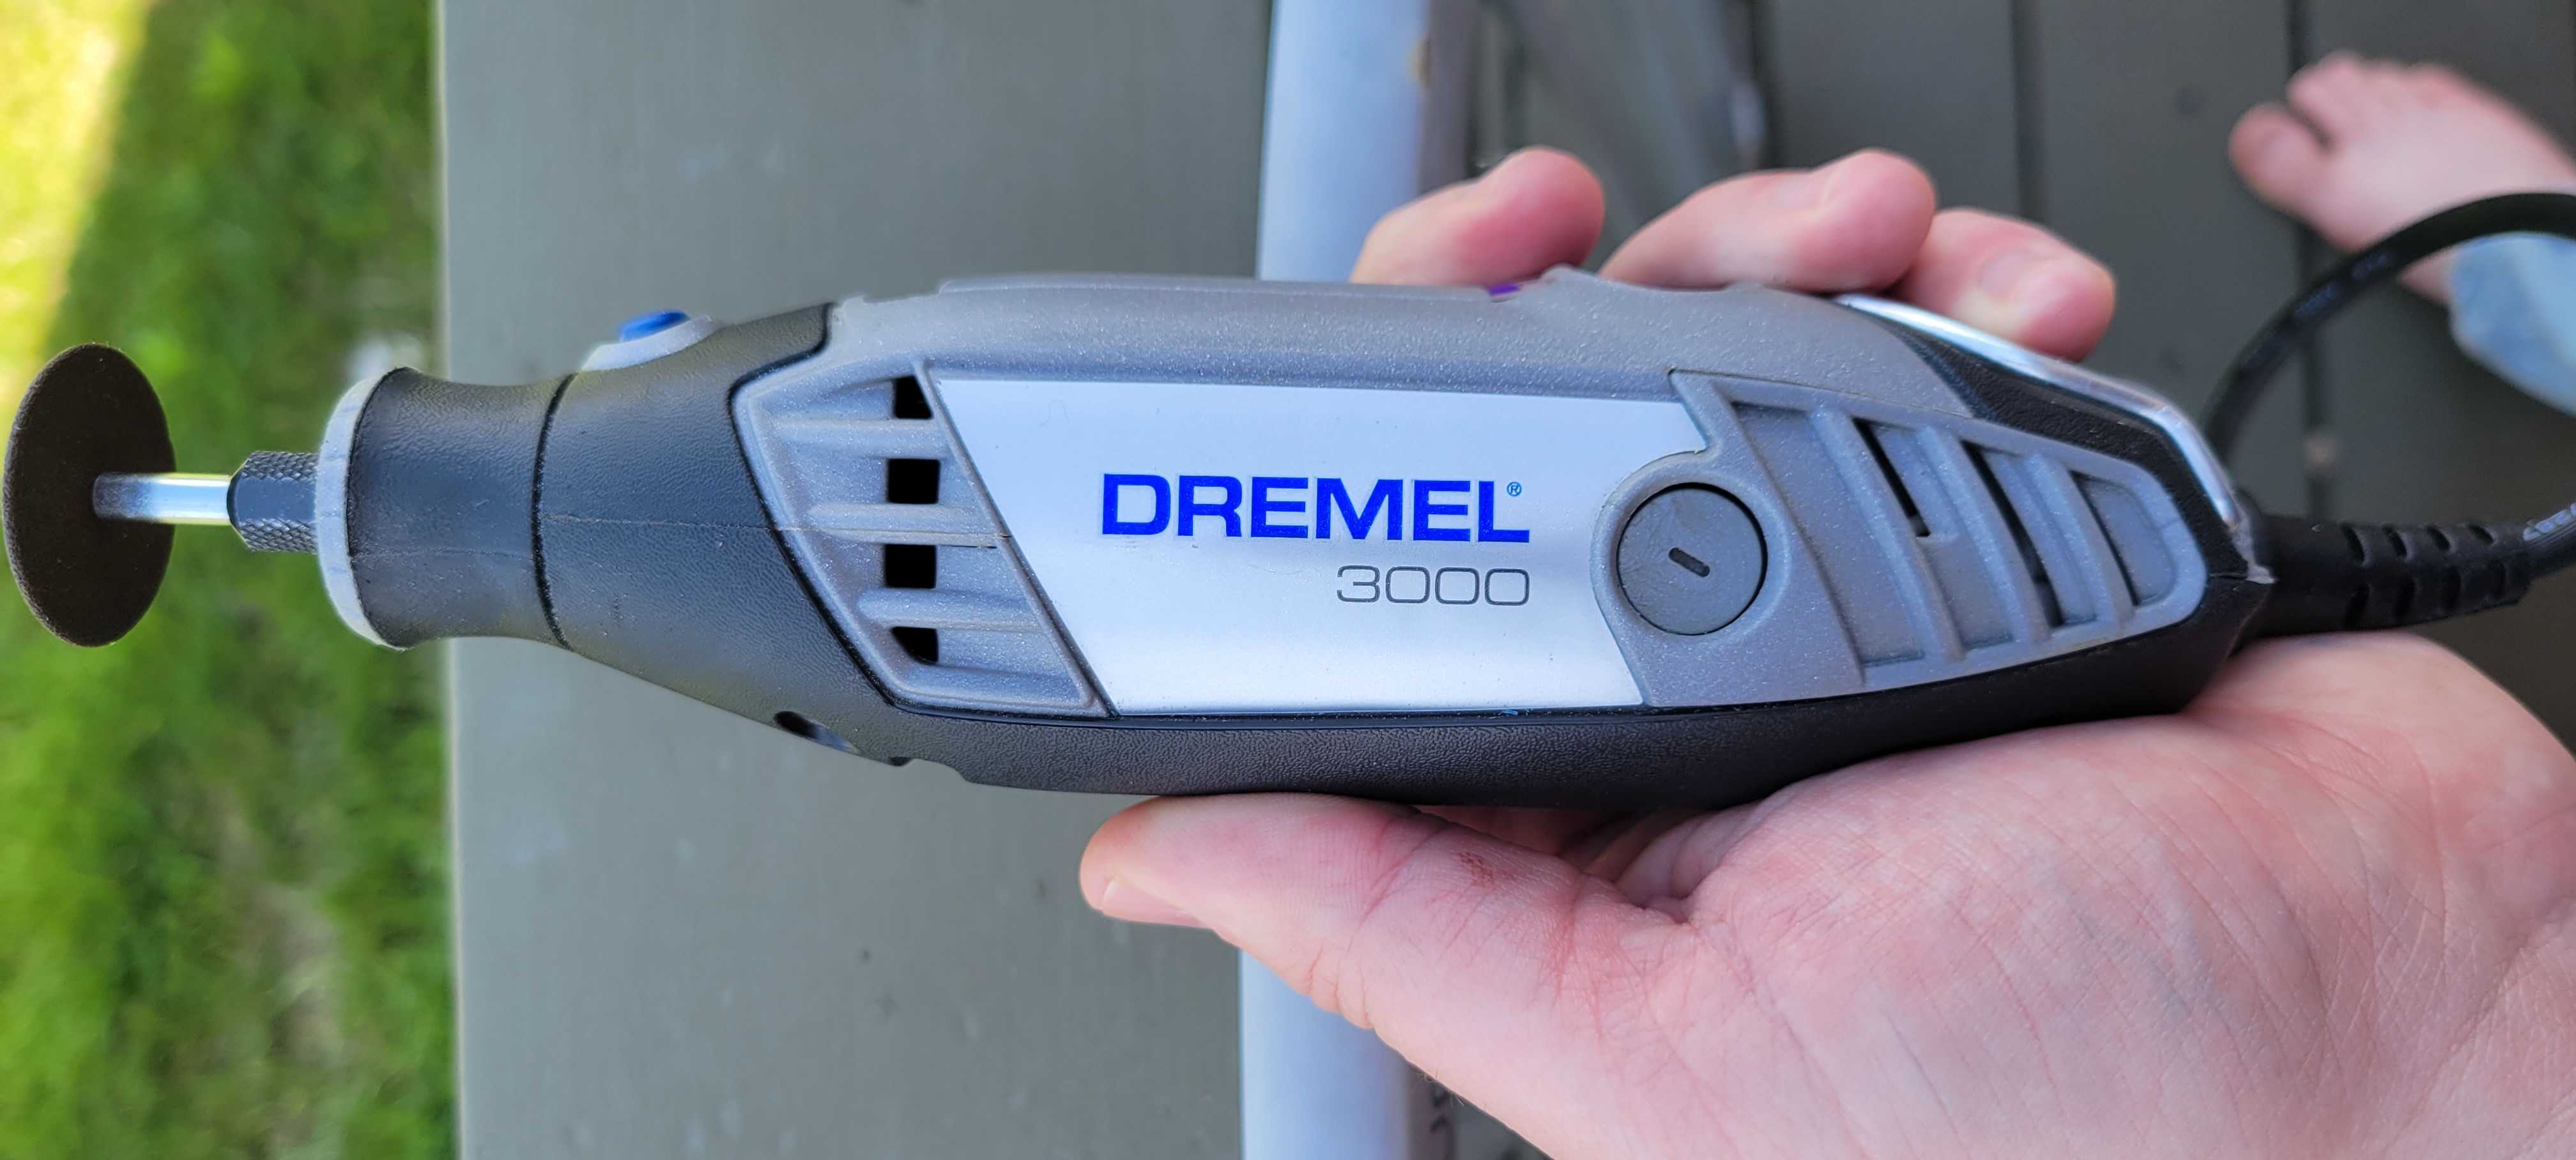
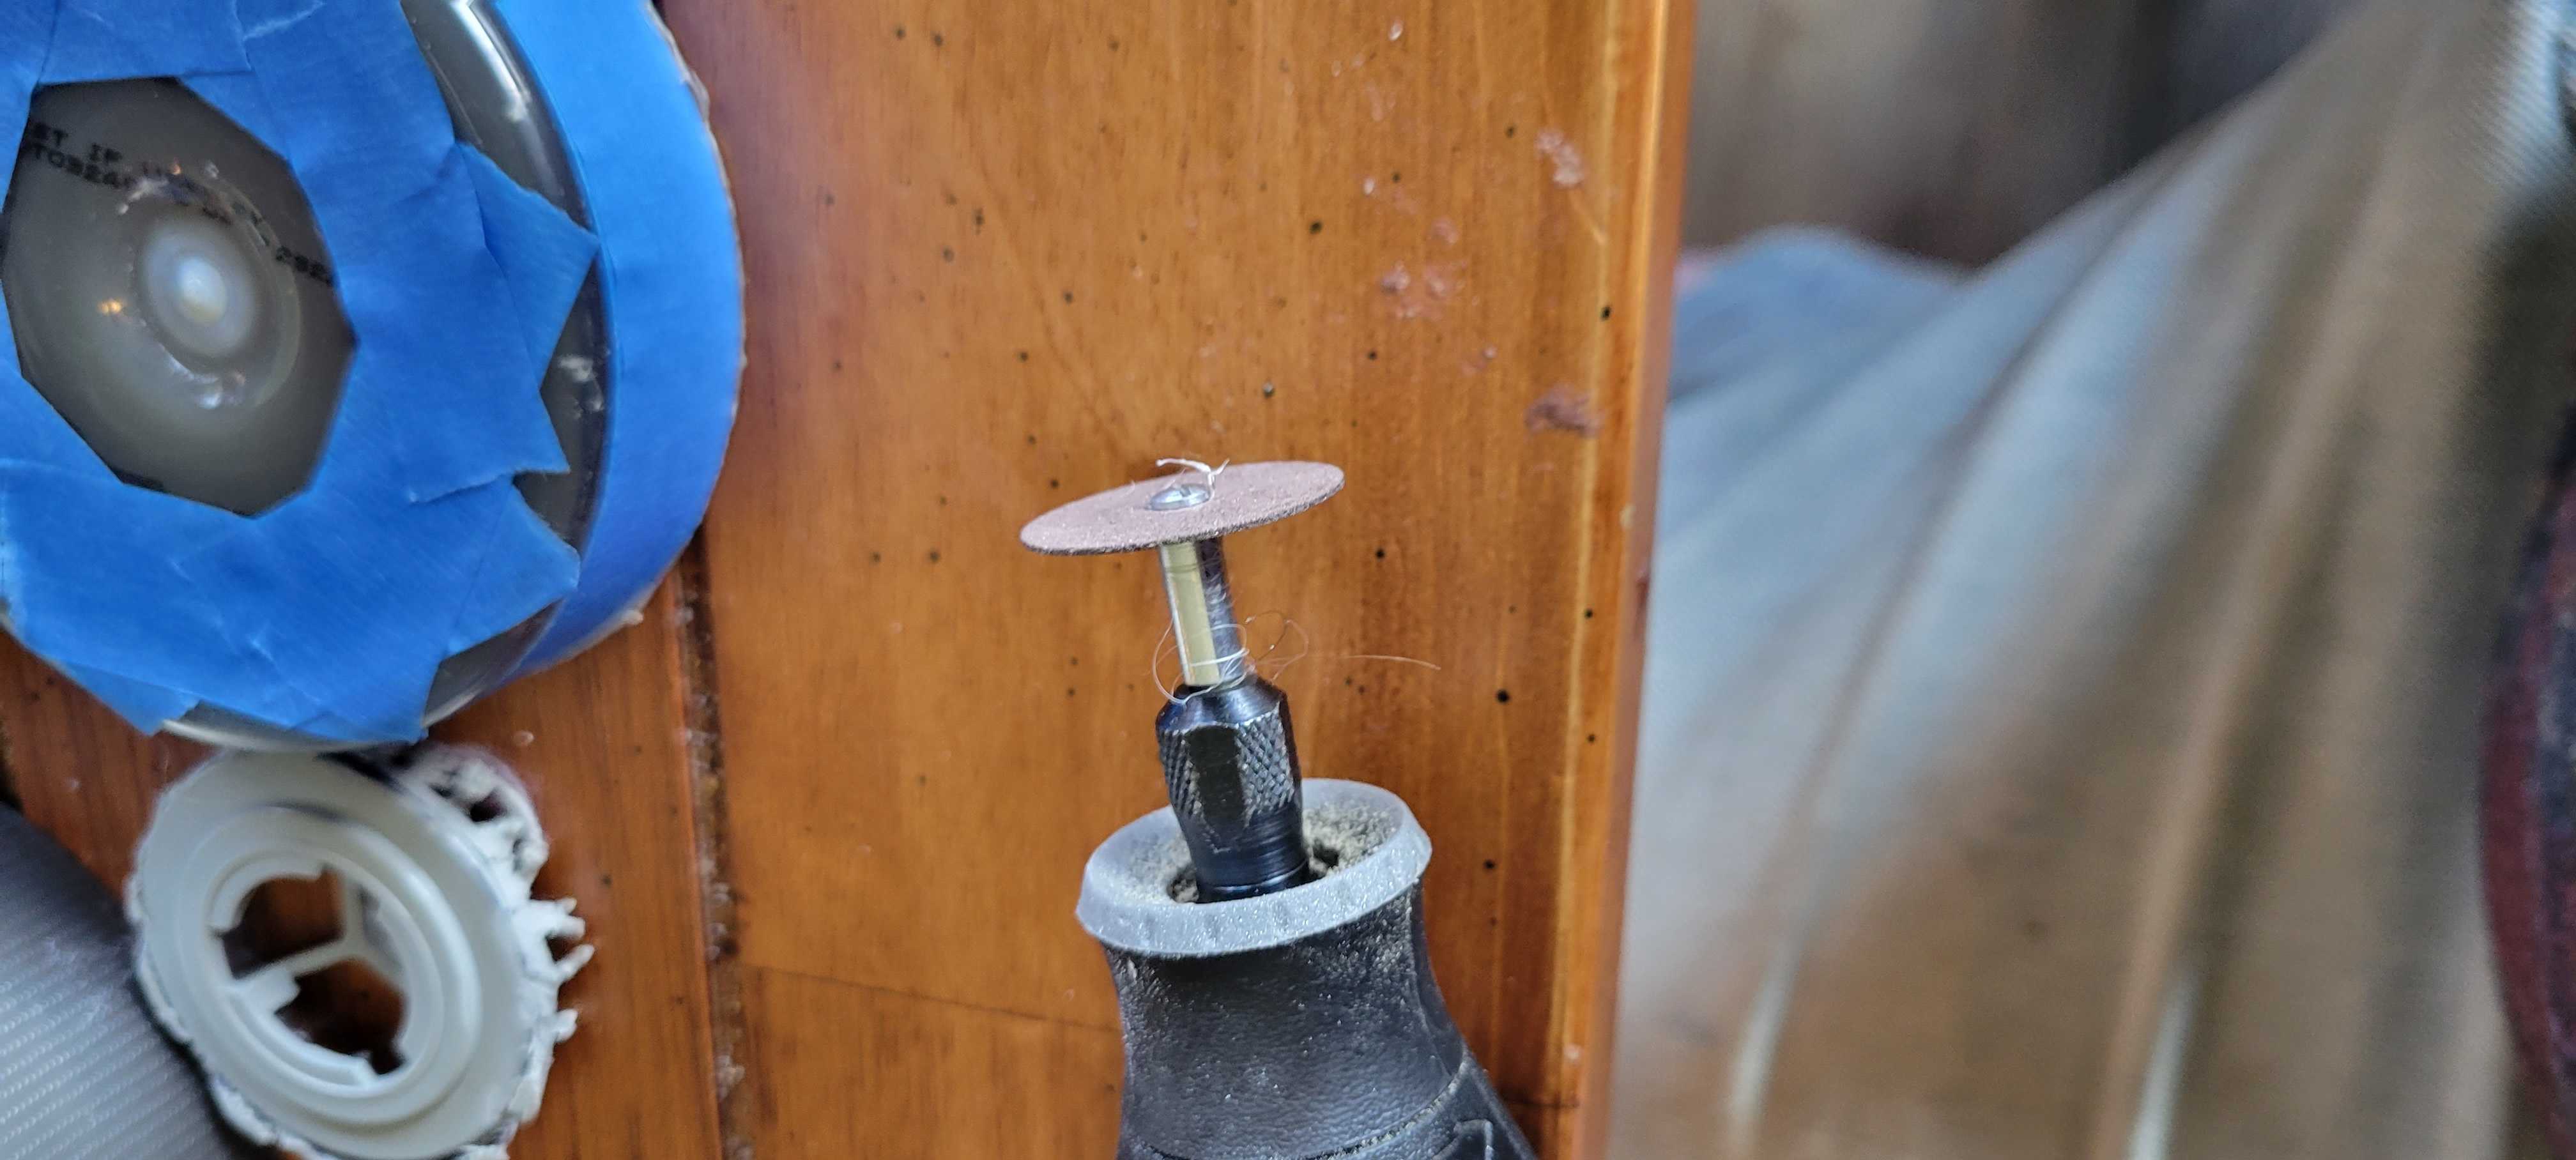
Then, using my handy Dremel, I made the cuts.
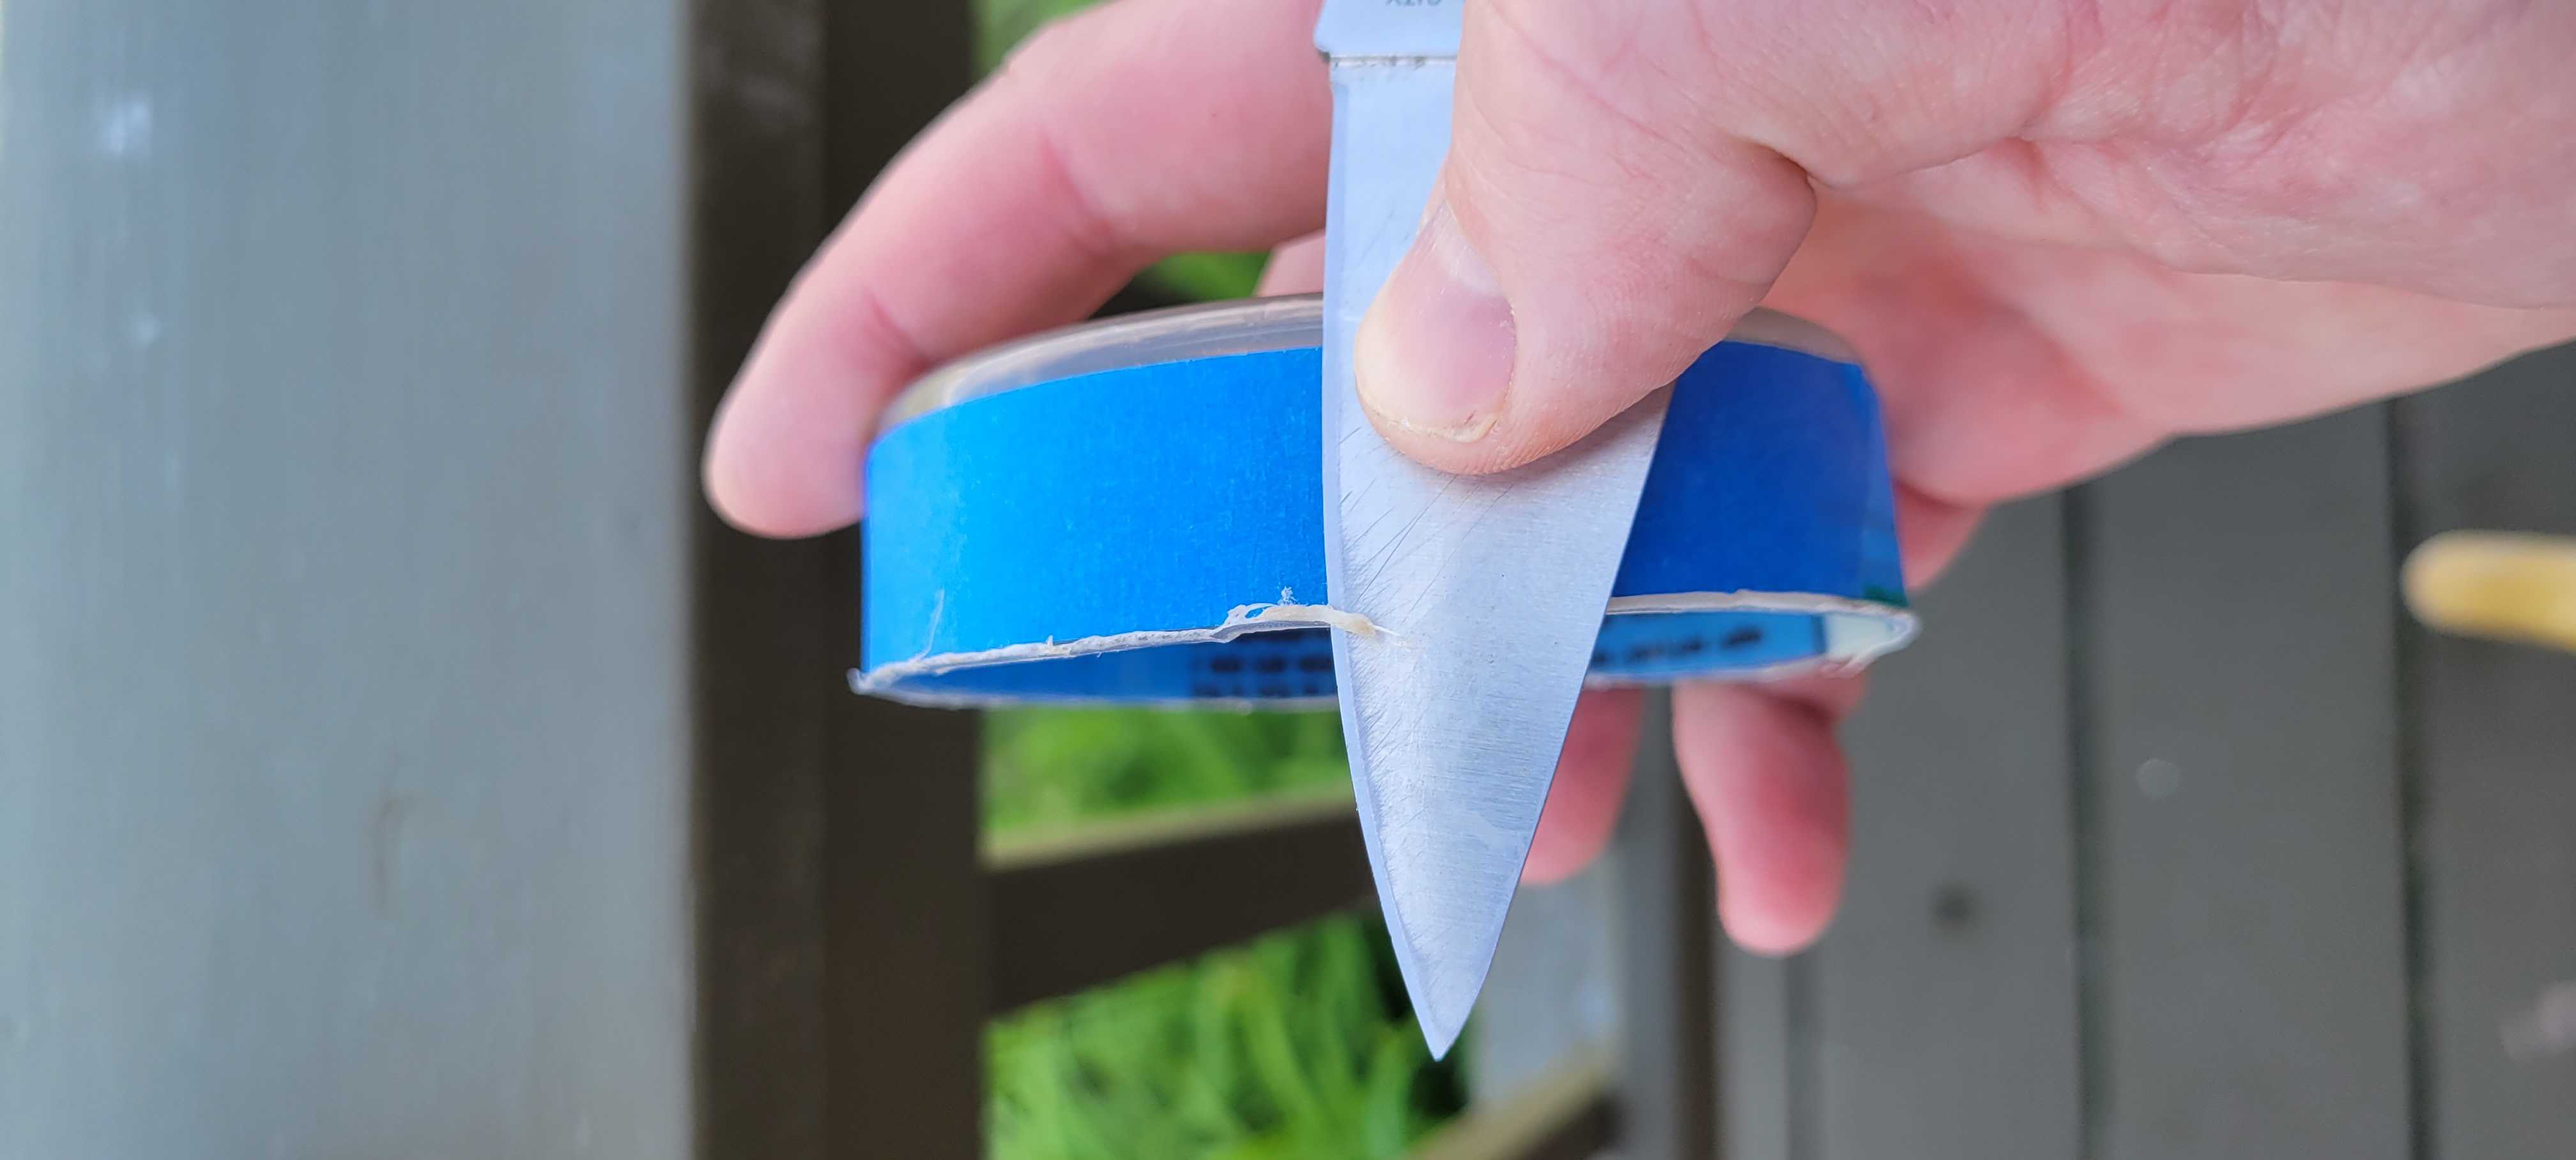
You may find the cut plastic makes some melty globs. You can clean those up with the Dremmel if you need, but a knife works as well.
Next, you will want to mark some lines for the cuts around the adaptors of the used factory cartridges.

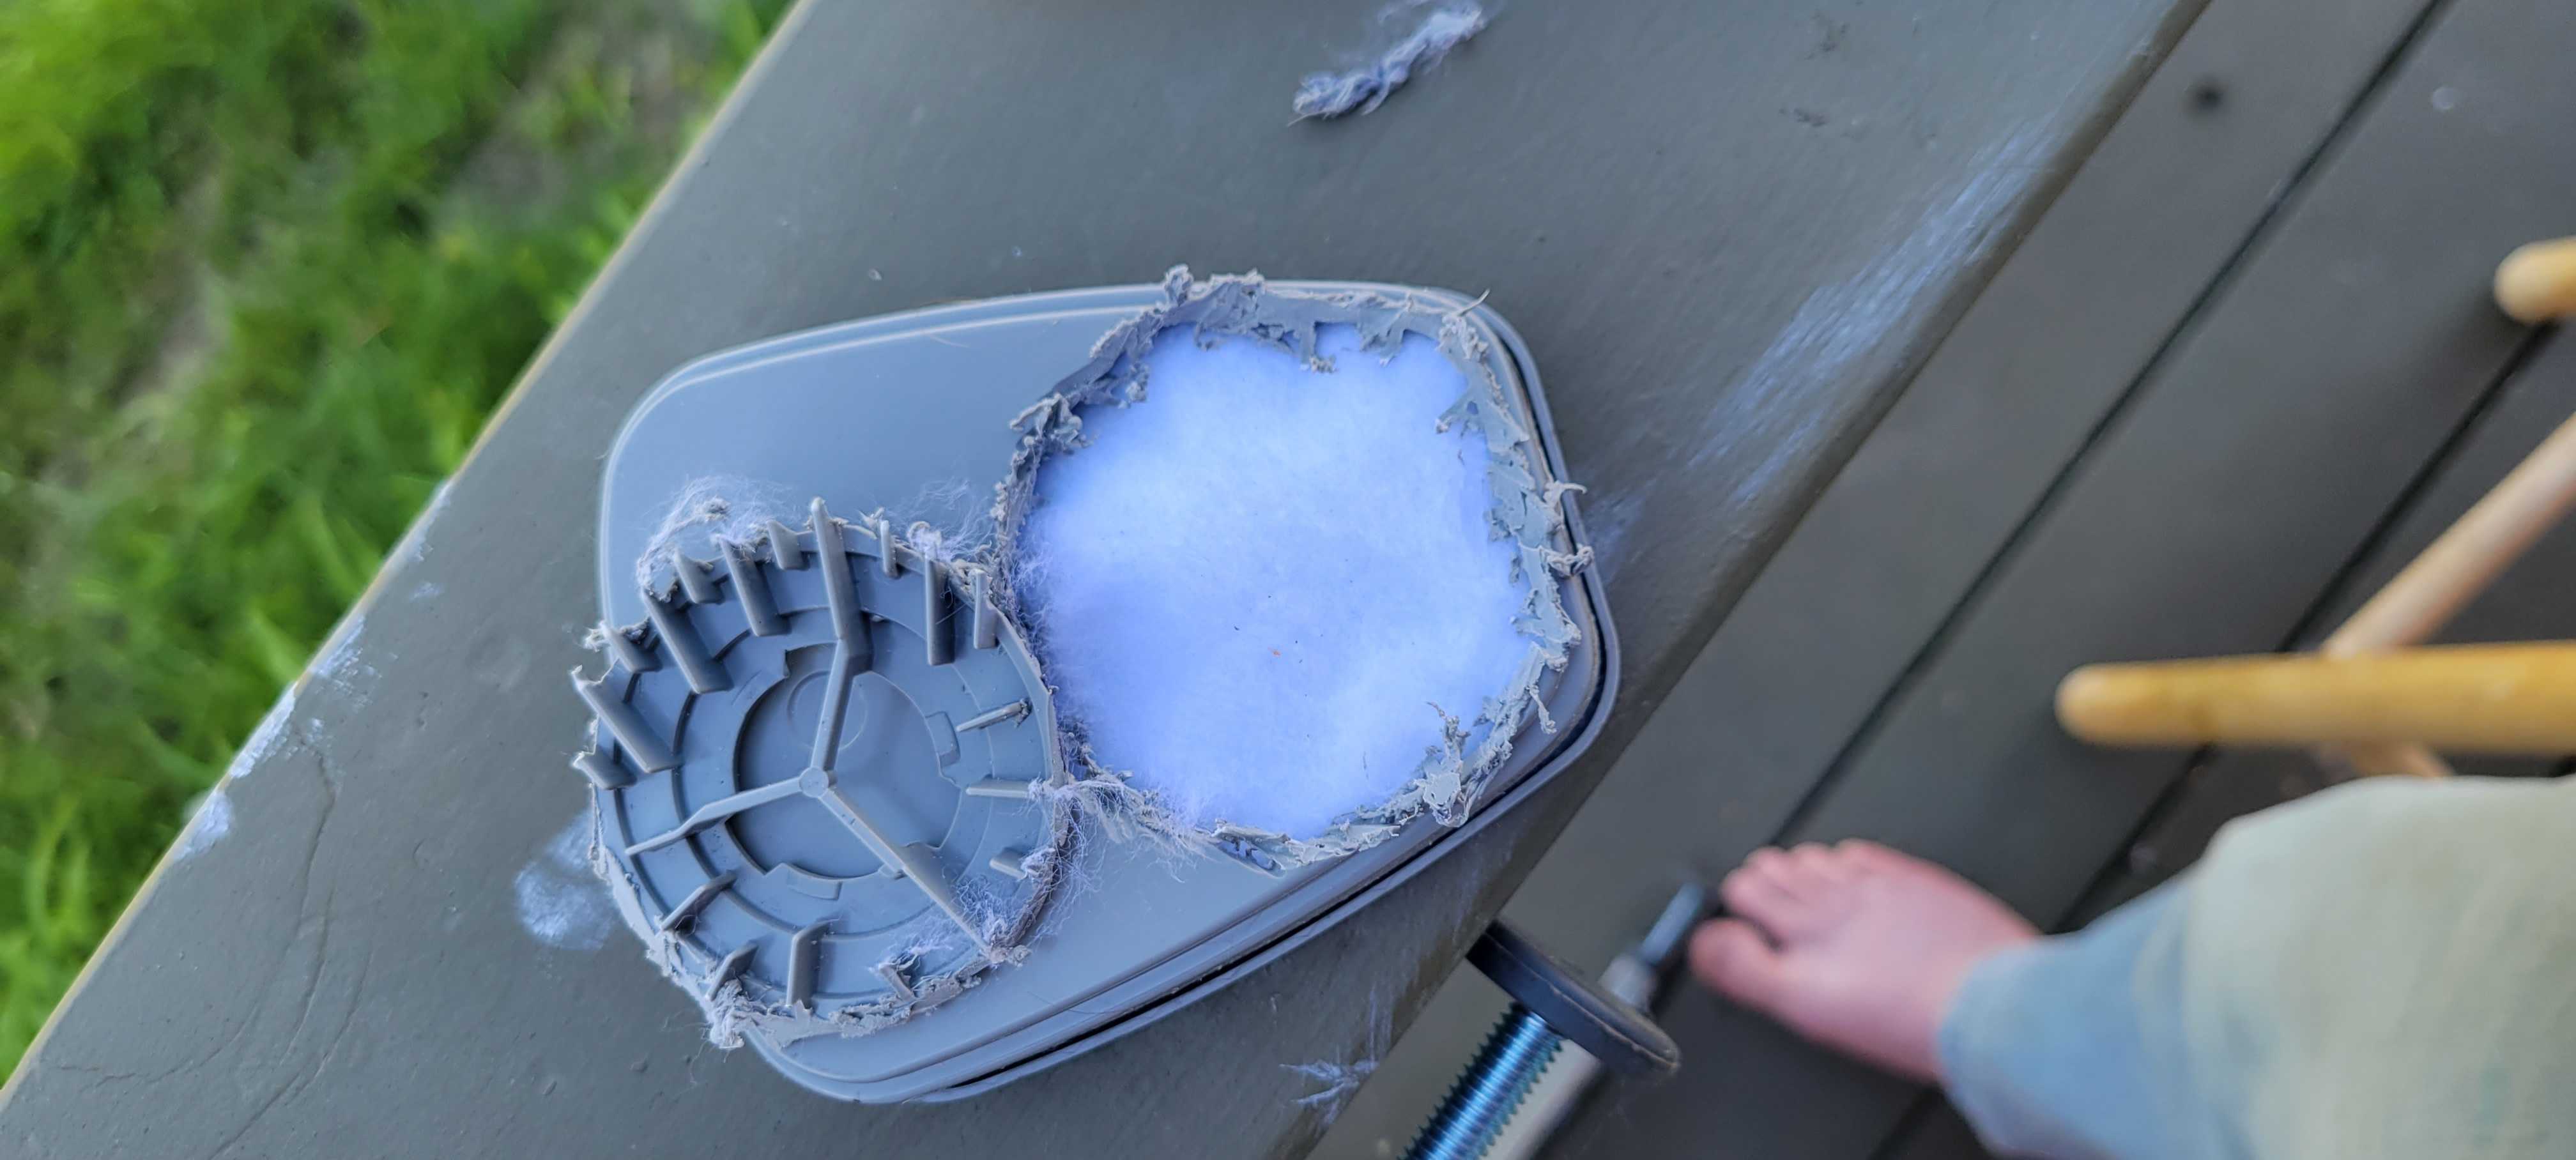
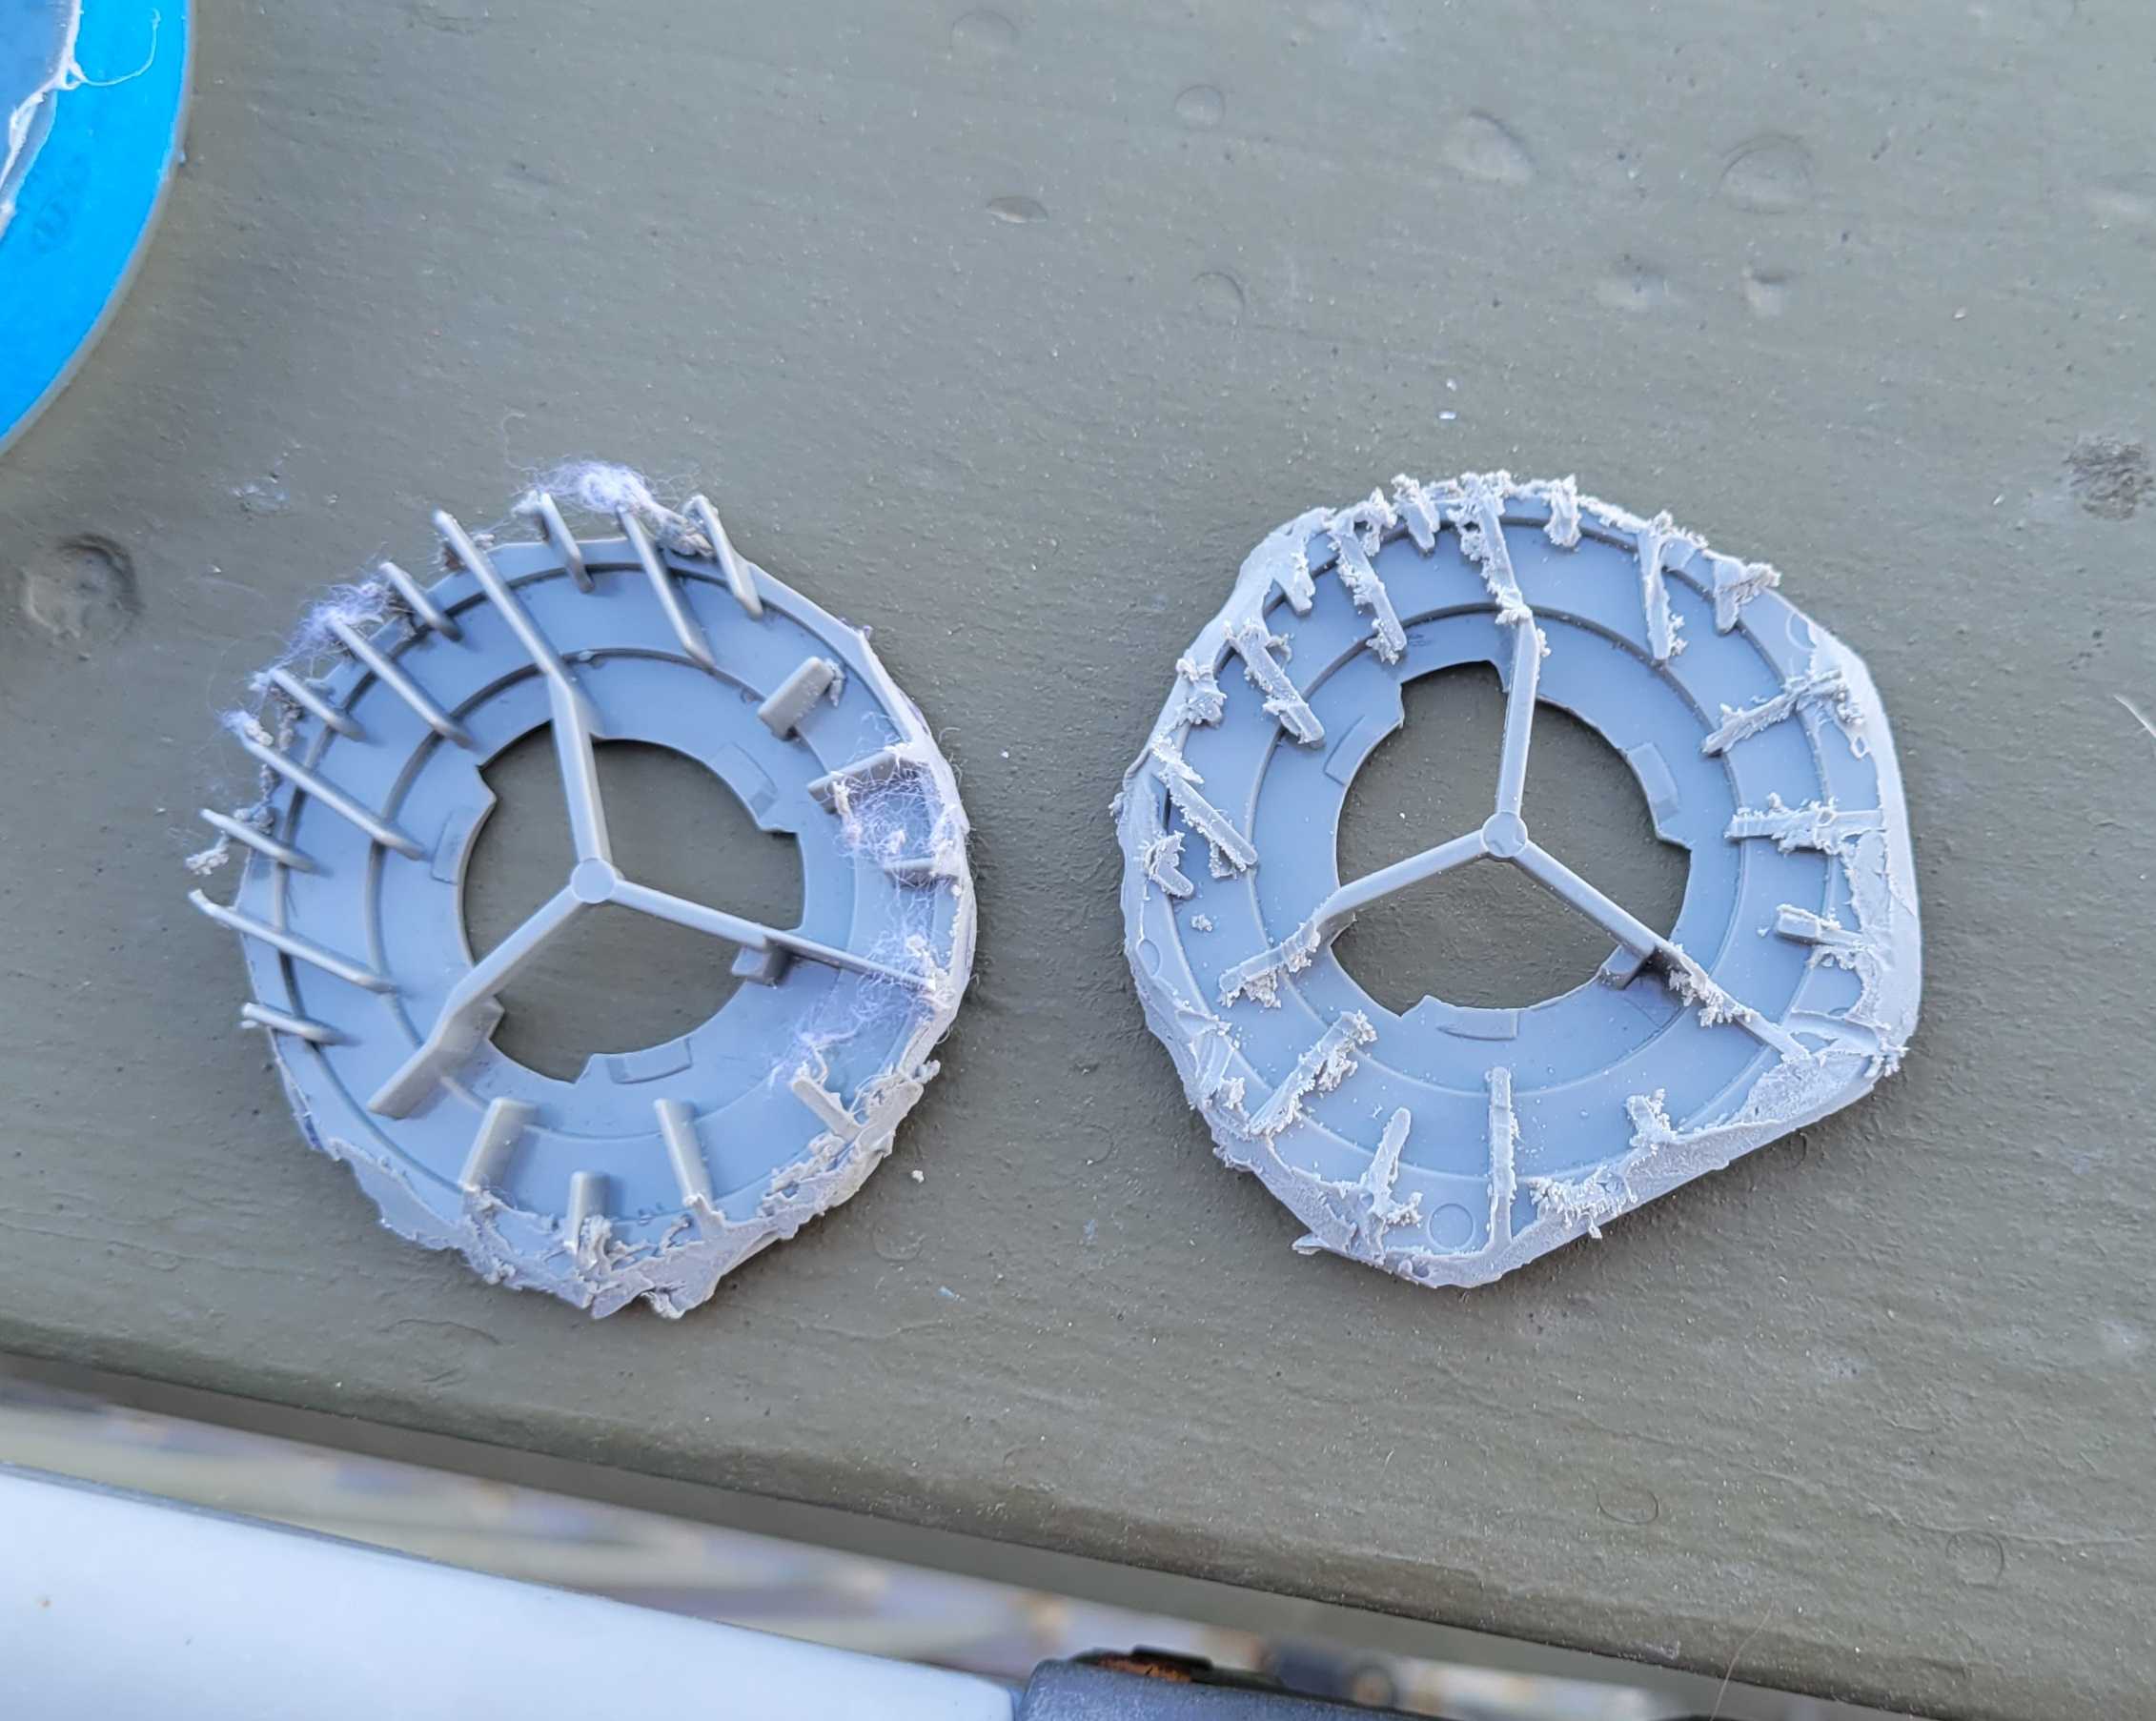
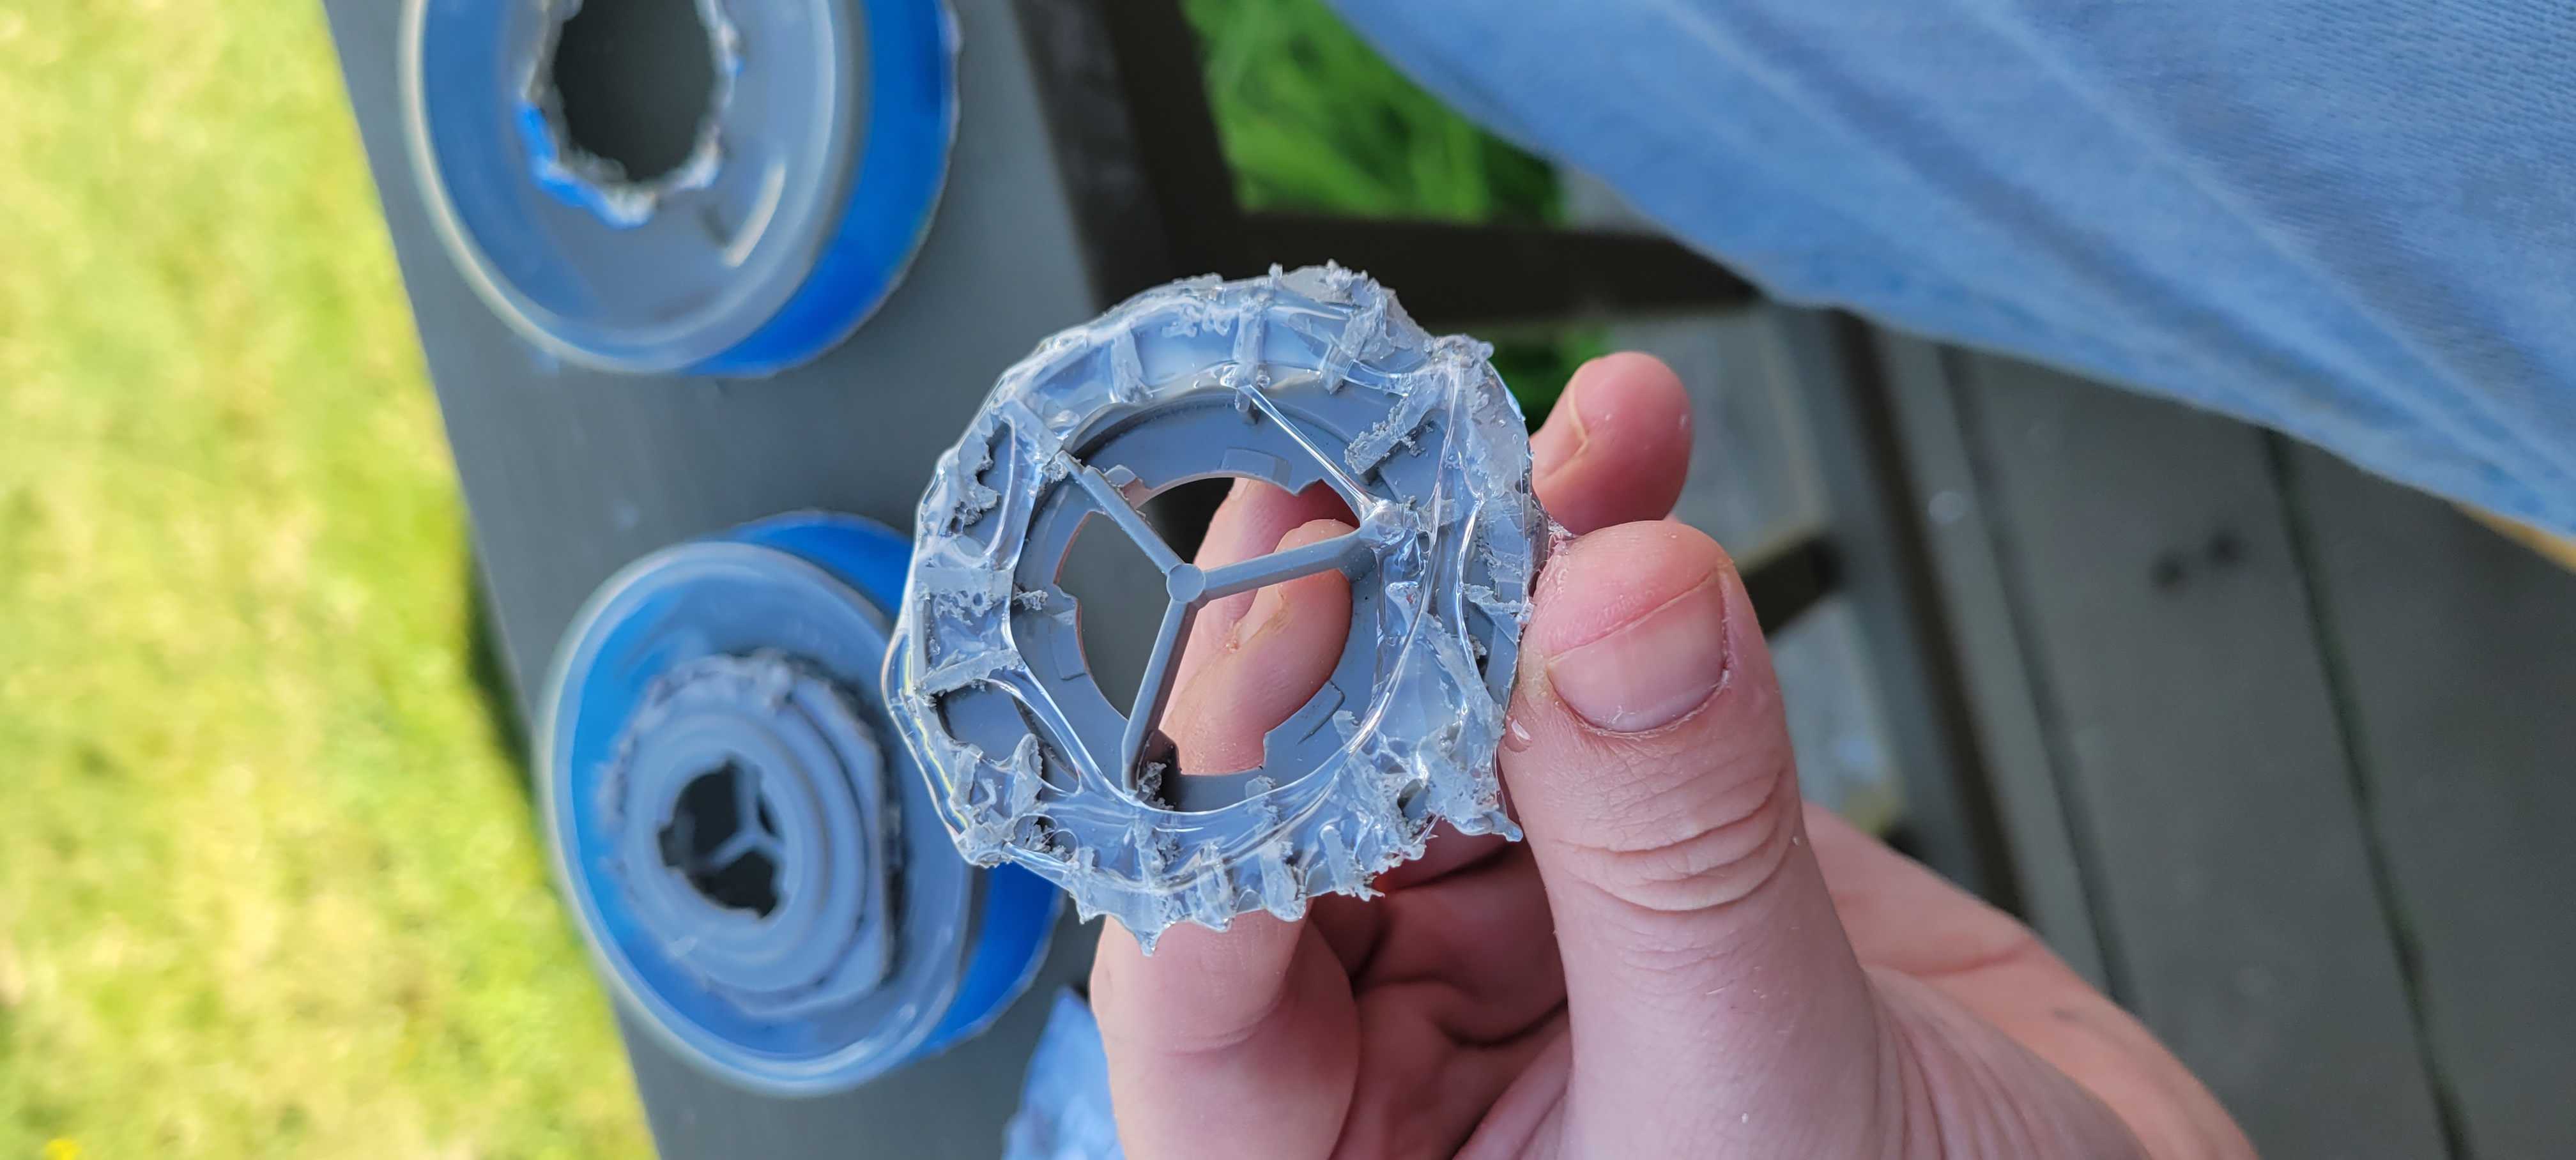
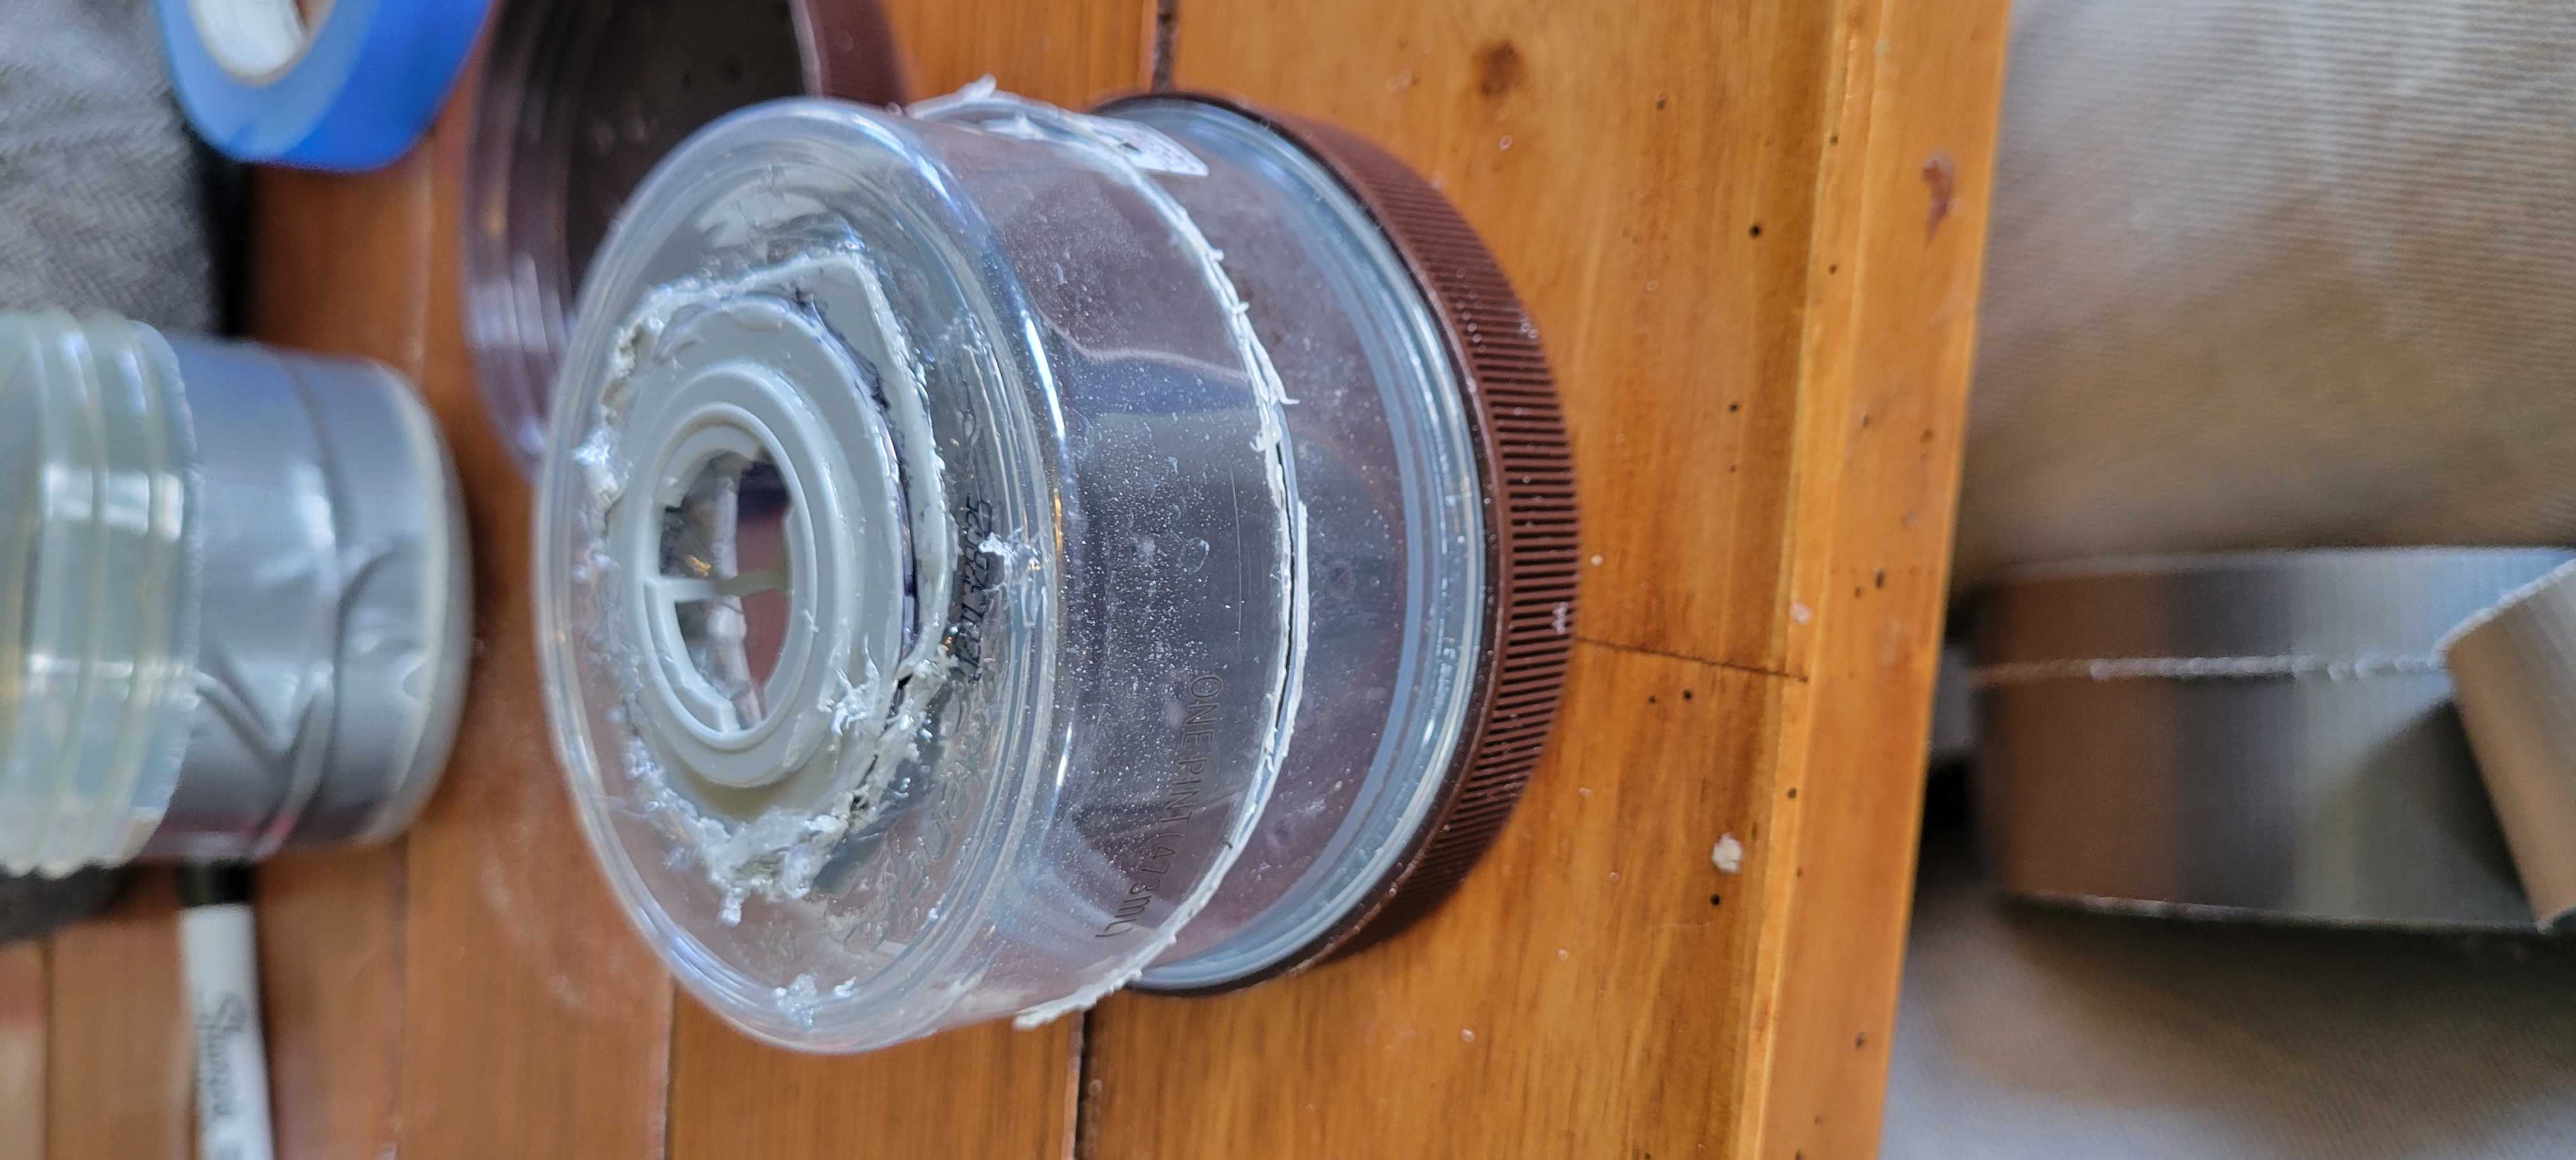
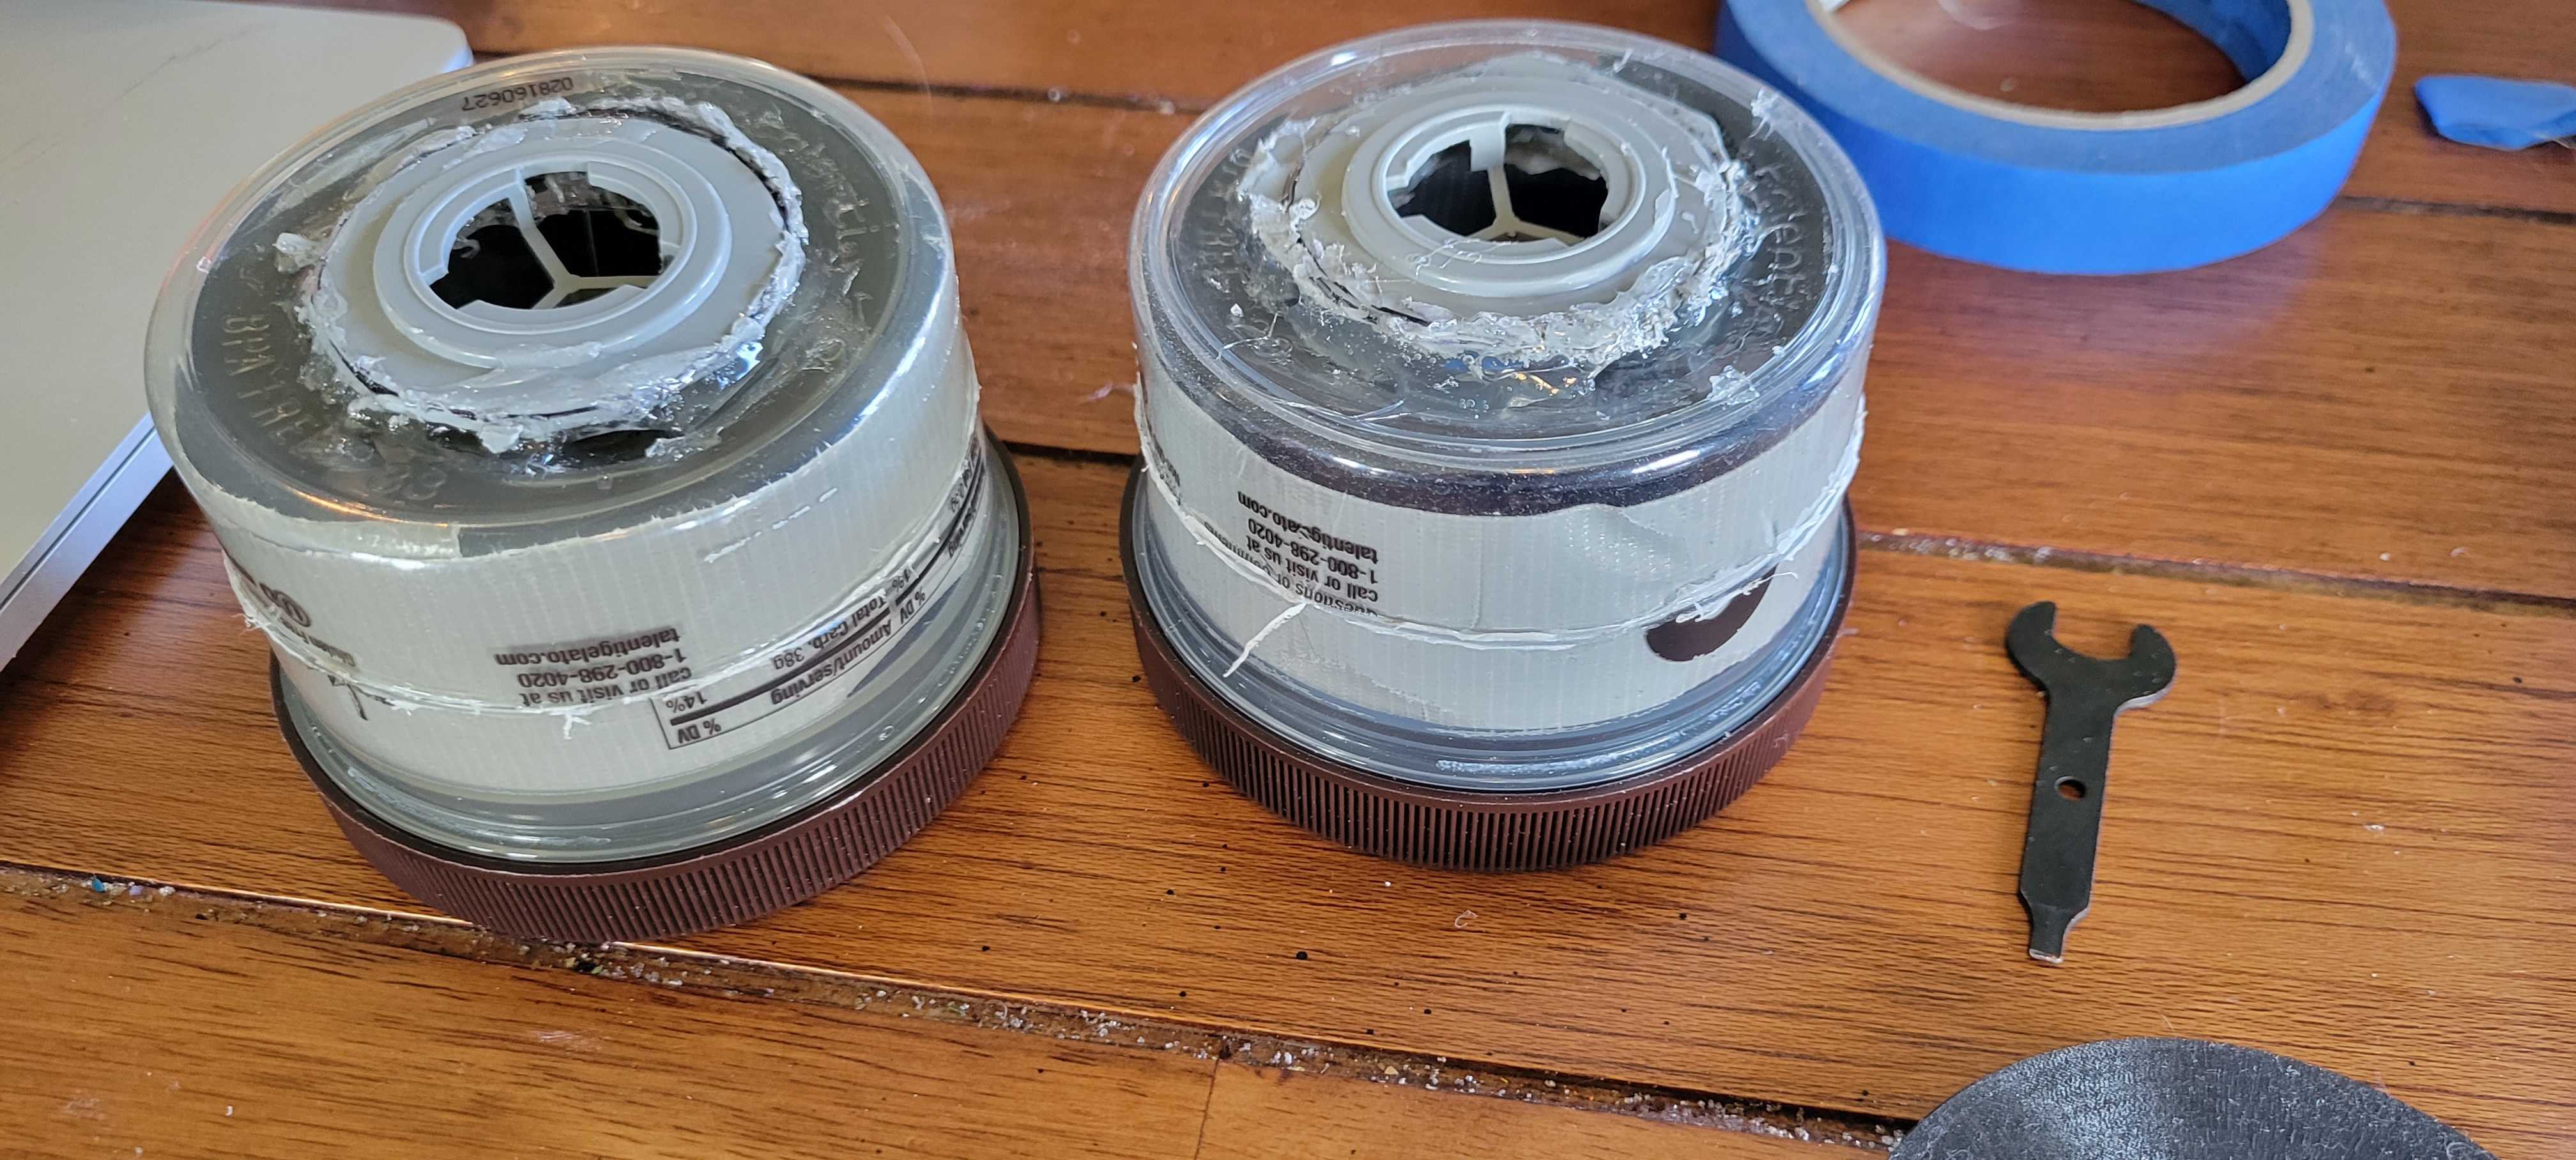
There are support ridges on the inside of the adaptors which will need to be shaved down as well. They will start out looking like the one on the left in the below image. But you will want to trim them both flat like the one on the right.
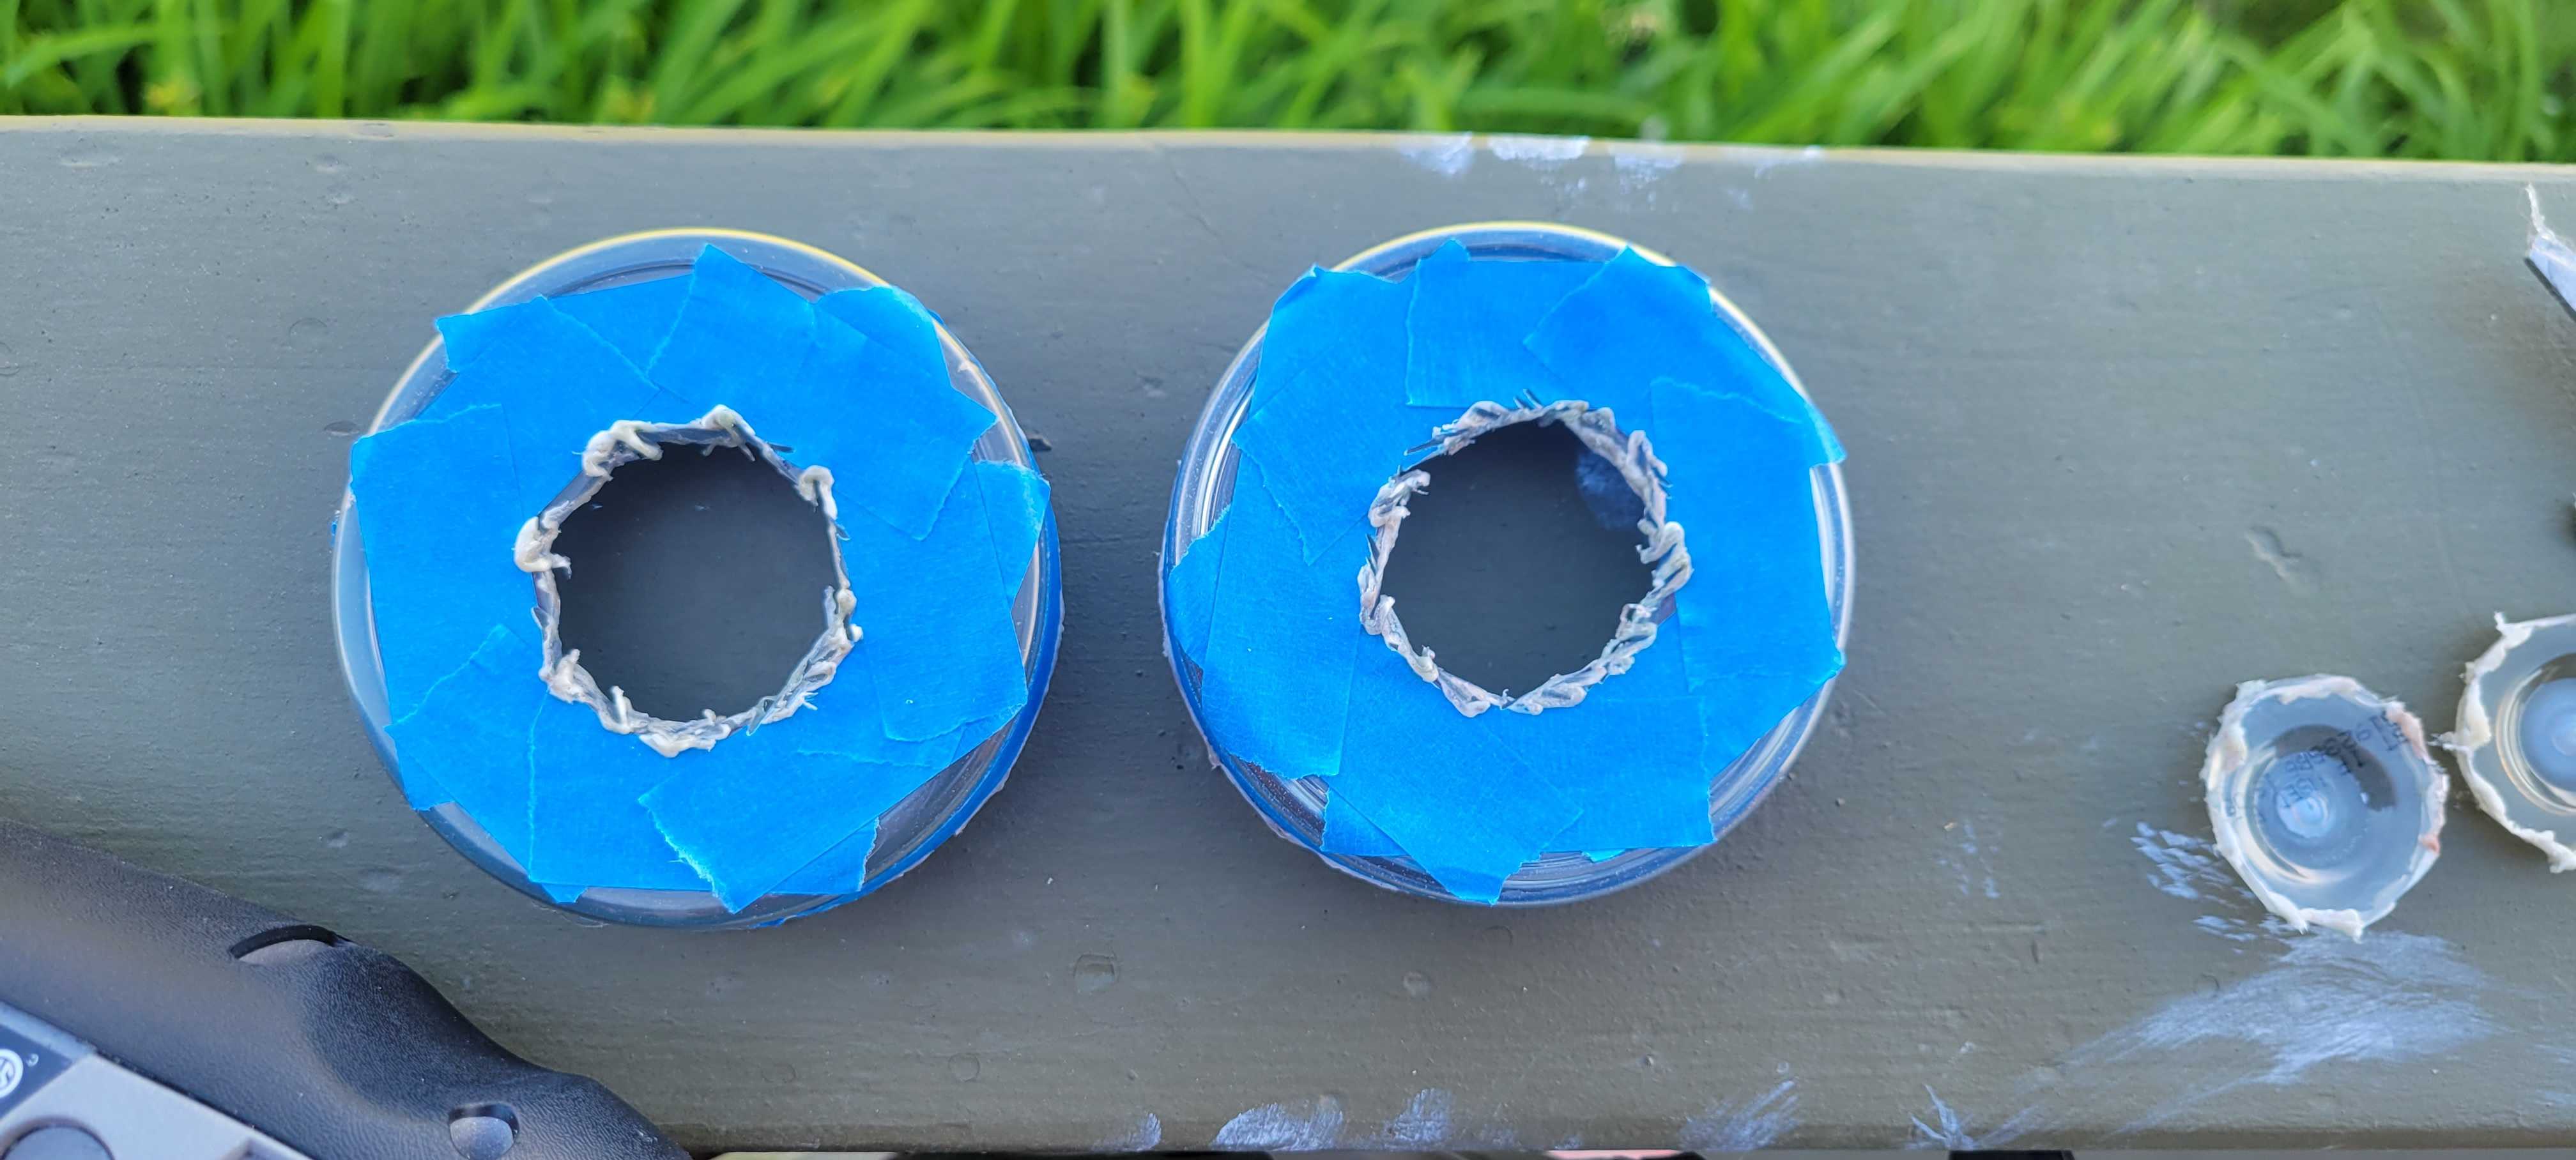
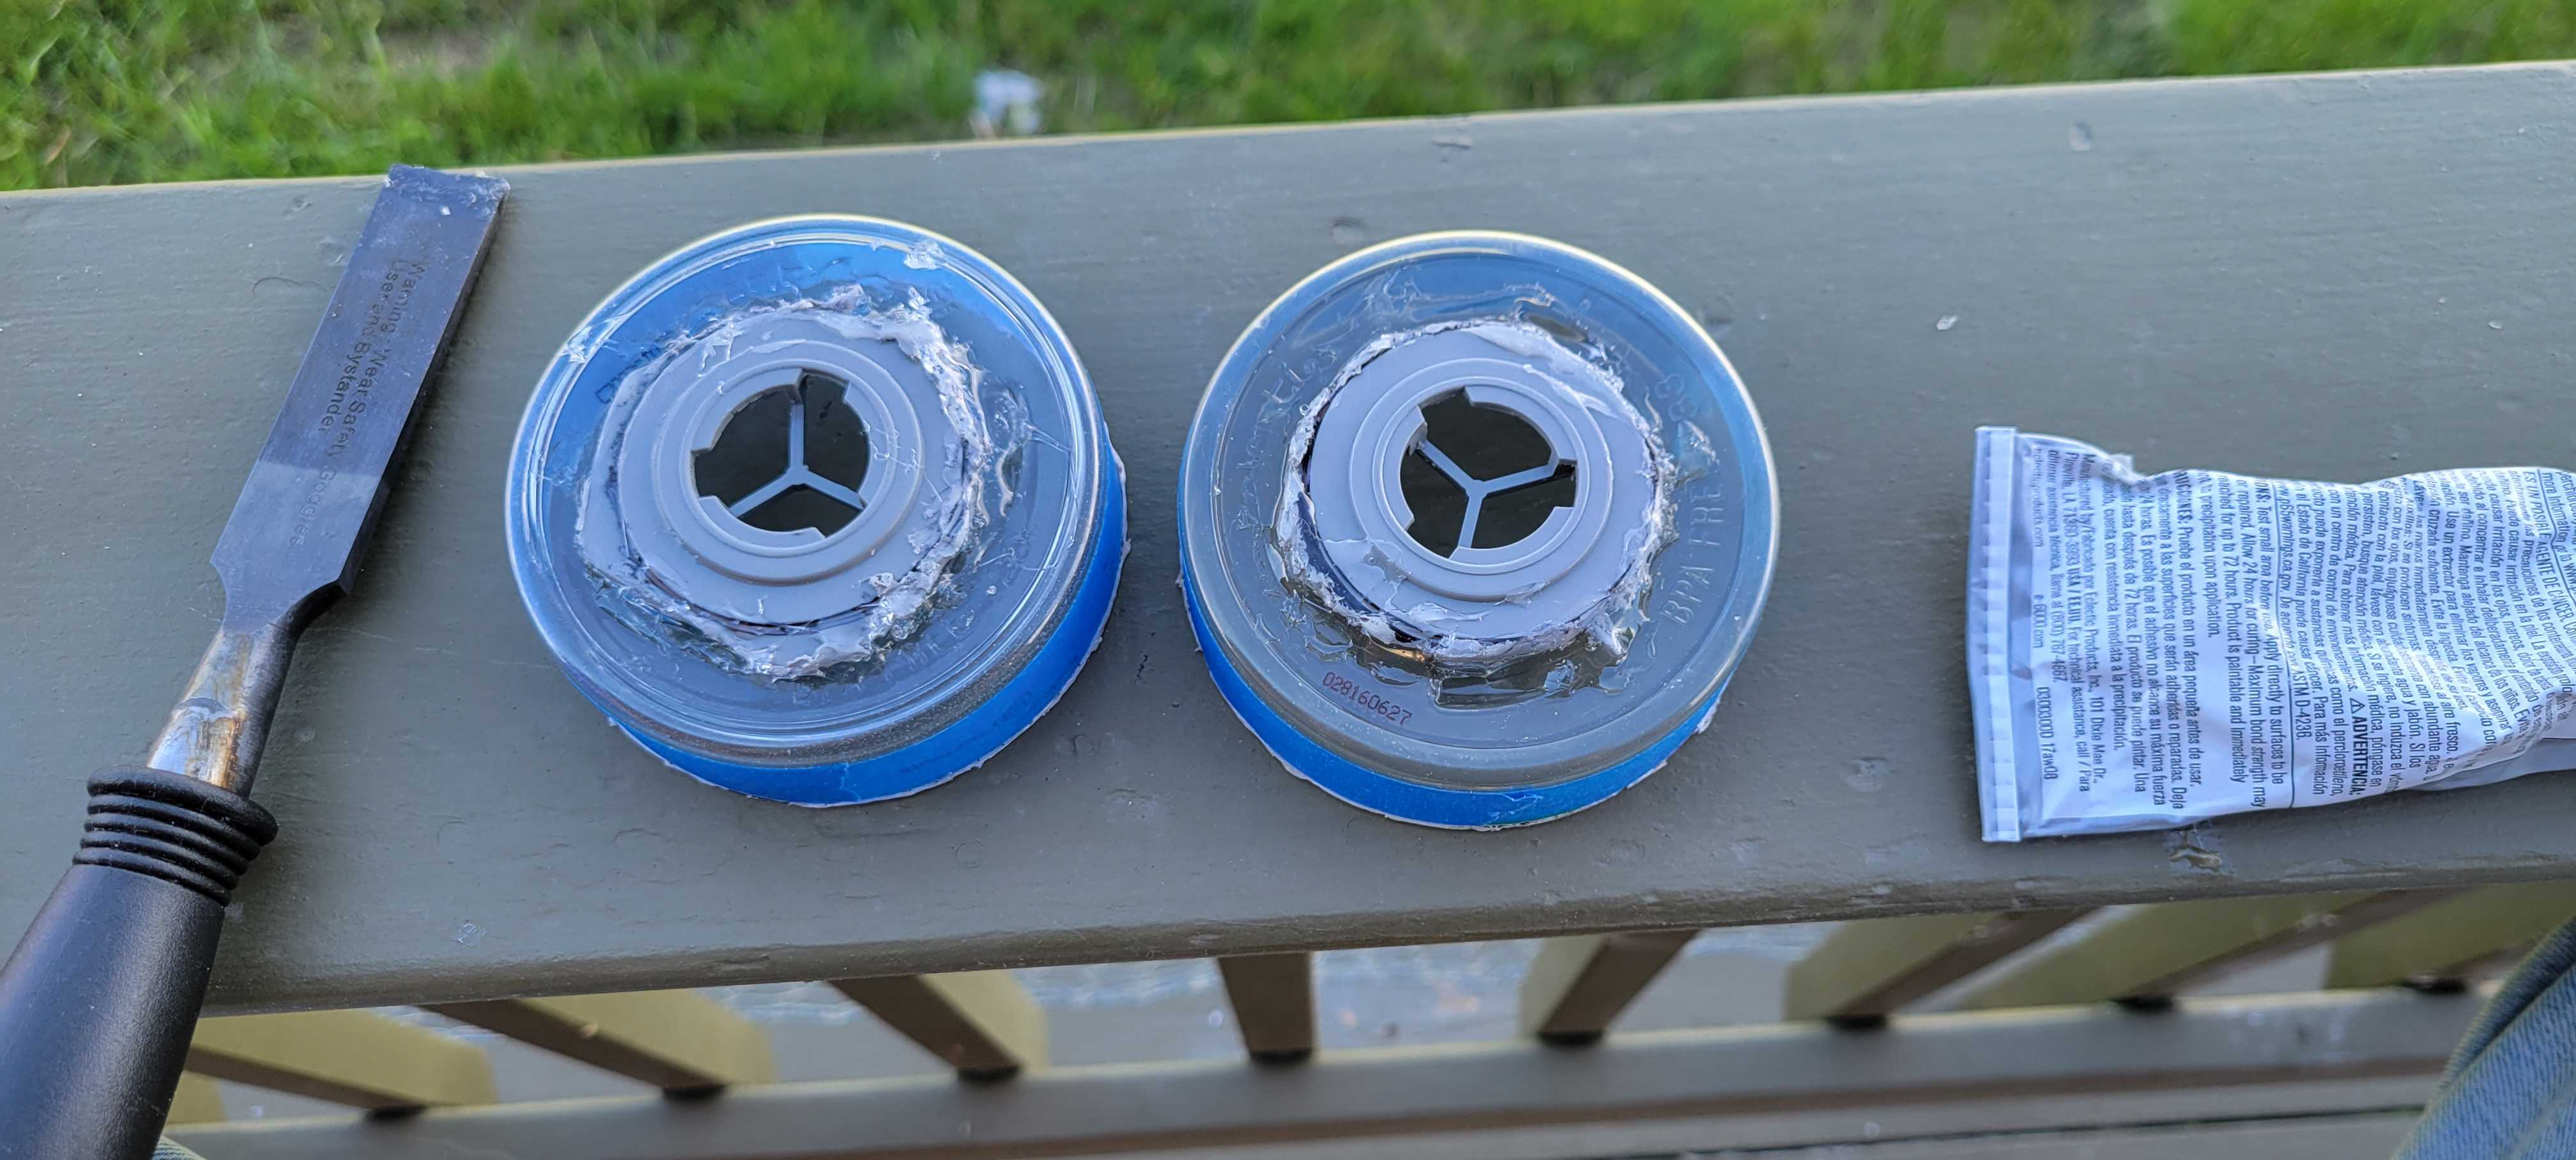
Next, mark cuts for the inner ring of the adaptors on the bottom of your containers. You want to make sure the hole is small enough that you have lots of leftover surface area for the glue in the next step.
I would suggest taping the cut ahead of time, again. But you can skip that if you have a steadier hand than I do. Also, I switched to a thinner cutting disk for this part.
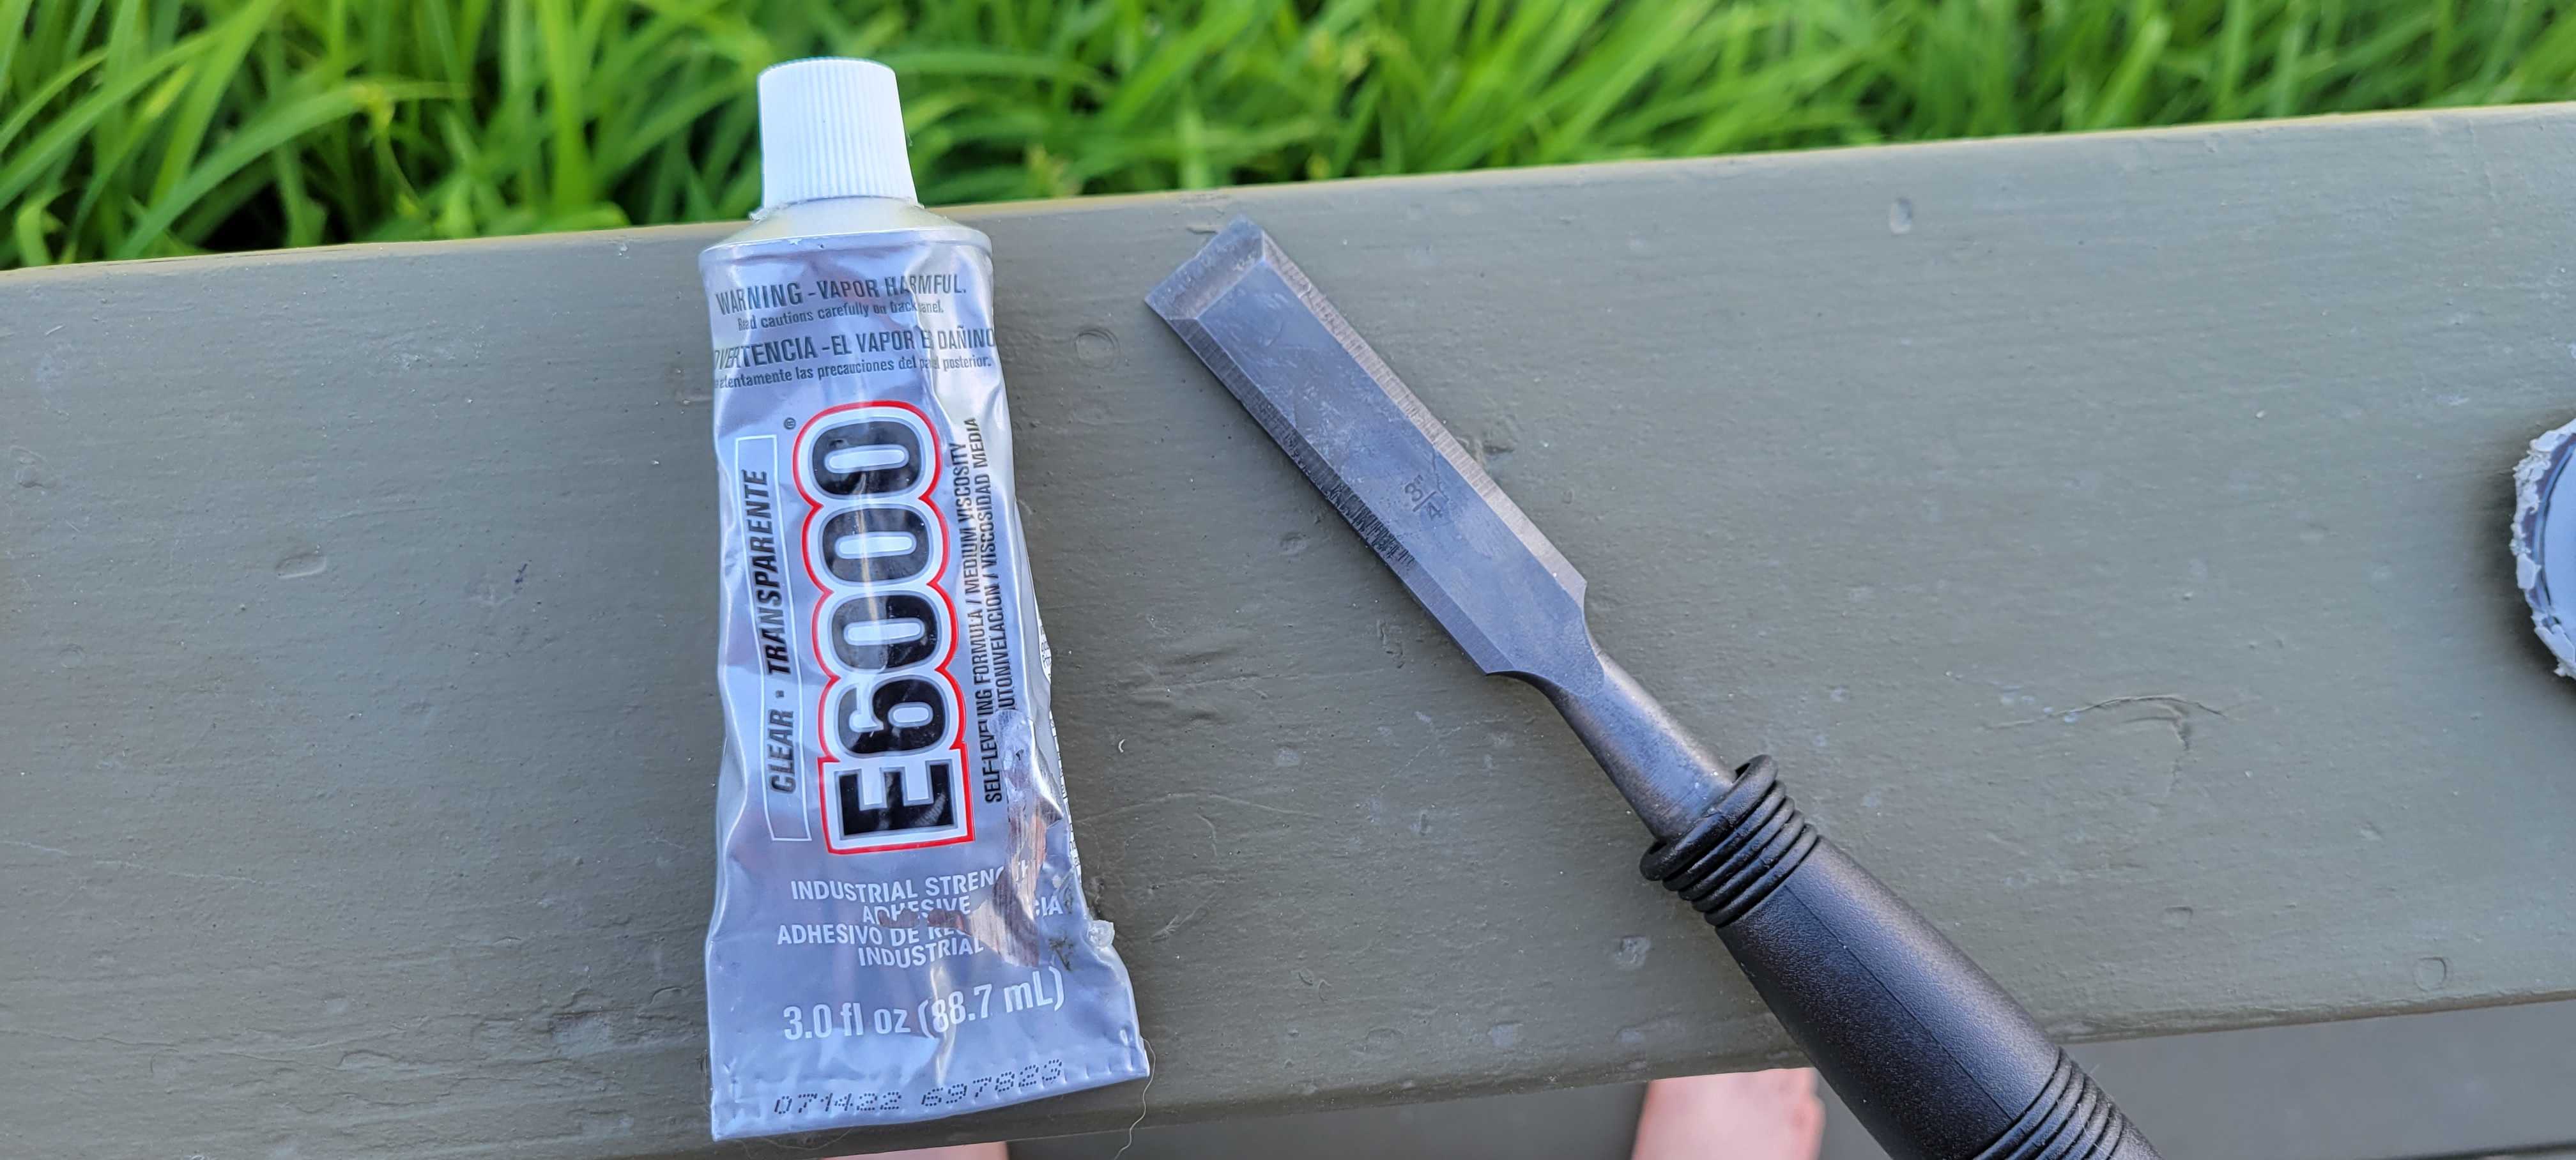
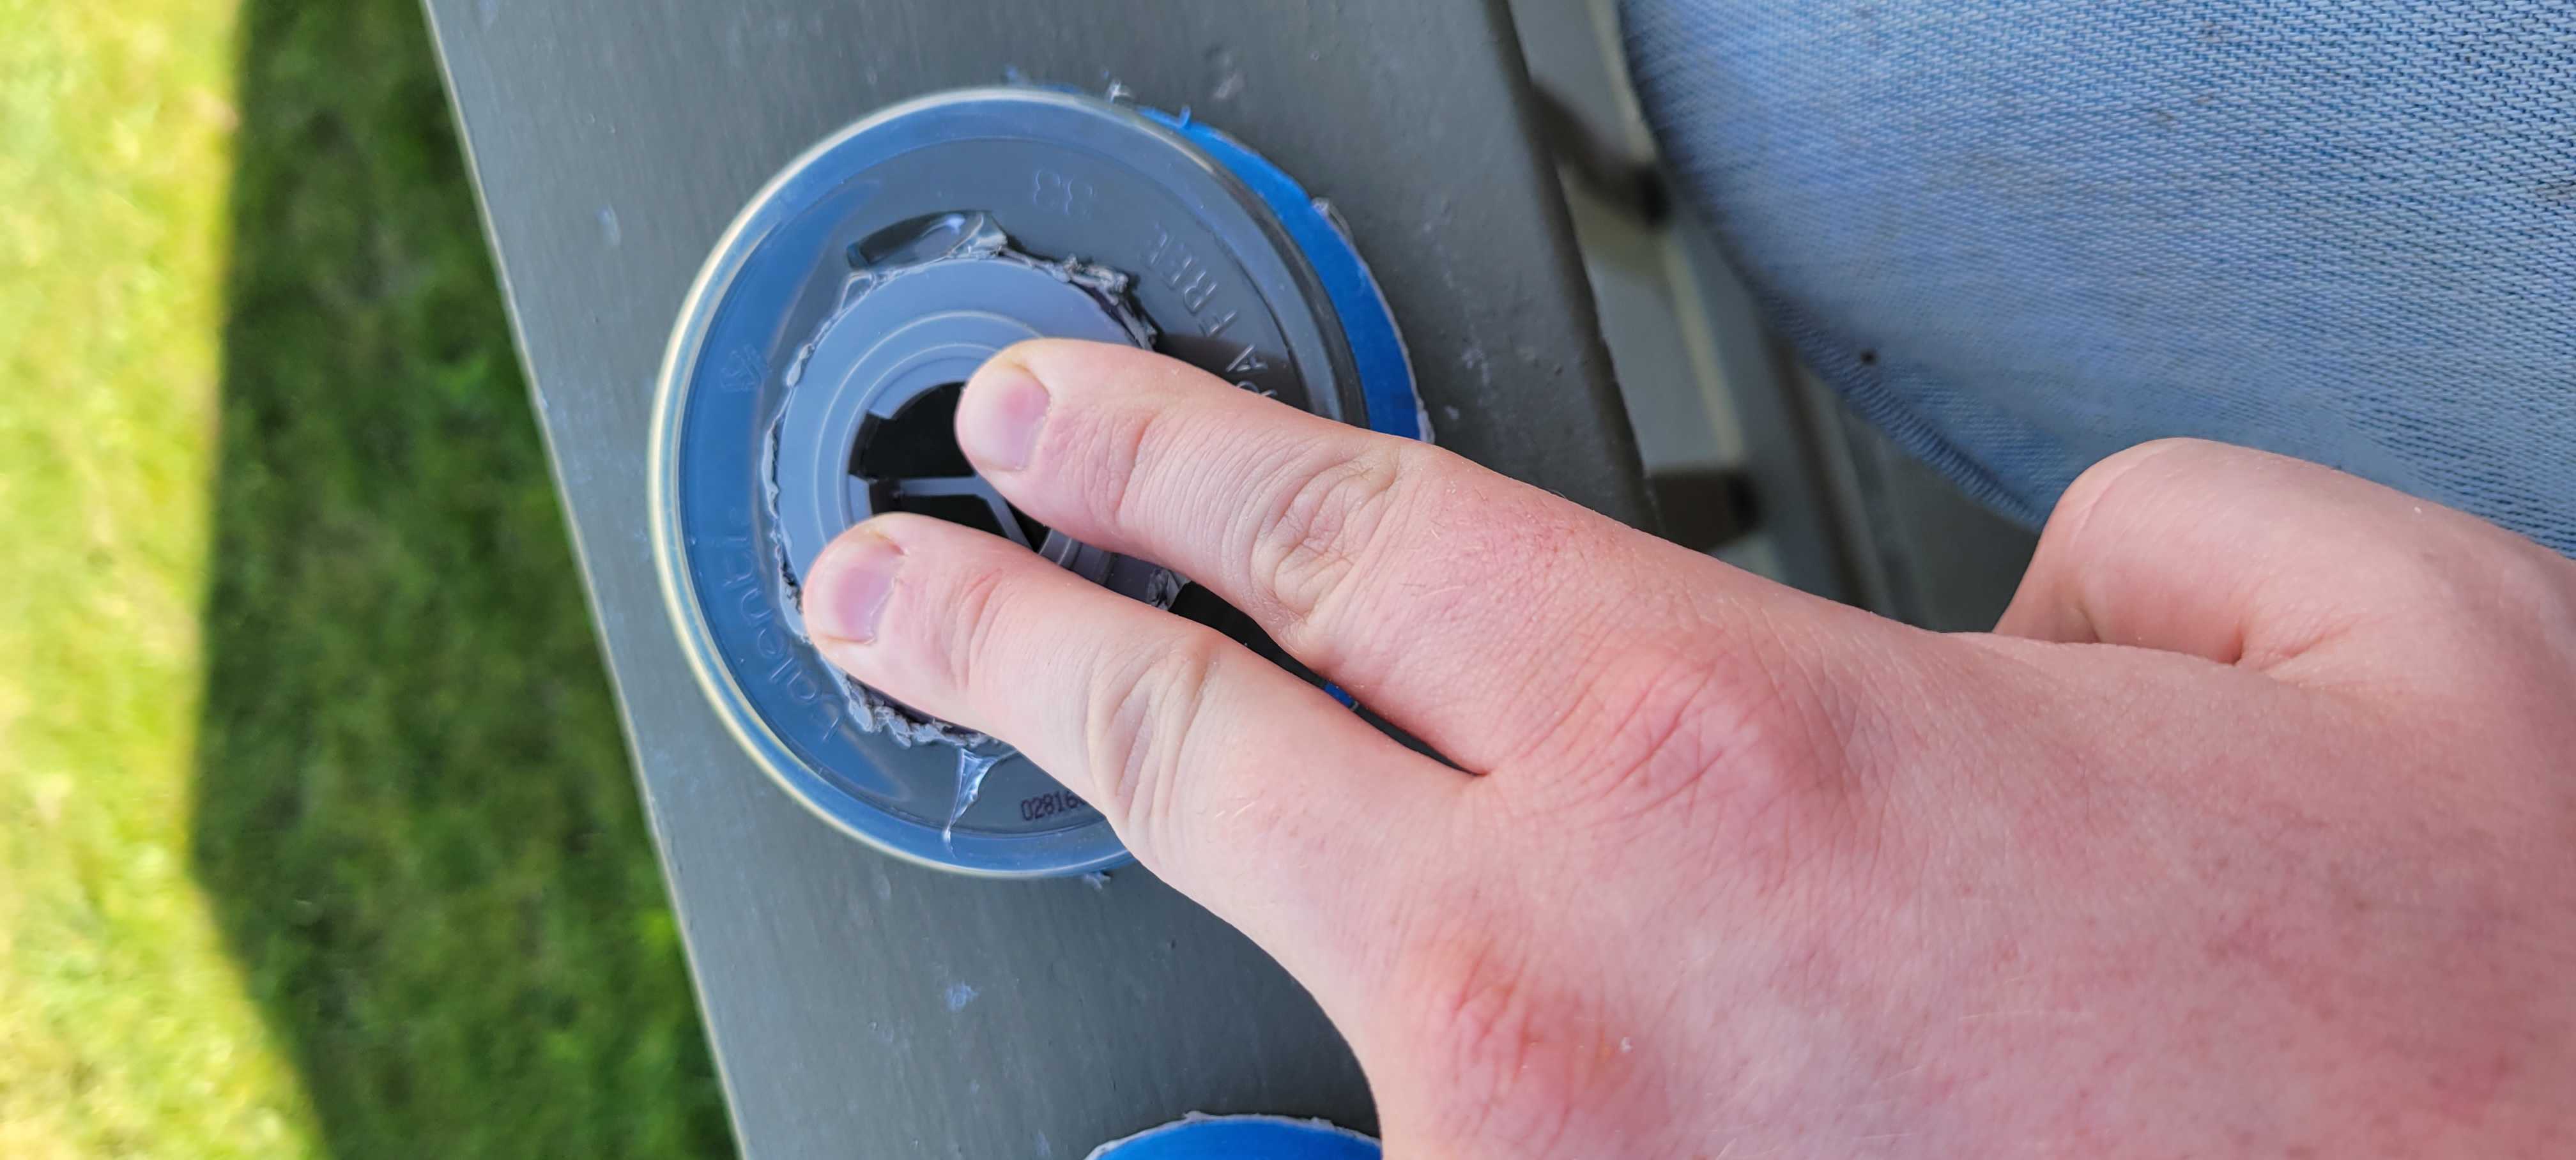
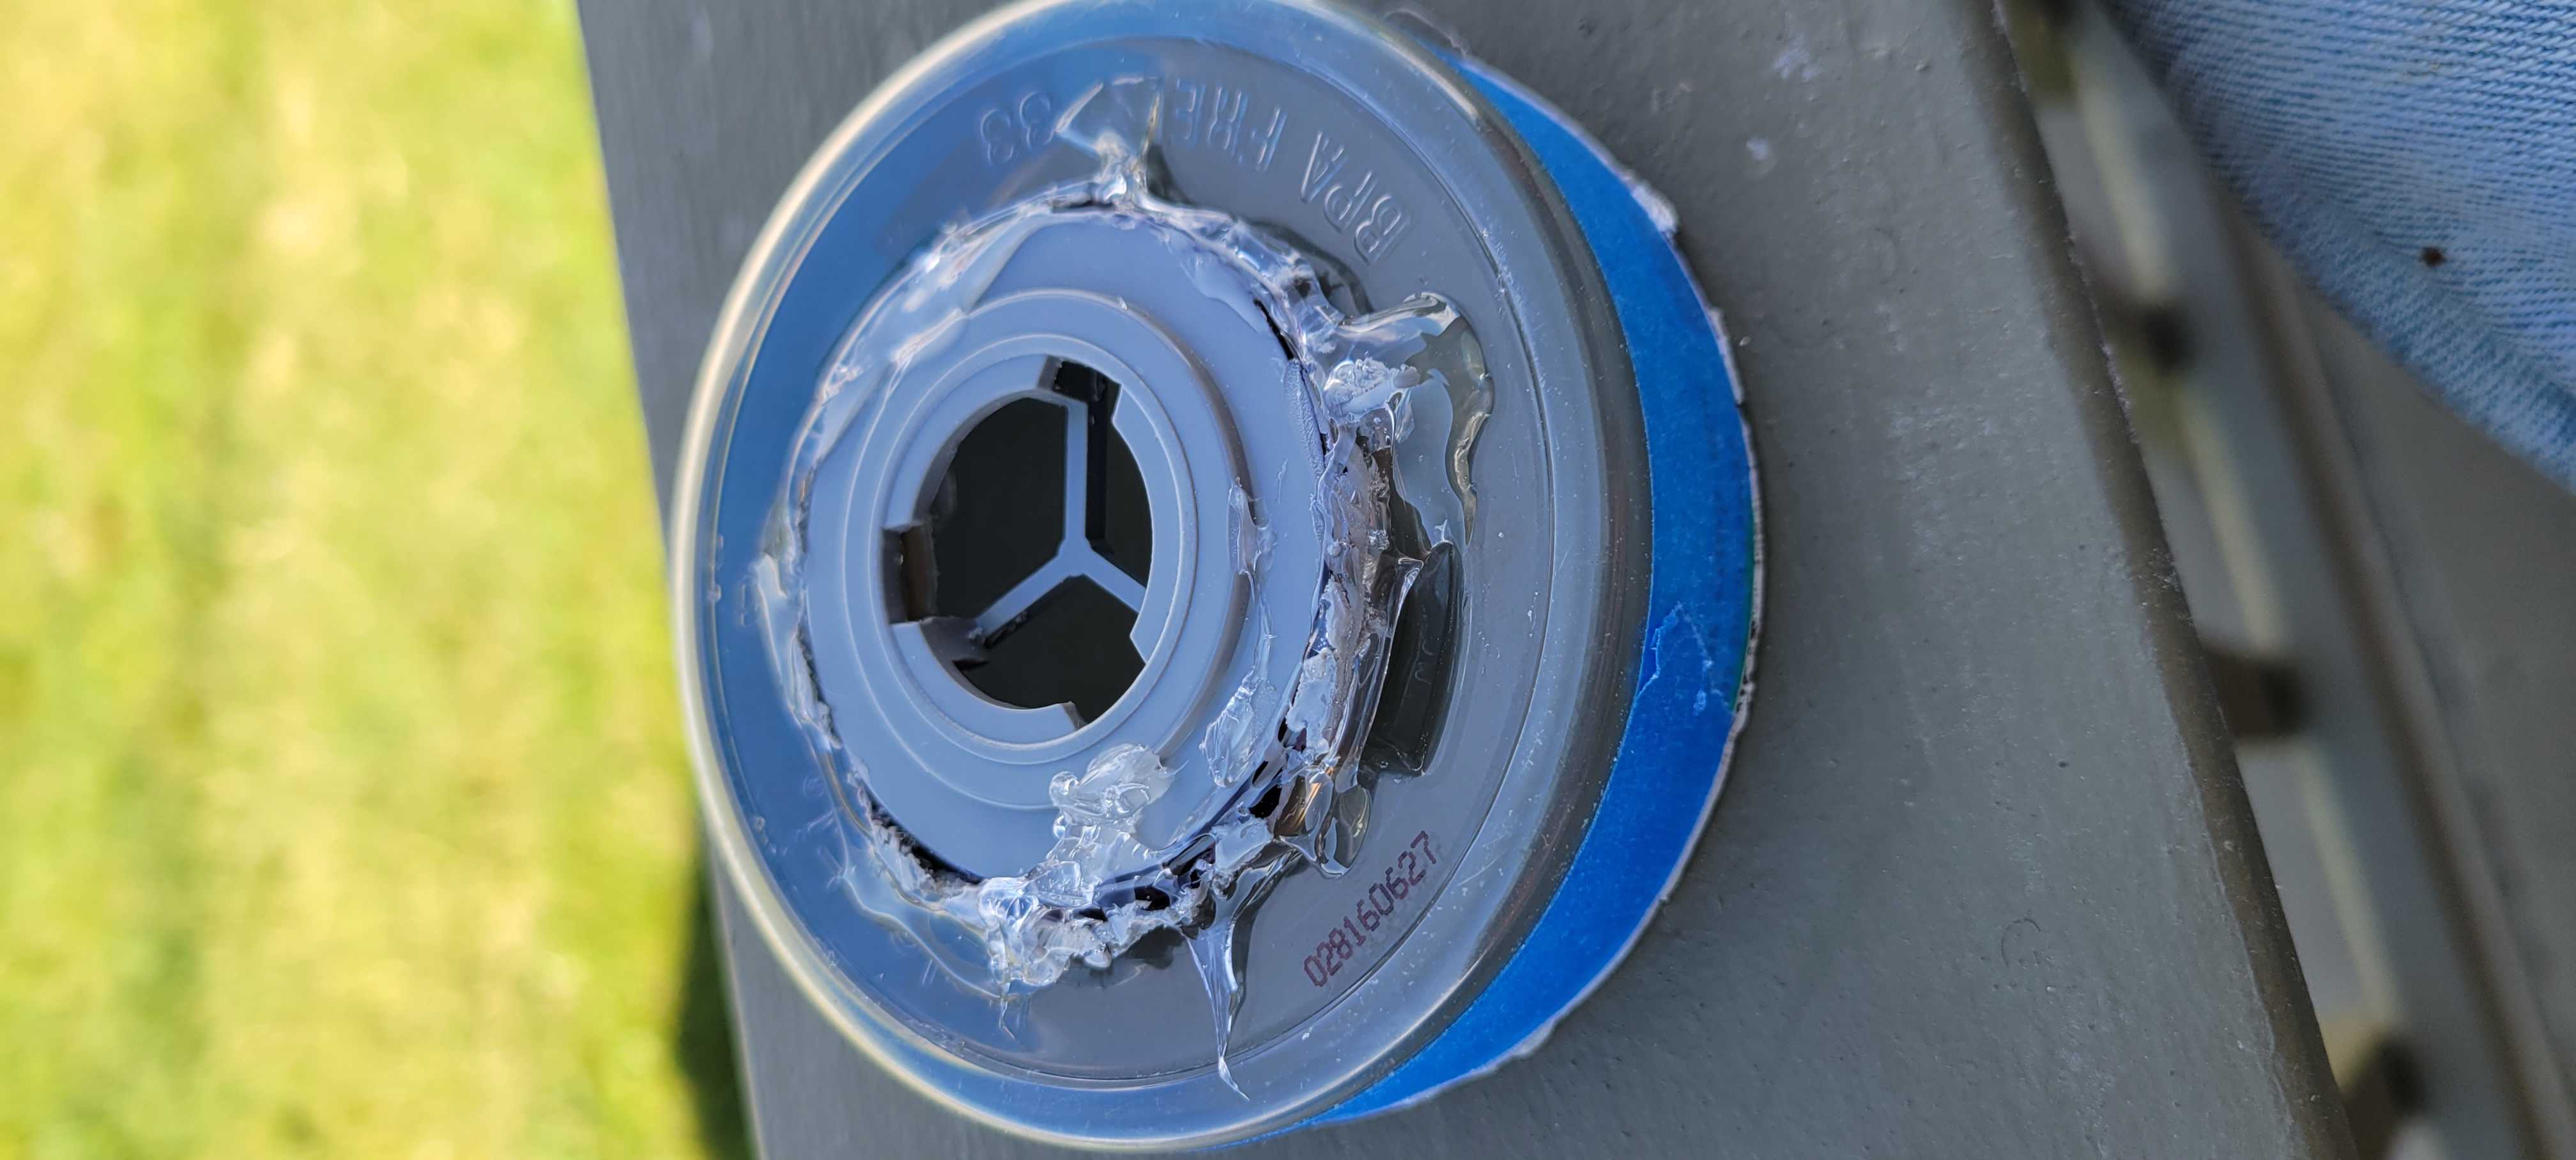
Next you will need to glue on the adaptors. I used E6000, but any strong glue which bonds to plastic will do the trick. The chisel is a makeshift spreader, lol.
Be sure to really layer that stuff up. Inside and out. This is the critical seal for the cartridge to work.
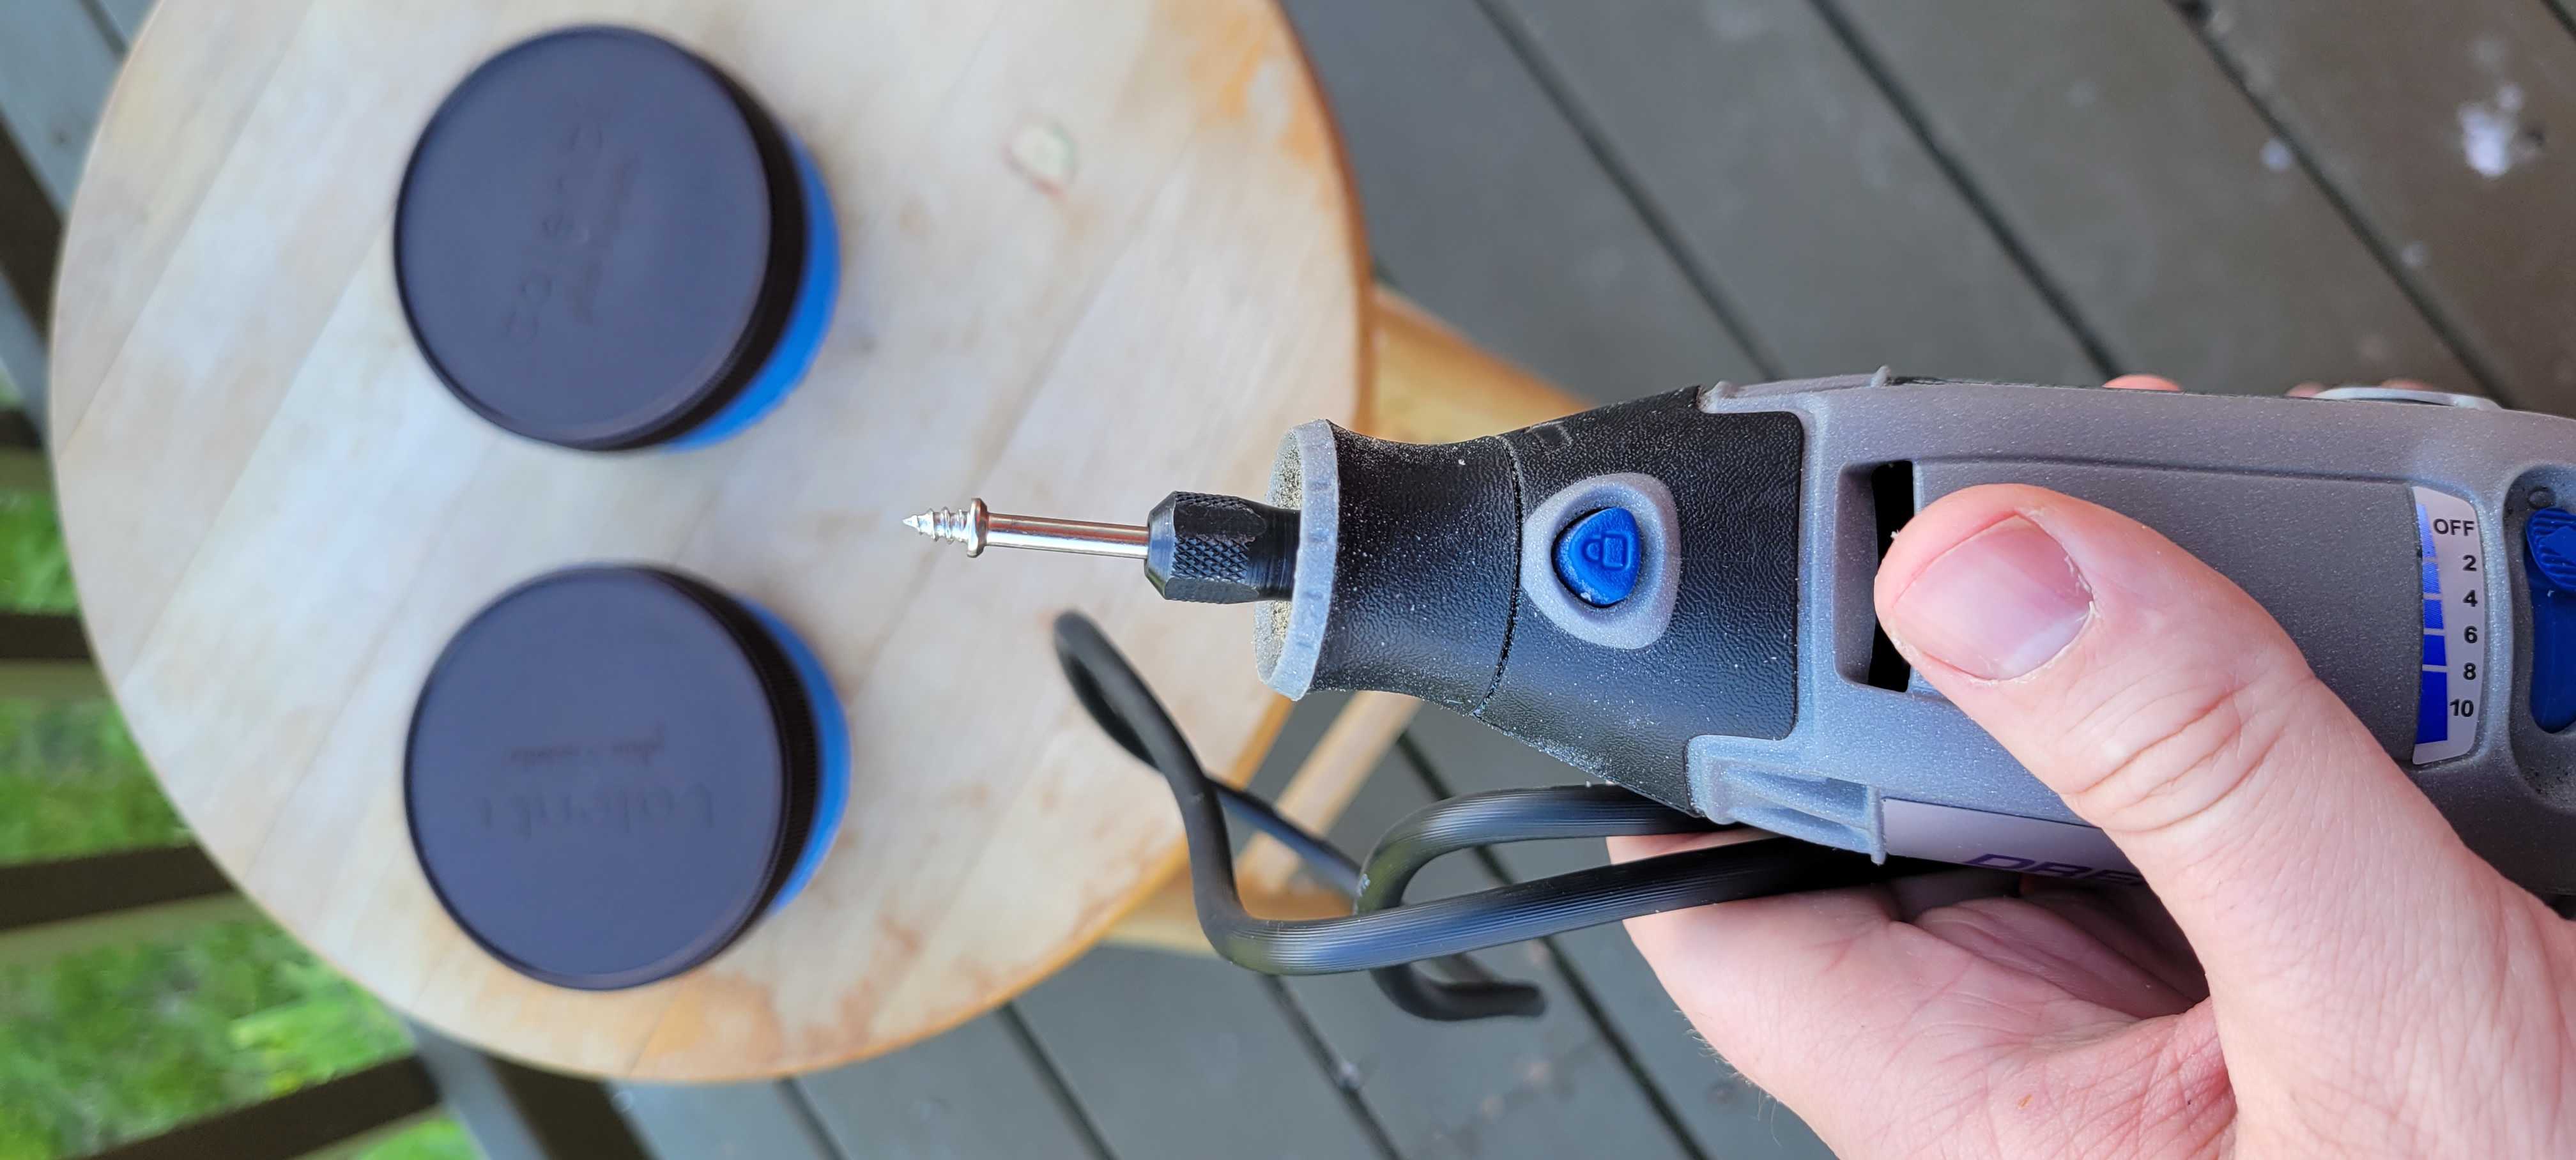
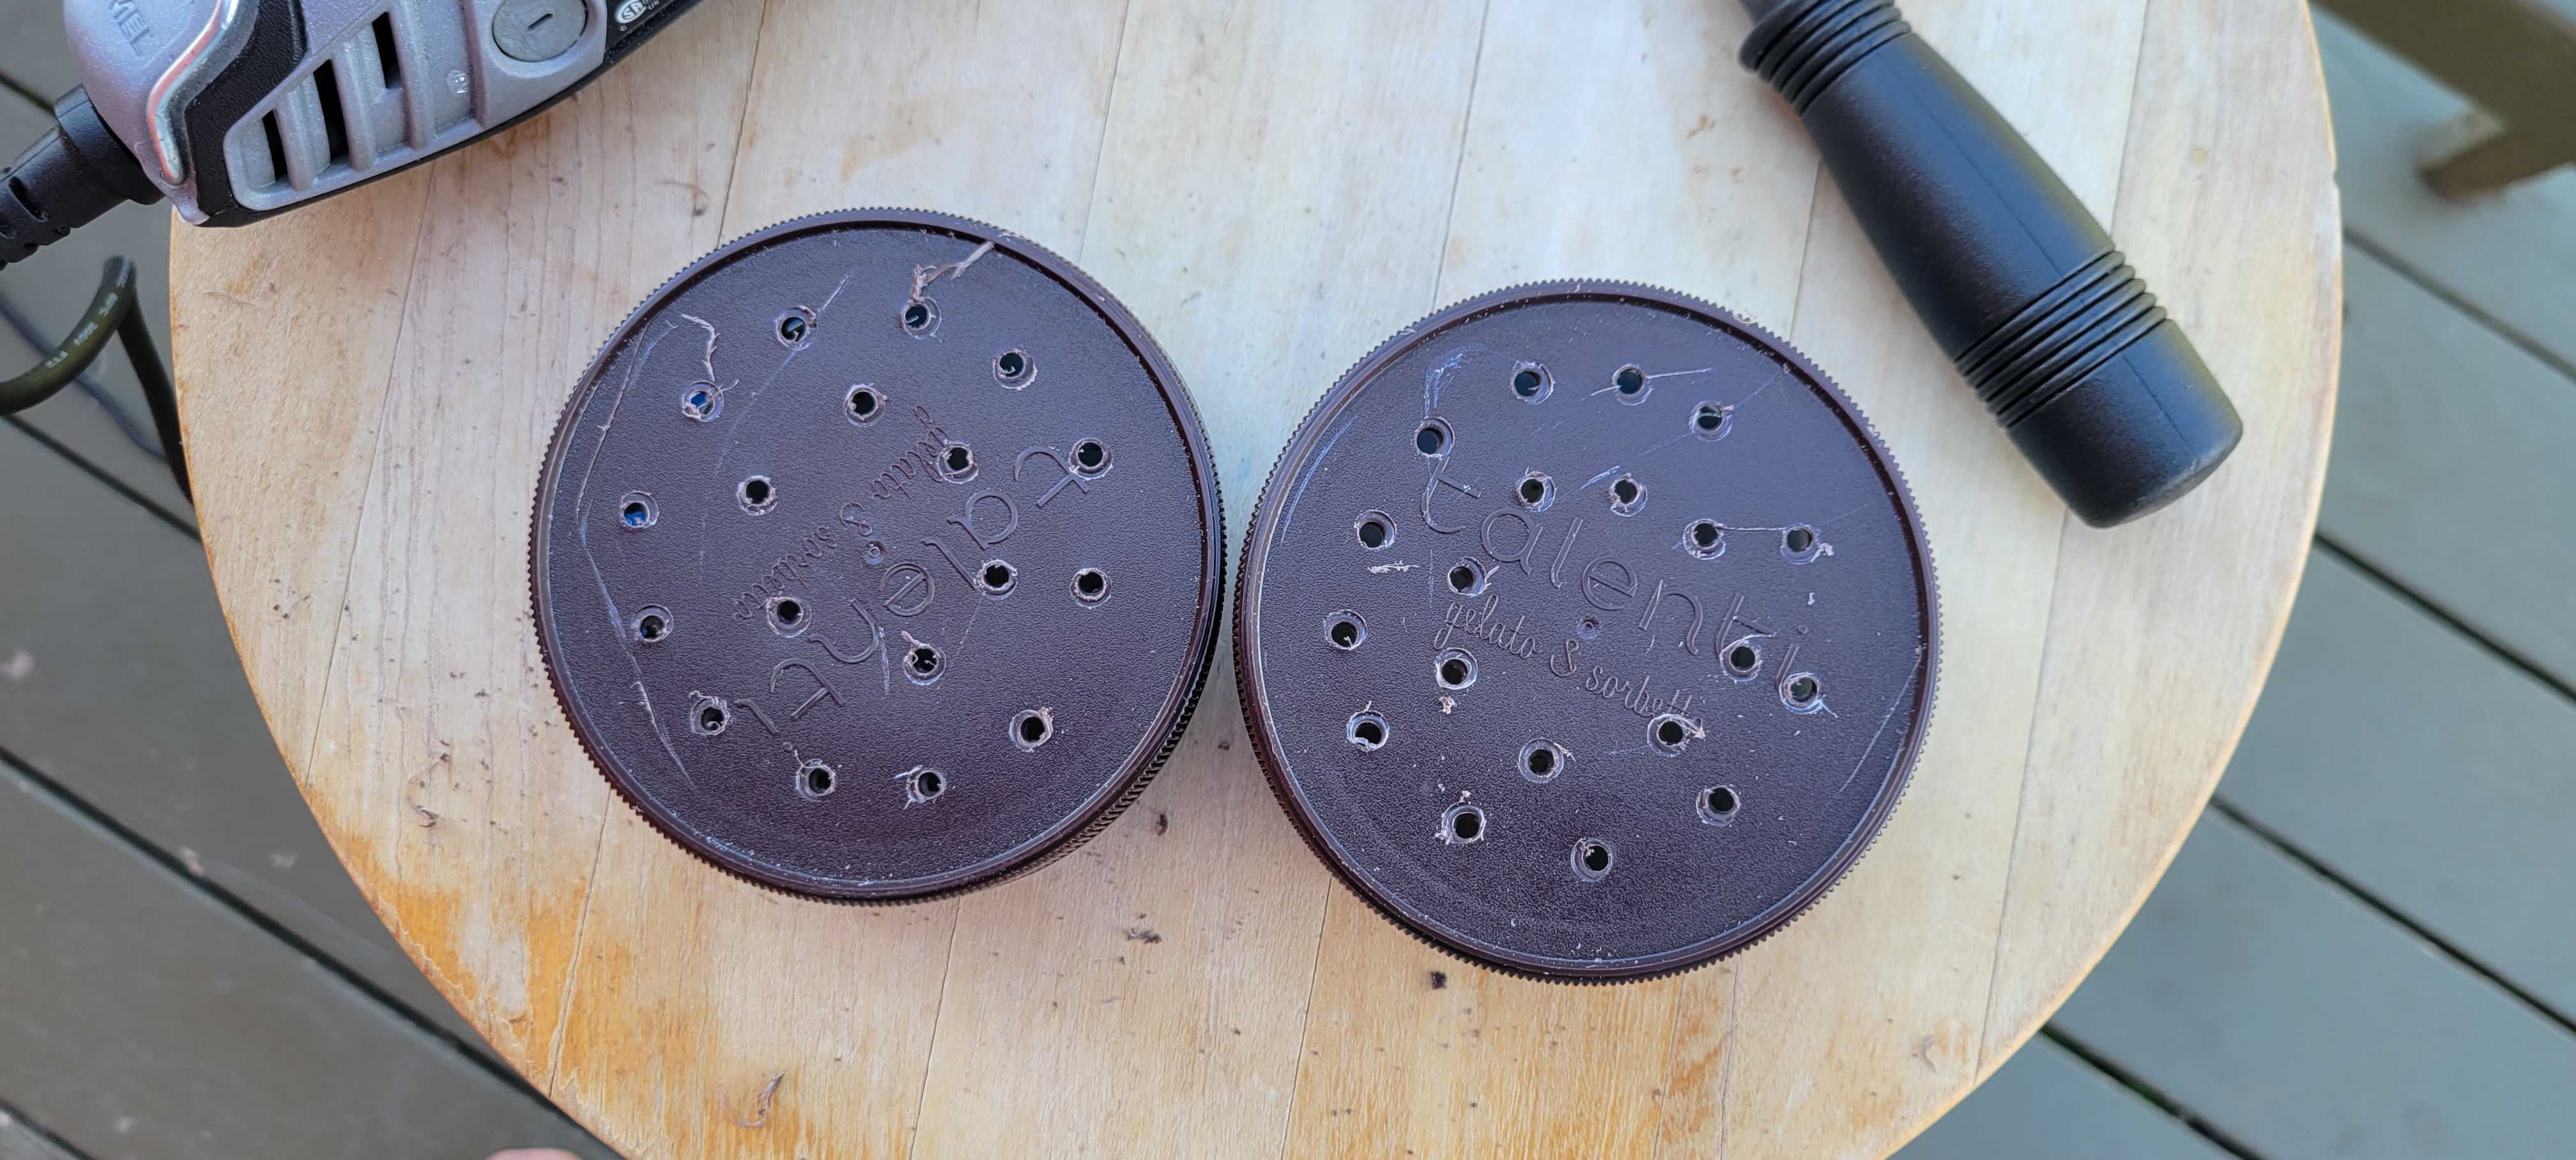
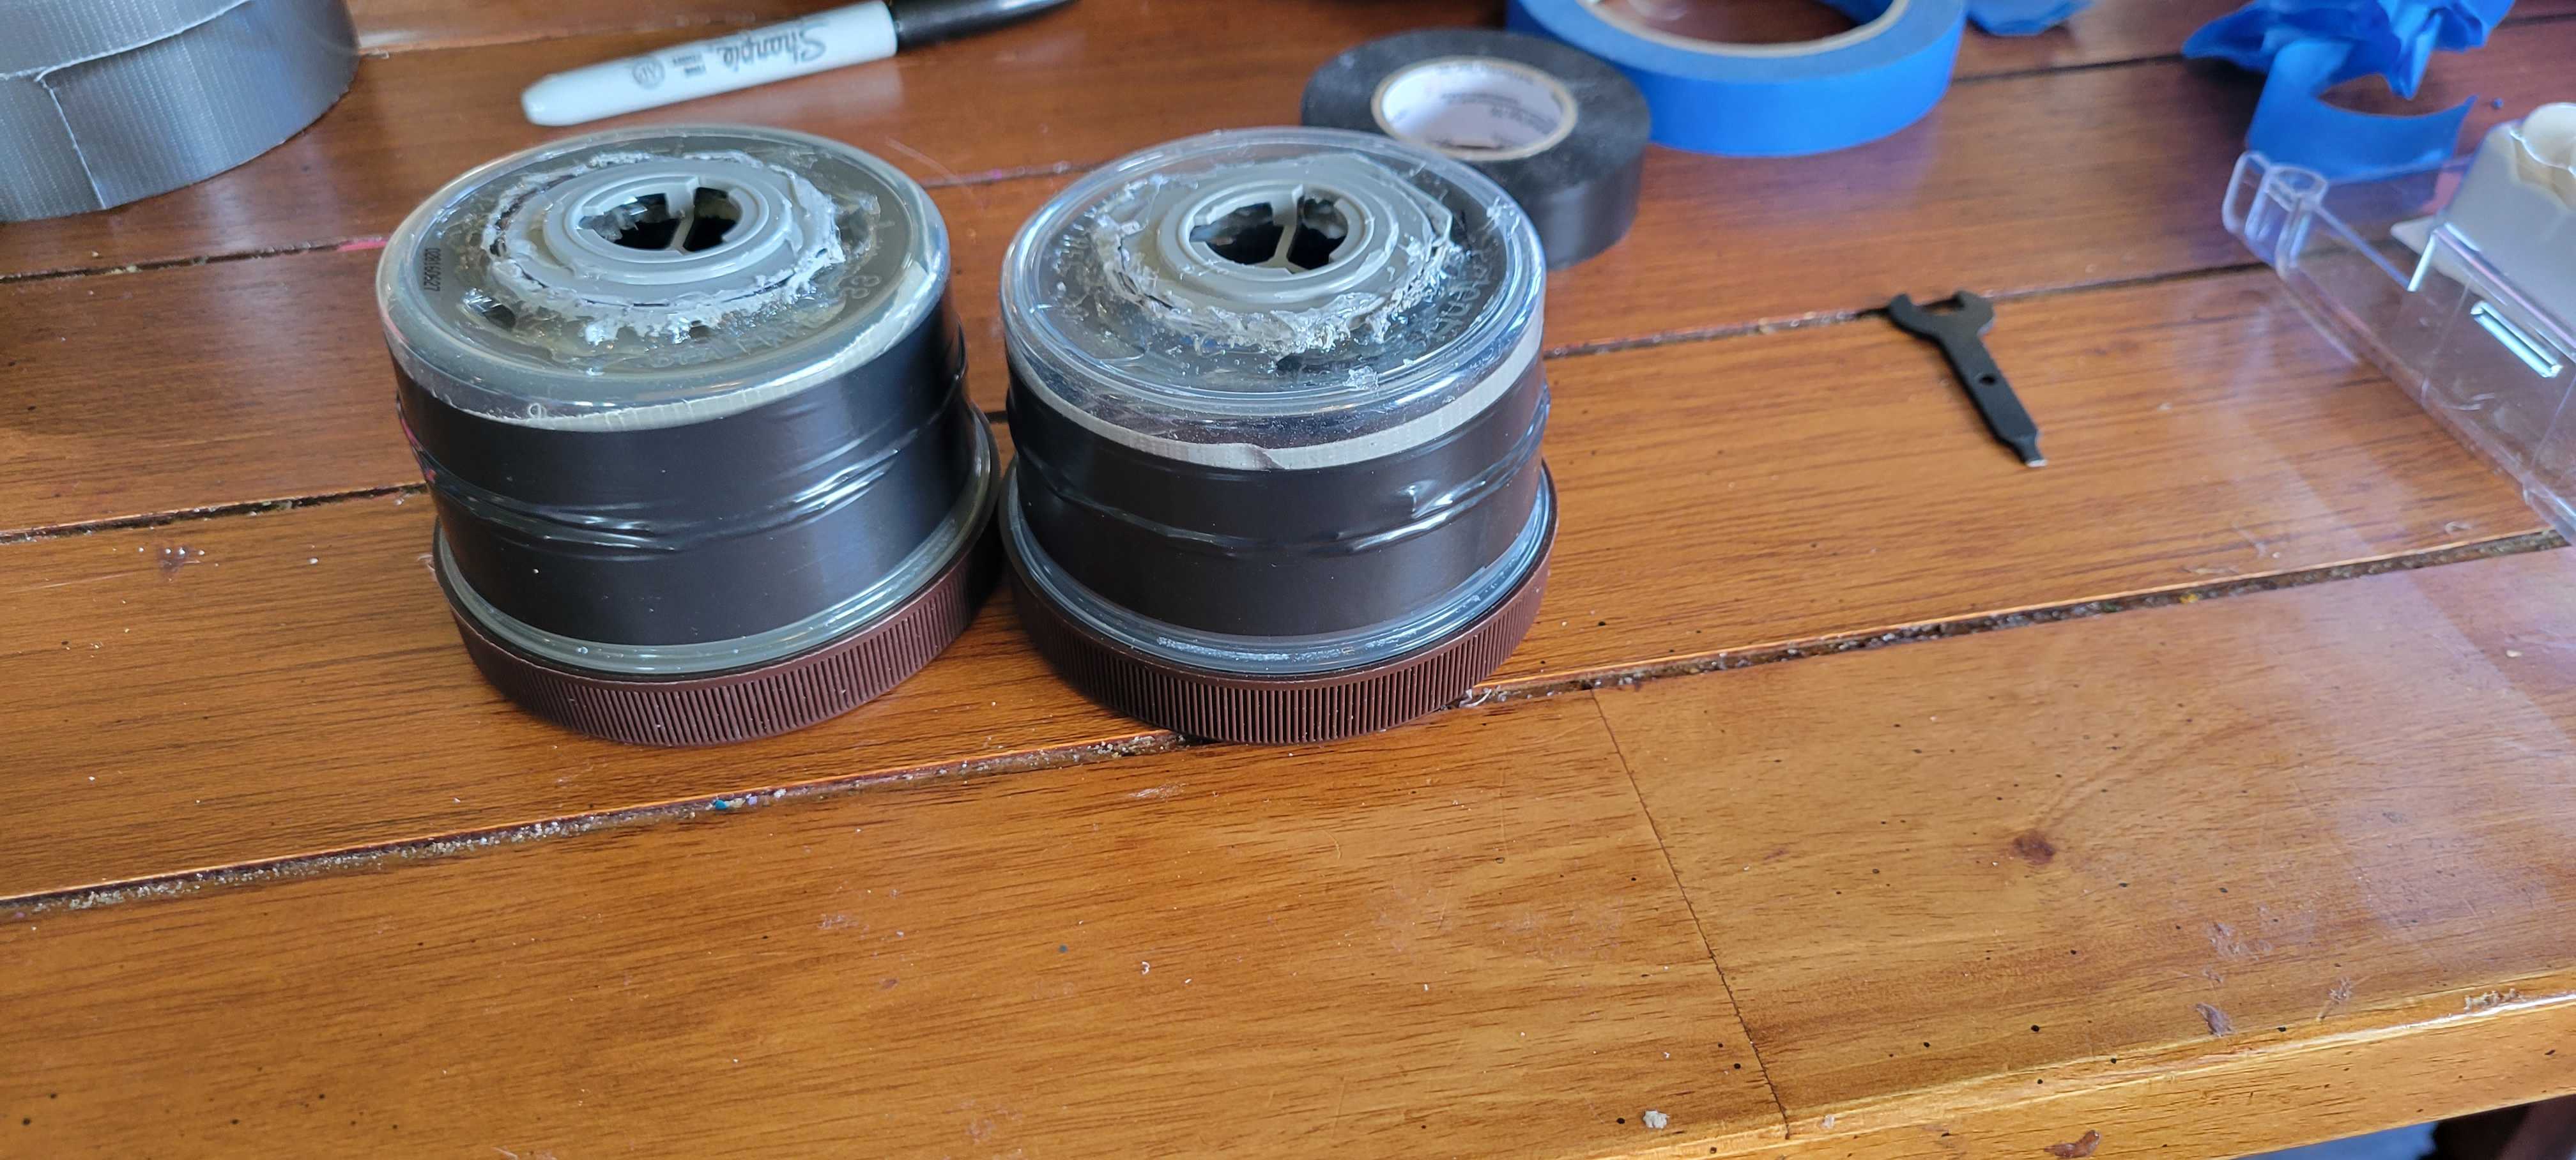
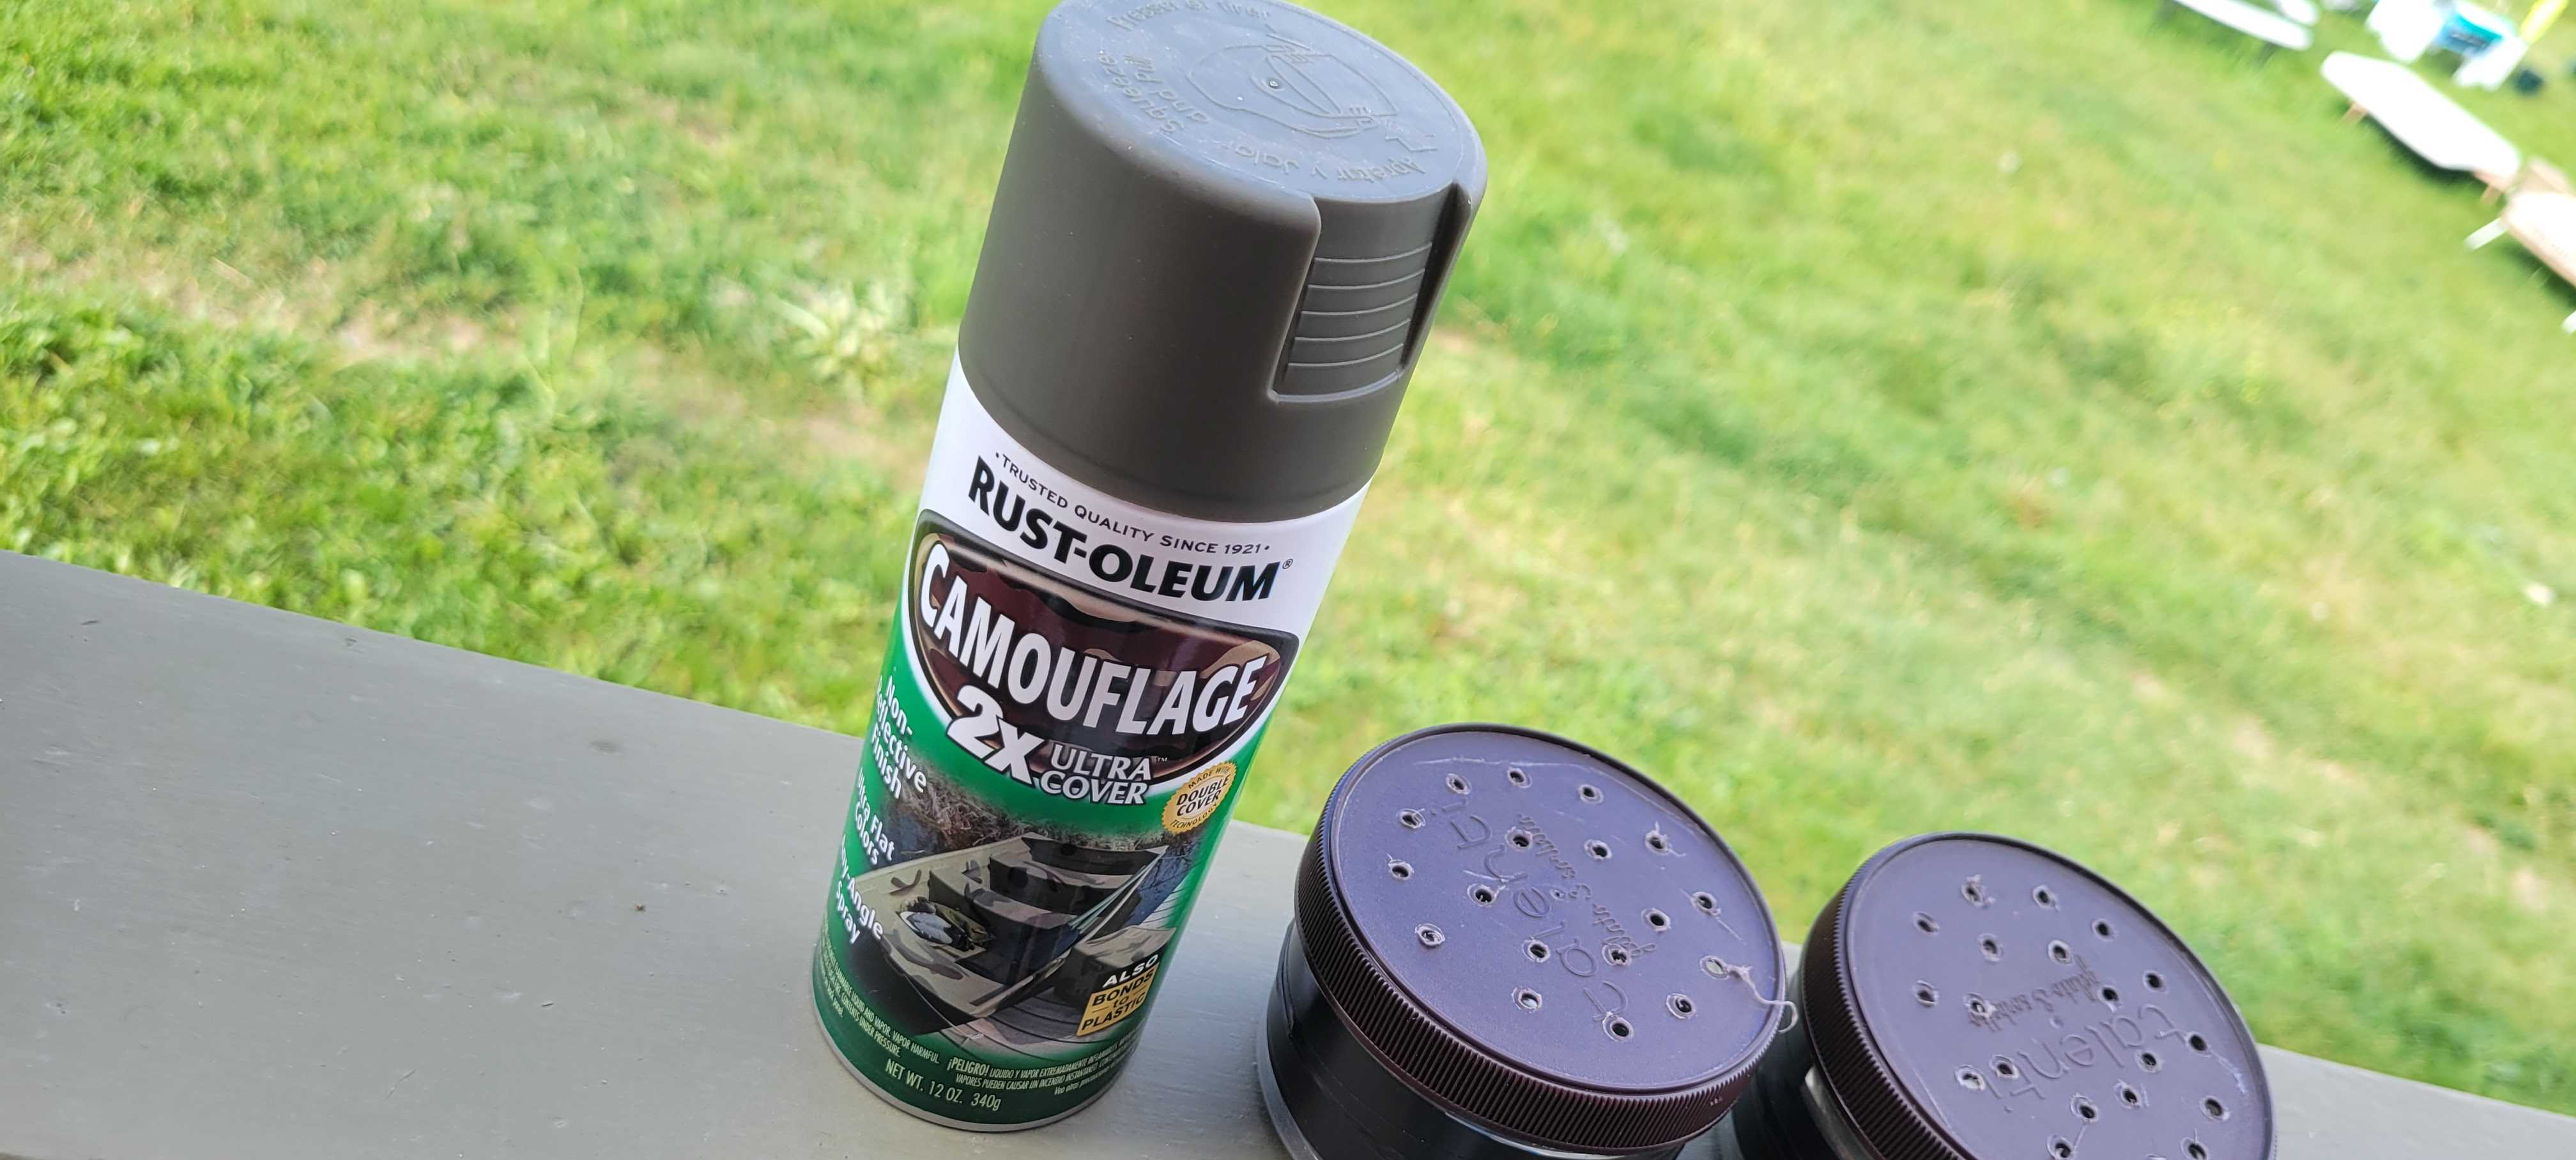
Next, use the short drill attachment for the Dremmel to poke air holes.
Then, tape the two halves together. This seal is less critical but I used duct tape on the inside and electrical tape on the outside and it does not allow almost any air to pass through.
Lastly, I spray painted mine green. Totally not neccesary for functionality, but I thought it was a nice touch.
I should note that if you need protection from organic vapors or heavy-duty chemicals, this is probably not the path for you. The cartridges should provide good protection against heavy particulates, like sawdust and smoke. Make sure they are really stuffed full of whatever material you use for filtering, and to change out the filtering material often.
Also, let the paint and glue off-gas for a couple of days before use.
These men are all talk; What is needed is action - action!
John Brown